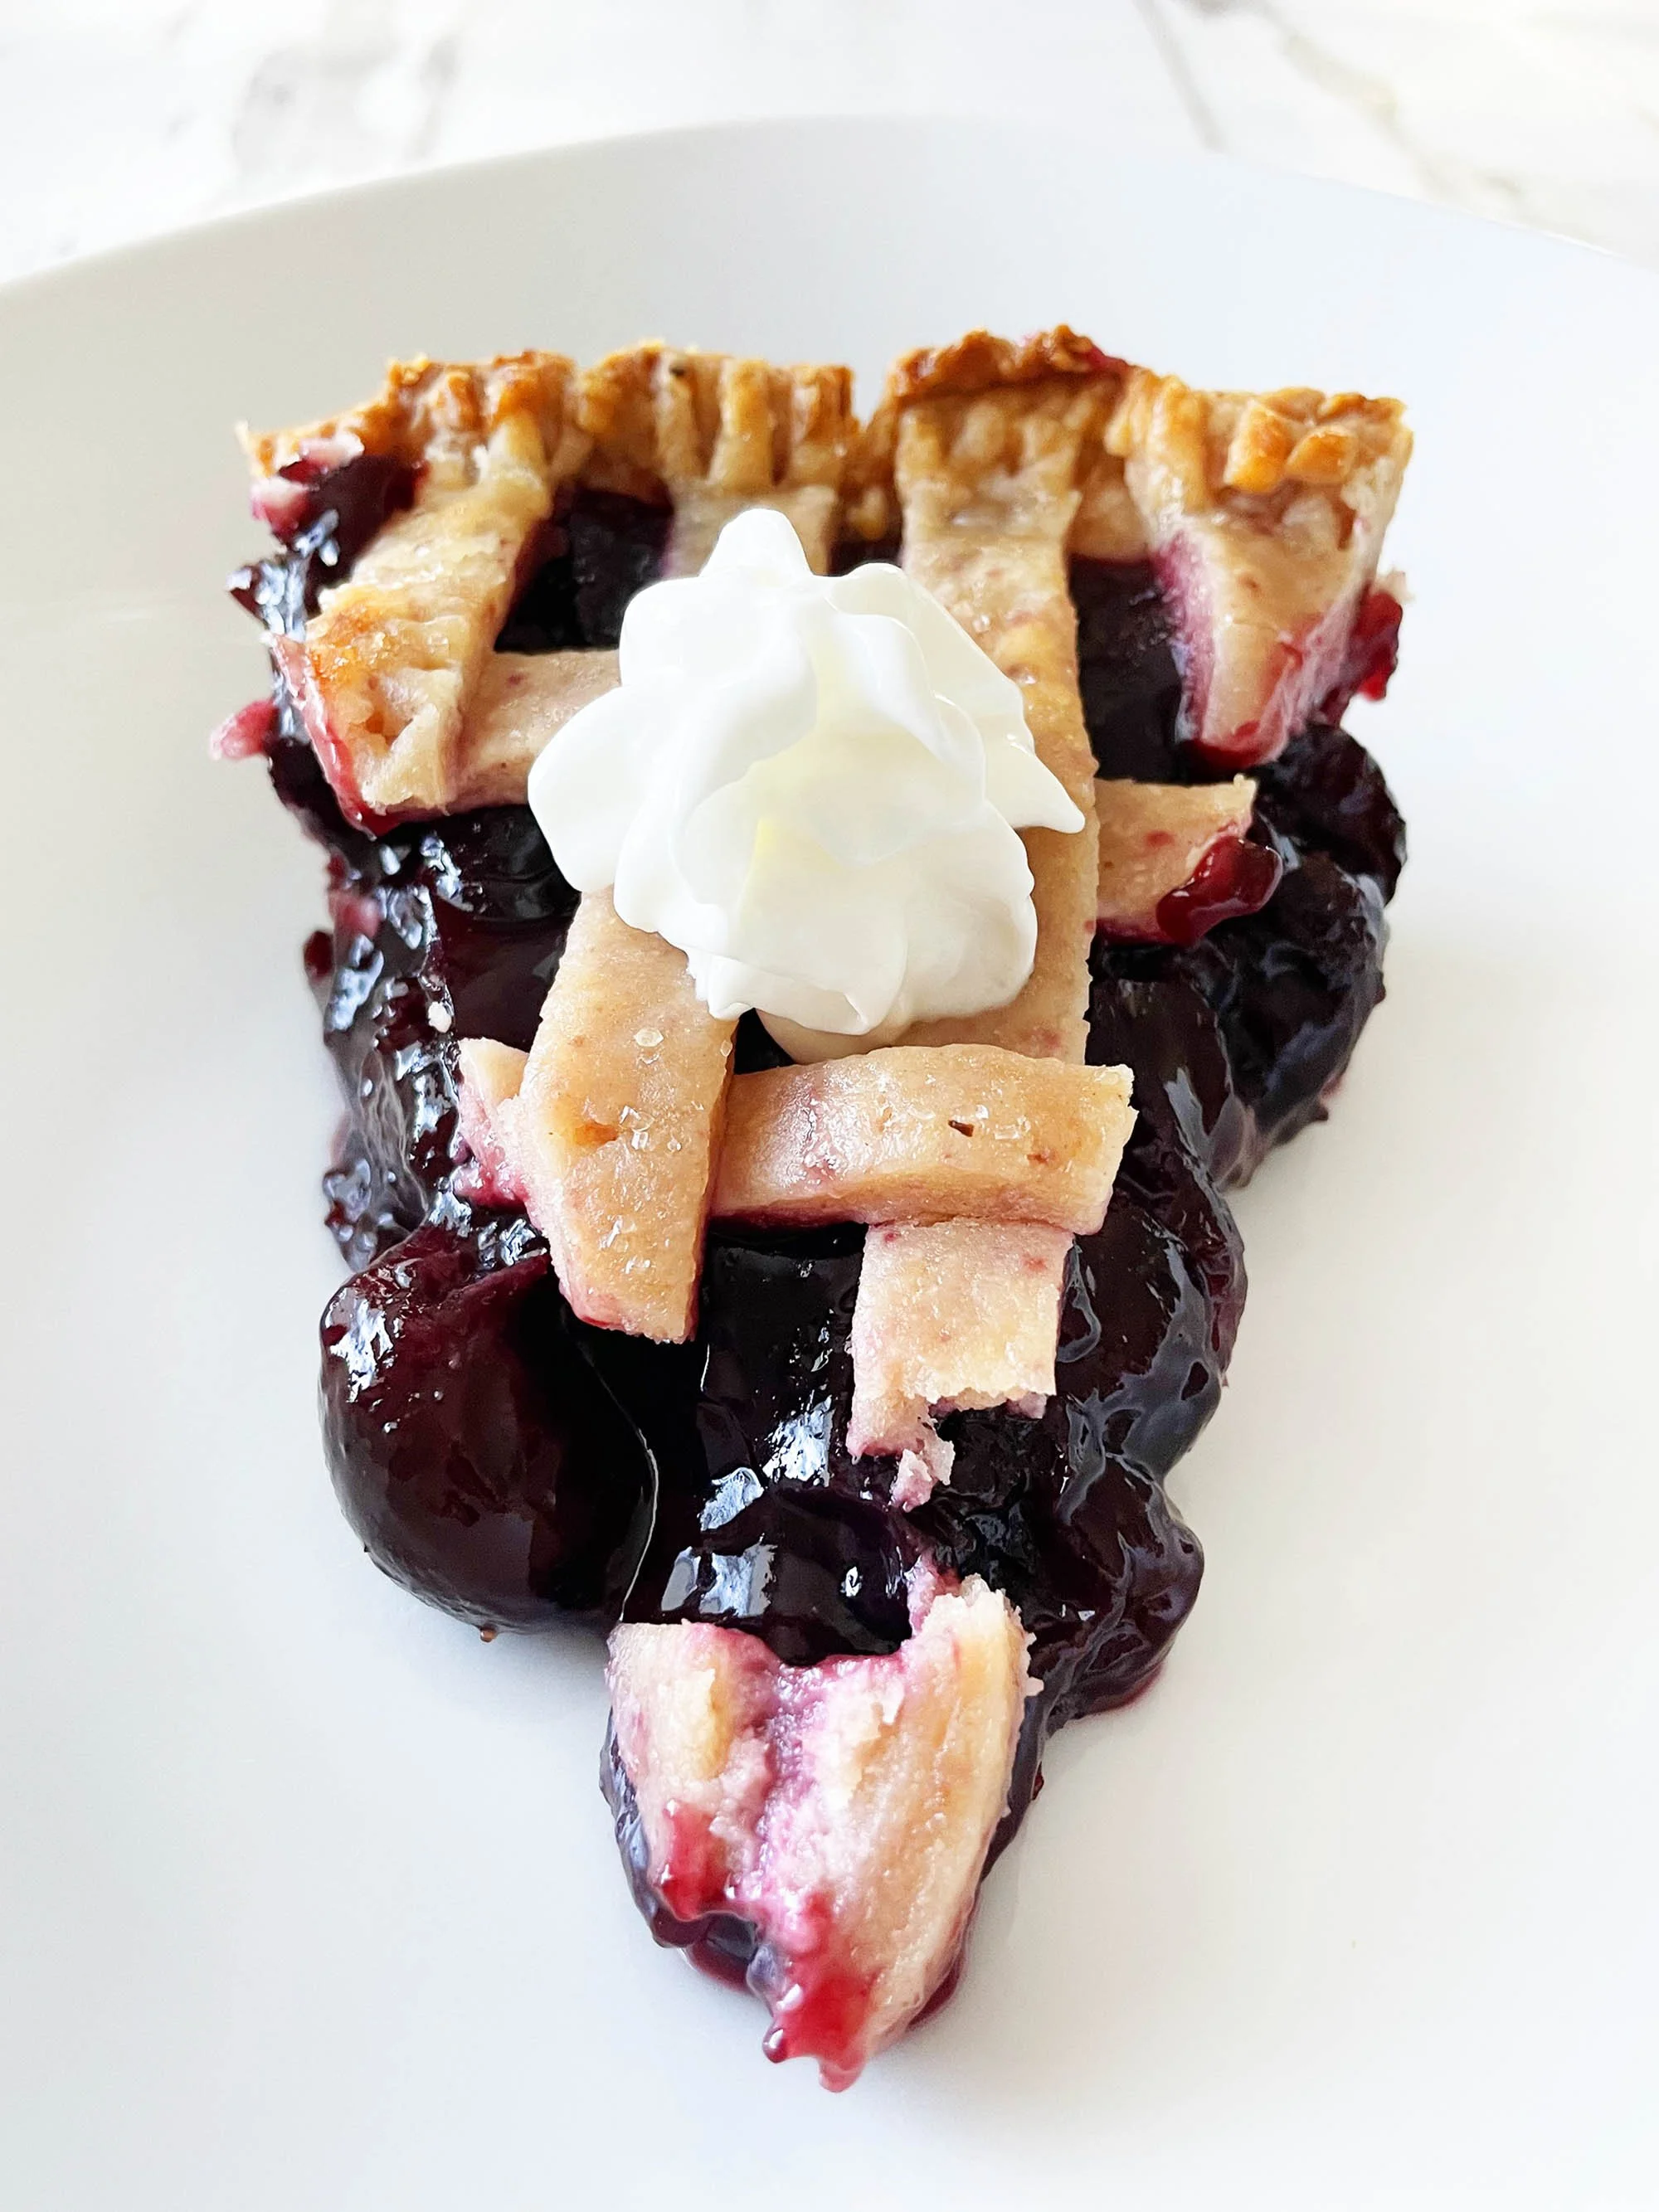
You know, I haven’t actually ever made pie dough for a pie before. I’ve made something akin to pie dough for other eats and treats before, but I’ve never made pie dough for a pie before. I saw an idea for a strawberry infused pie dough a long while back now, and it’s sort of stuck with me. So when I decided to try my hand at a homemade cherry pie filling, I thought what the hell! I may as well make the pie dough myself and try to infuse it with some cherry goodness too!
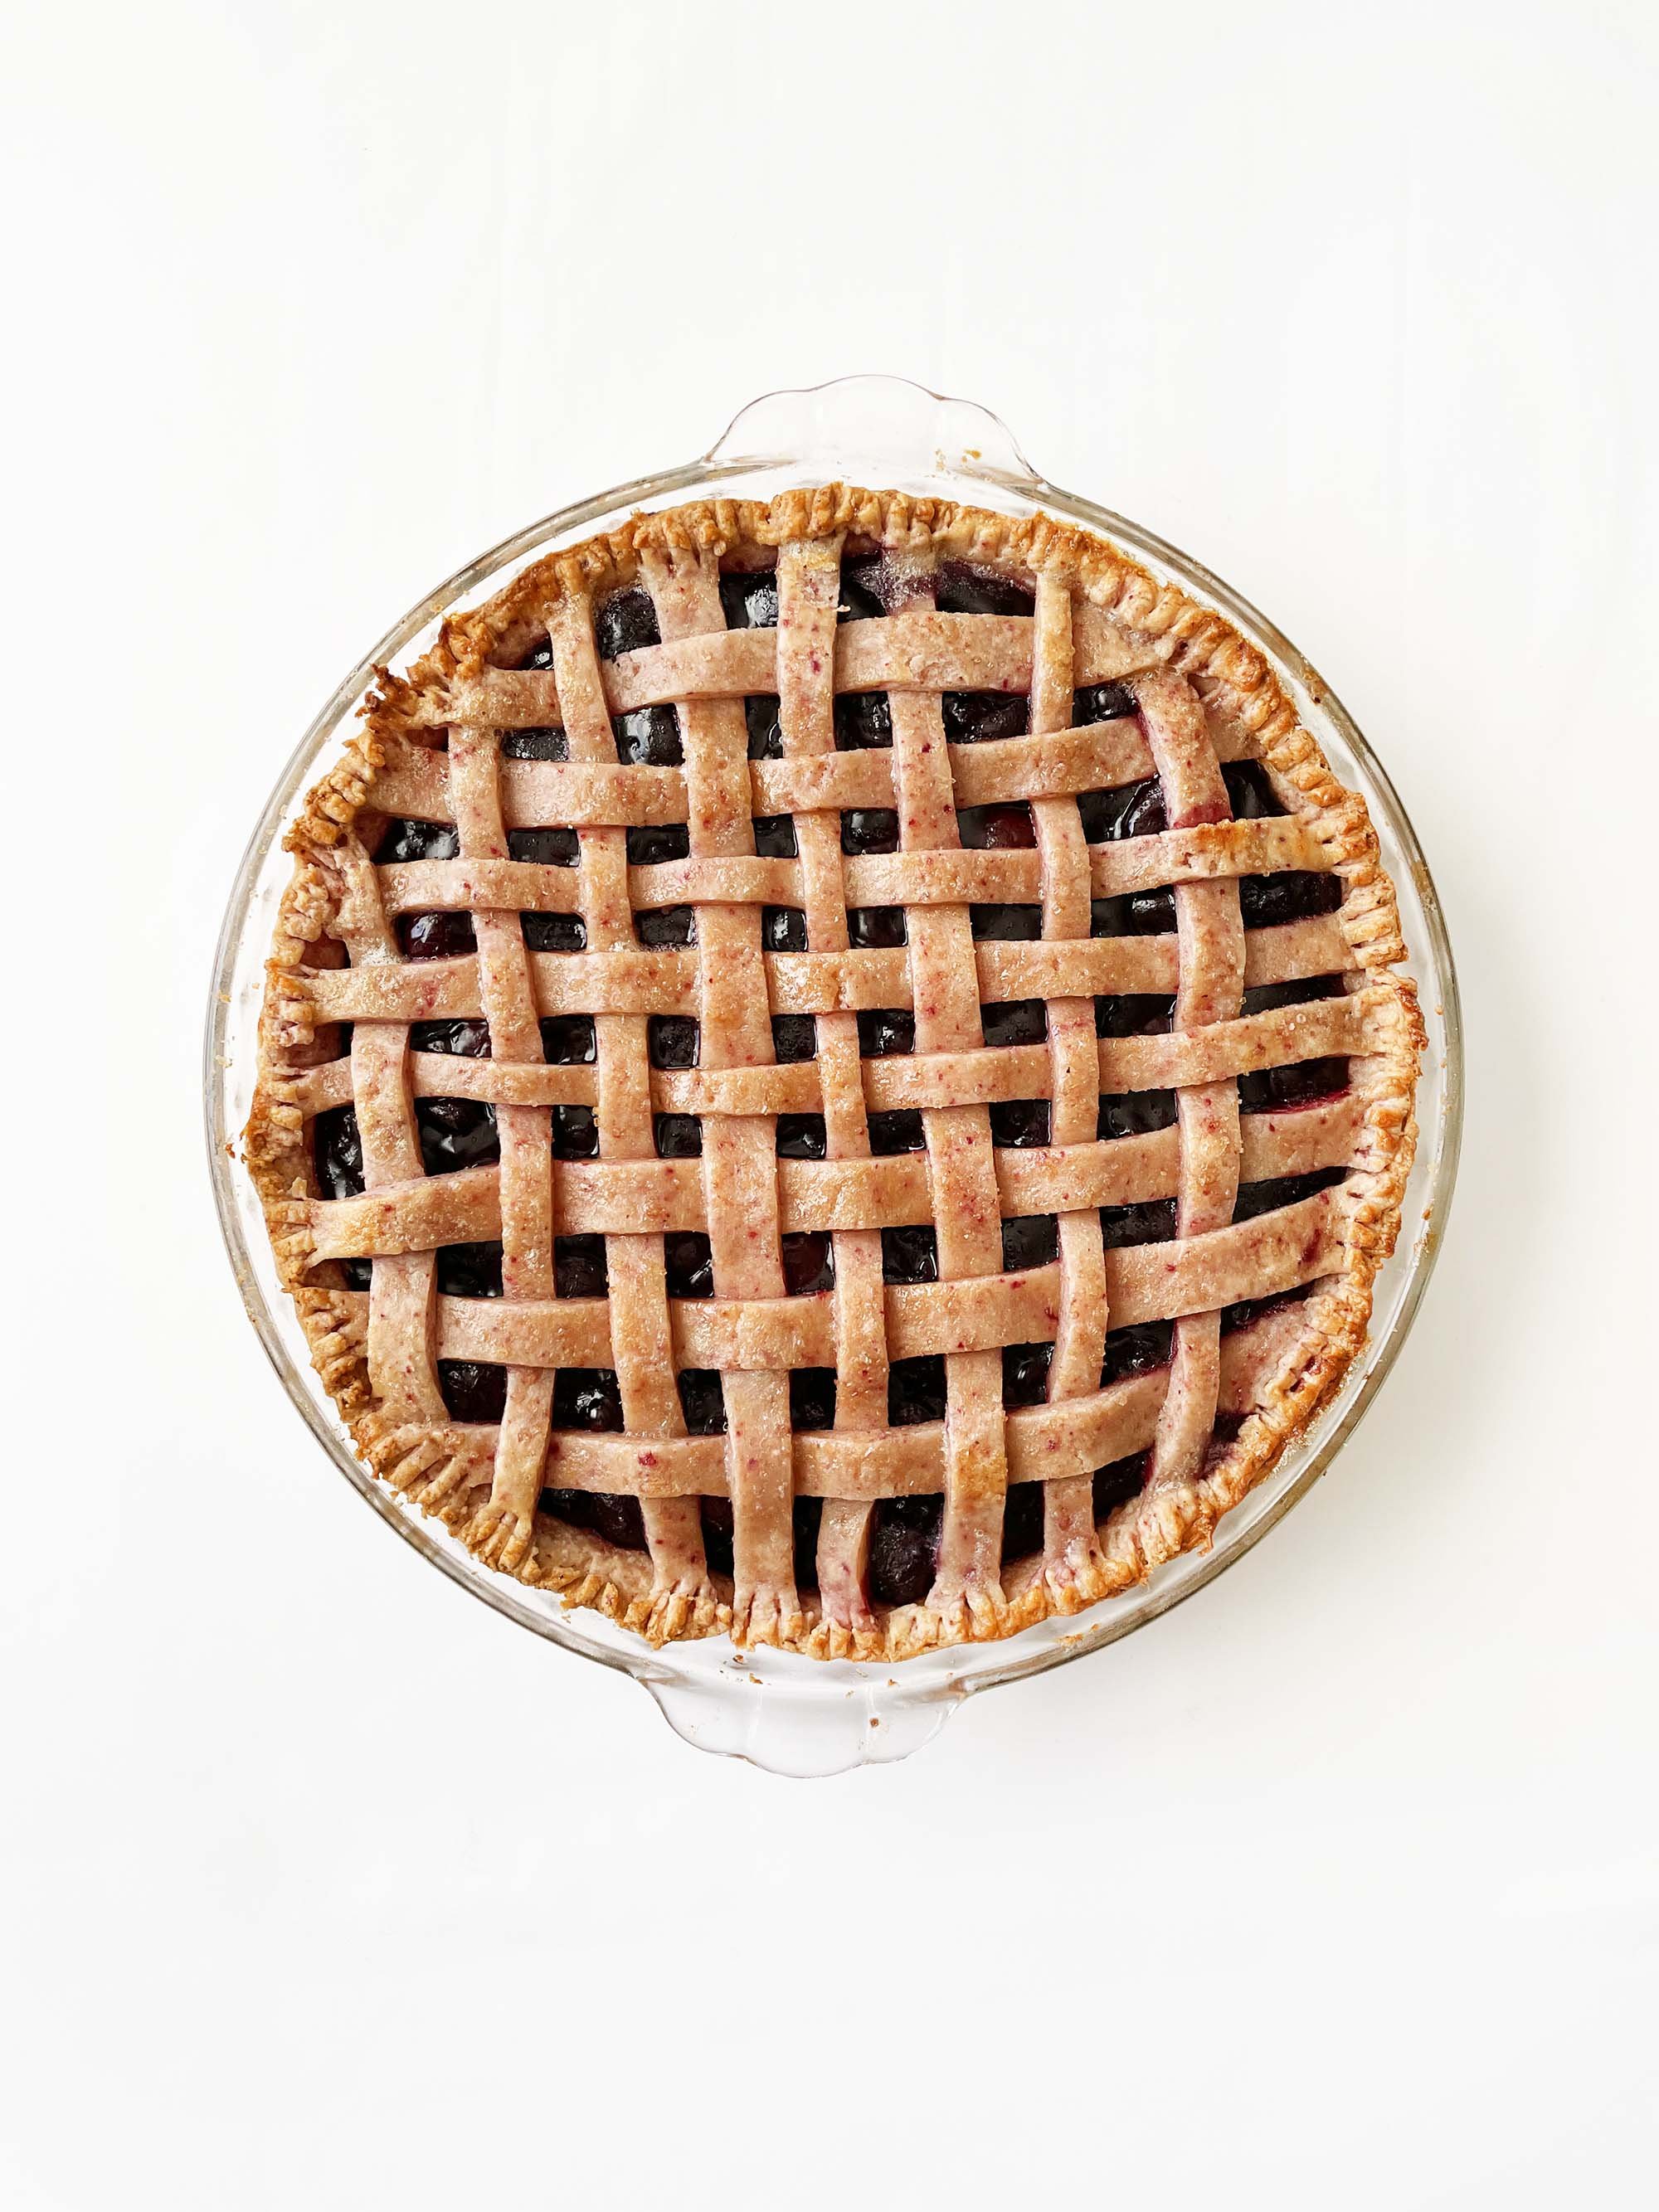
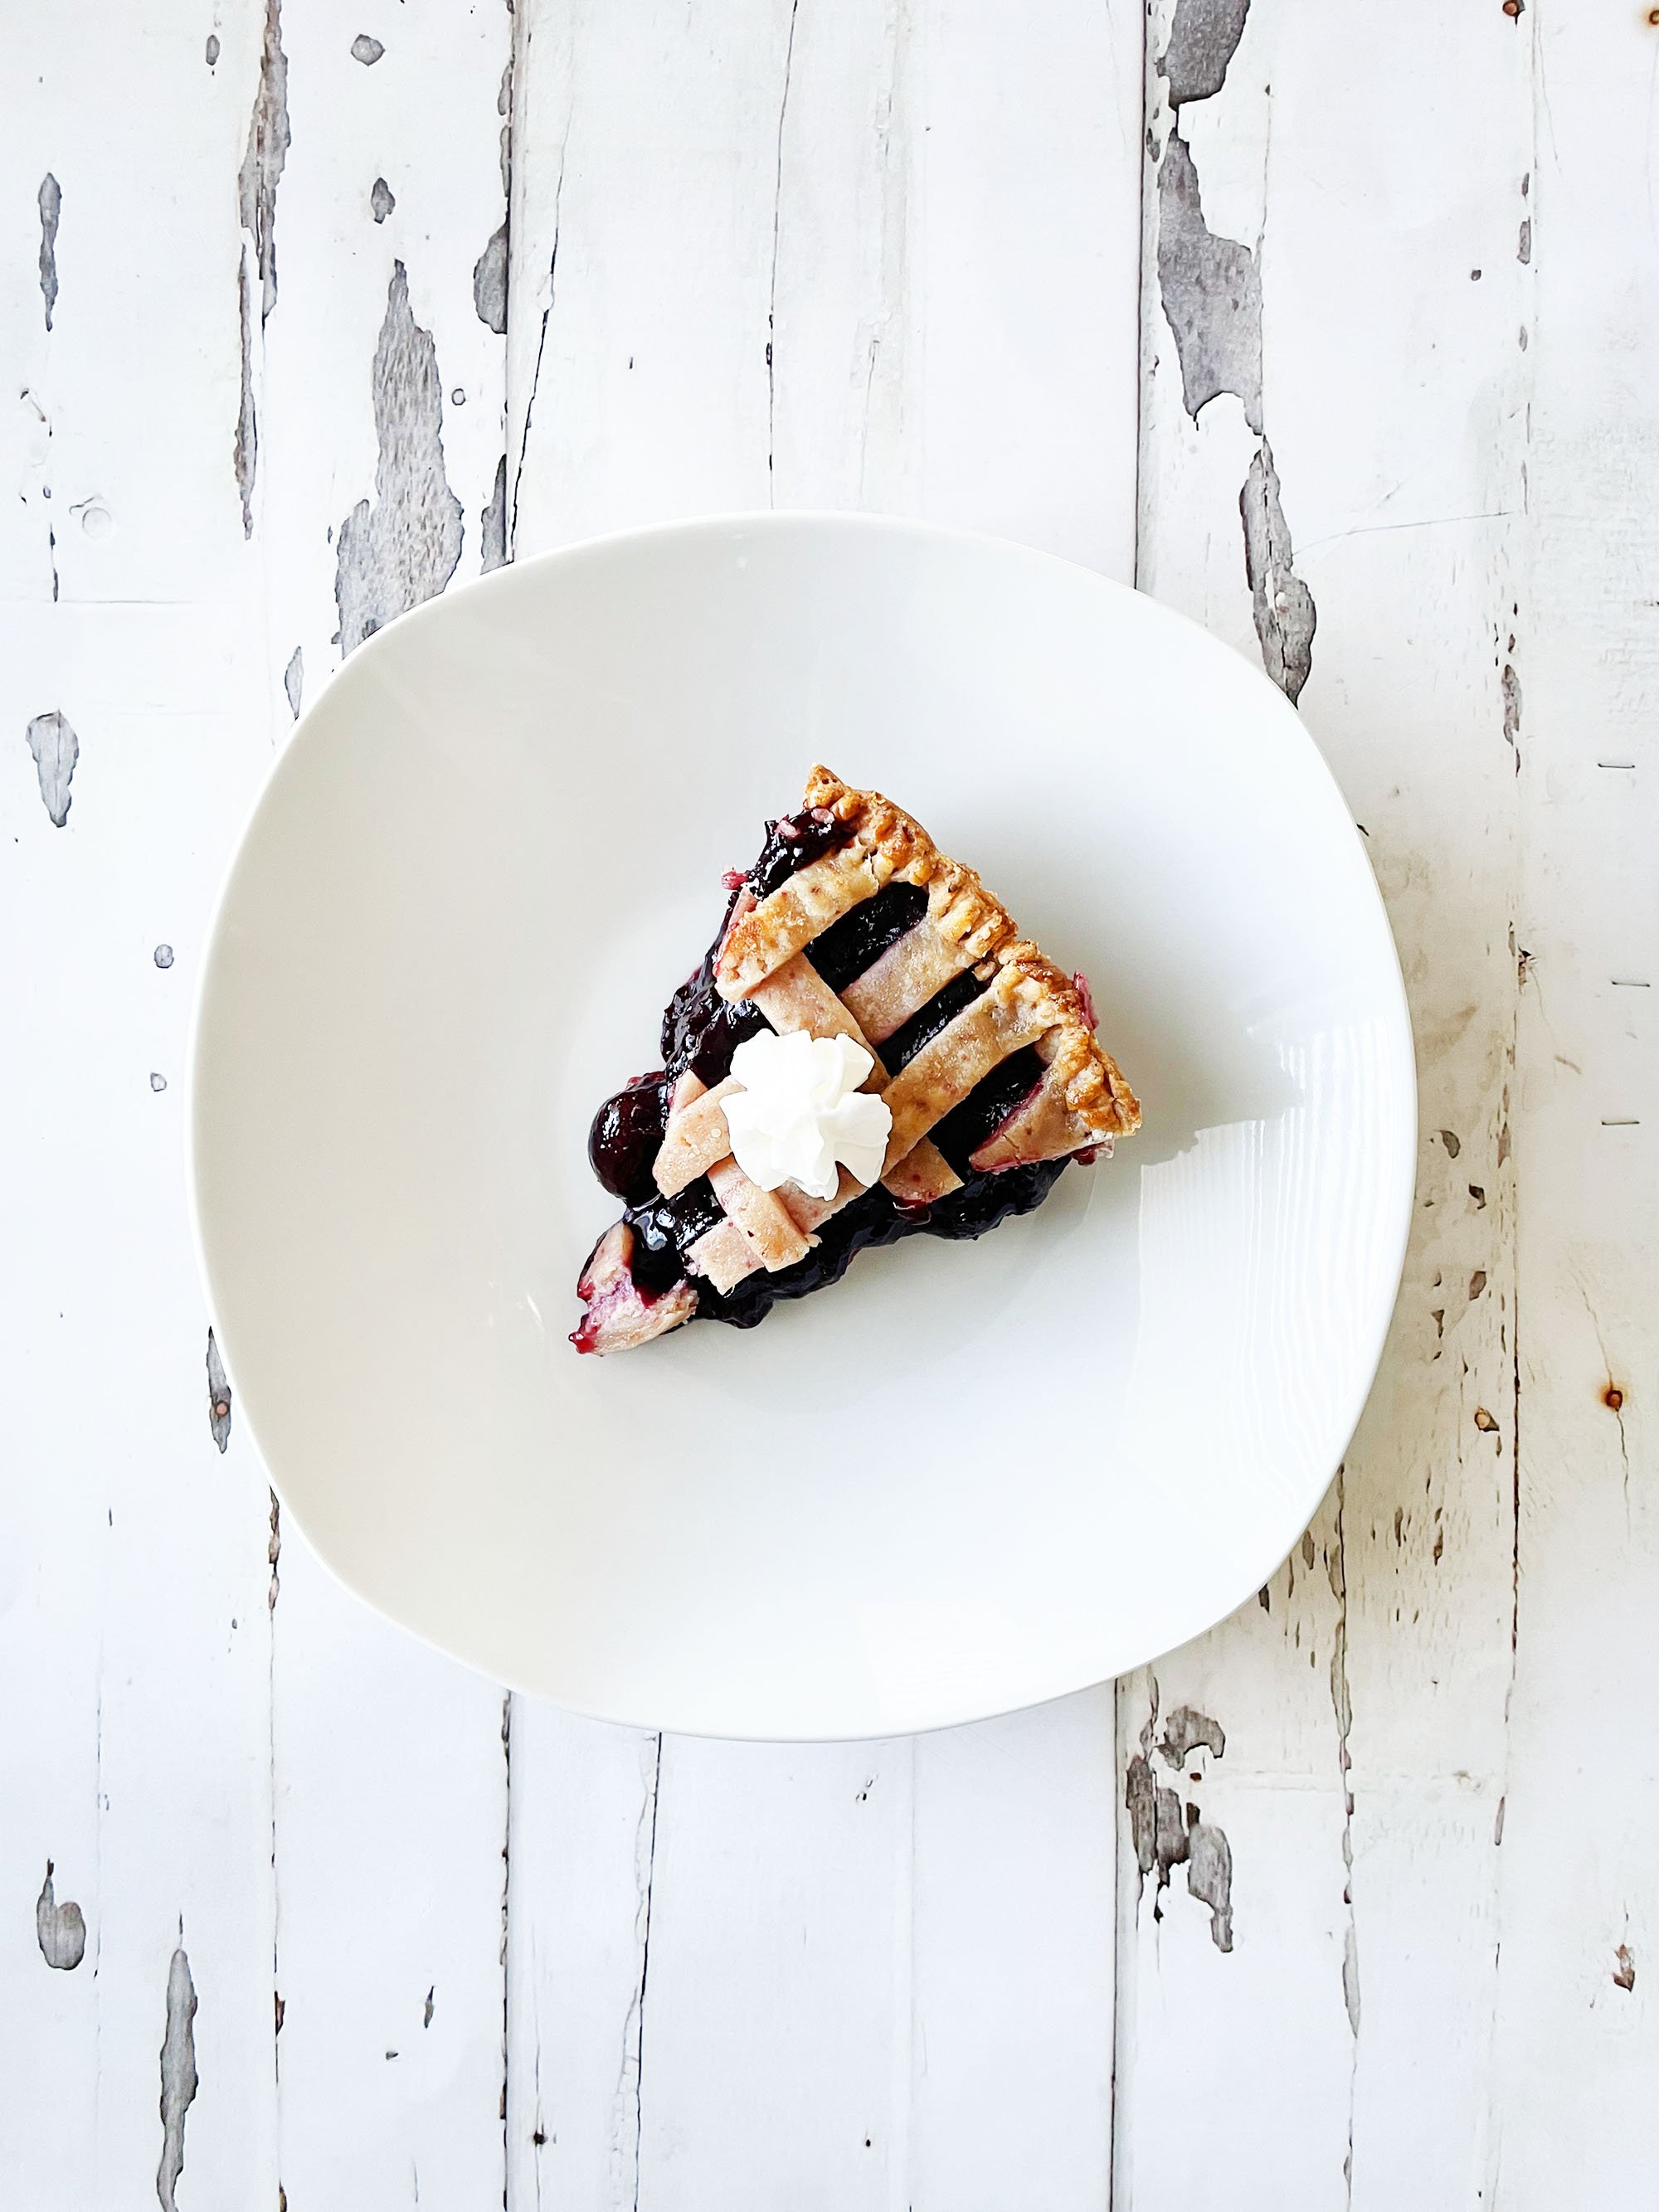
So here we have it! THis Very Cherry Pie! It’s got cherries all the way through the filling and into the pie crust. And can I just say, this pie is actually pretty easy to make! You would think making the crust and the filling would be complicated, but it’s honestly not much more work than pre-made dough and canned filling.
I had high hopes that the crust would be just a little more pink on it’s own than it was. But! I didn’t want to fool around with food coloring and tarnish the simple ingredients that I had going on here. I mean that too. The pie crust is made with just 5 ingredients. It’s as classic as a pie dough can get, with the small change of adding in the dehydrated cherry powder for bonus cherry favor.
At the end of it all, I think this Very Cherry Pie is as impressive as it is delicious. And you can rest well with knowing exactly what’s in it!

Very Cherry Pie
Ingredients
- 1/2 C. Freeze-Dried Cherries
- 1 Tbsp. Sugar
- 2 1/2 C. Flour
- 1/2 Tsp. Salt
- 2 Sticks Cold Butter, Cut into 1/2" Cubes
- 2 Lbs. Frozen Sweet Cherries
- 1/2 C. Sugar
- 1/4 C. Stevia
- 1/4 Tsp. Almond Extract
- 1/4 Tsp. Vanilla Extract
- 1 Tbsp. Lemon Juice
- 3 Tbsp. Cornstarch
Instructions
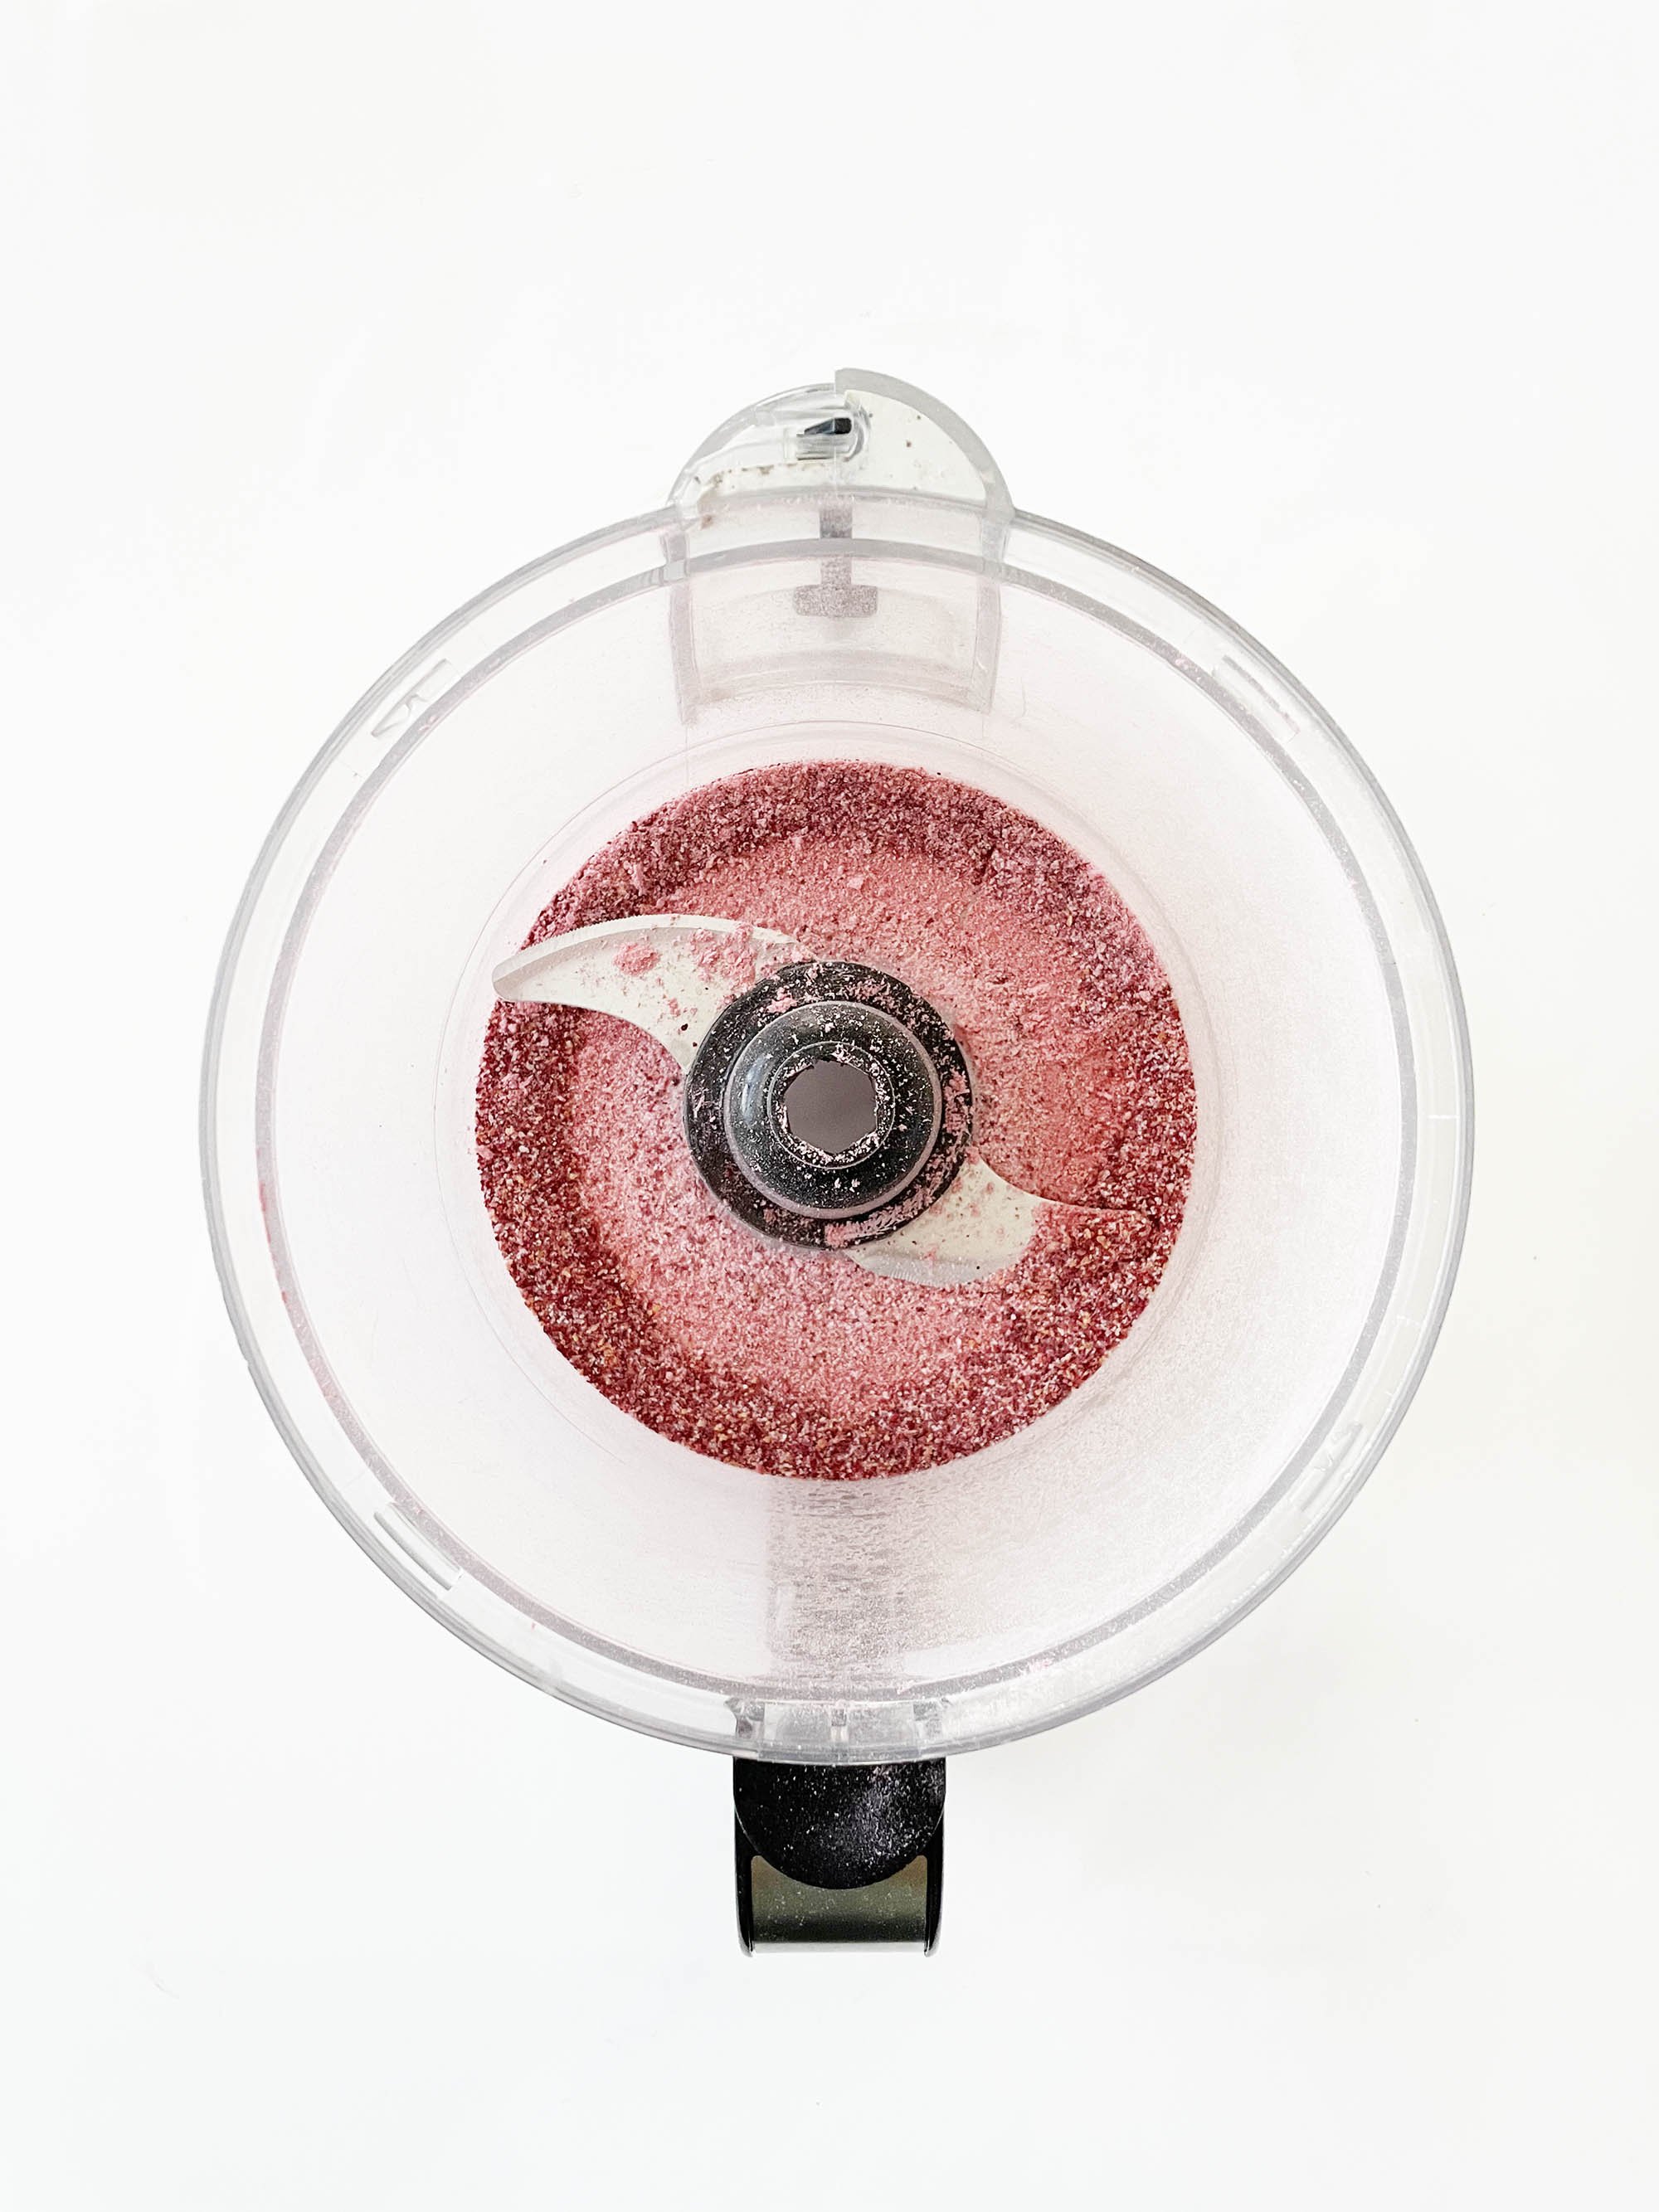
- Place the 1/2 C. Freeze-Dried Cherries and 1 Tbsp. Sugar into a food processor and pulse until a fine powder is made.
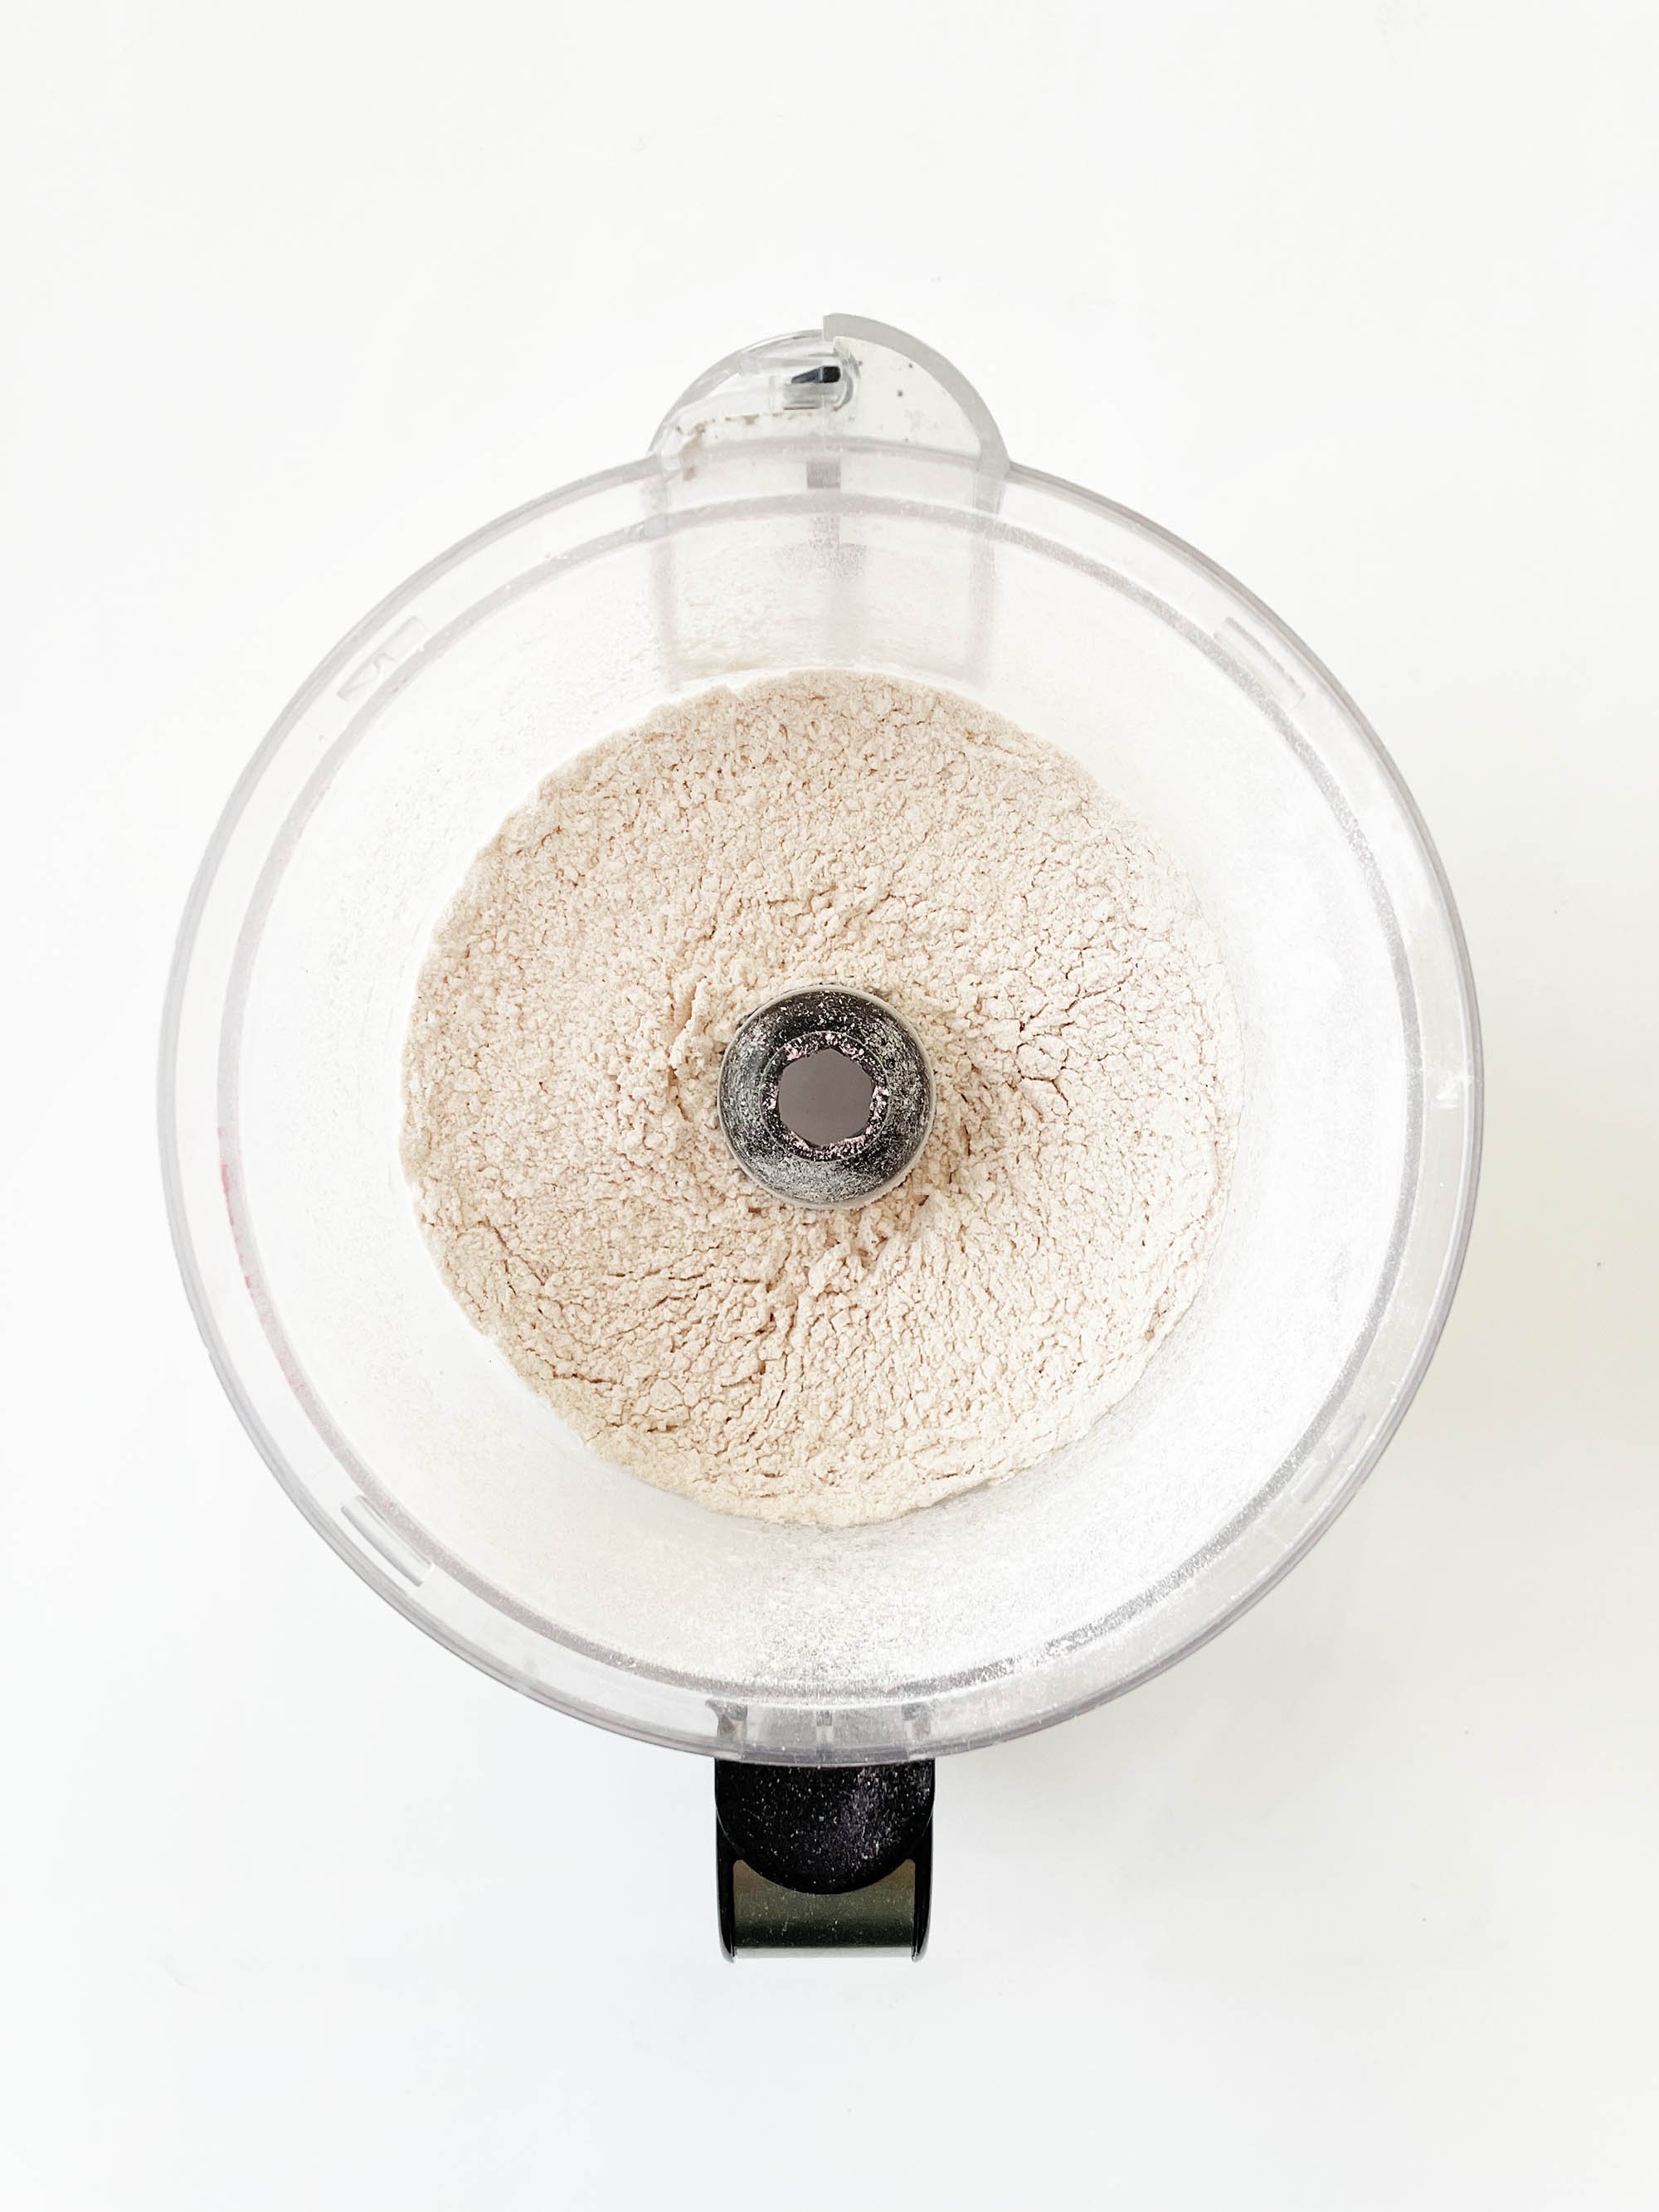
- Add in the 2 1/2 C. Flour and 1/2 Tsp. Salt and pulse again until well combined.
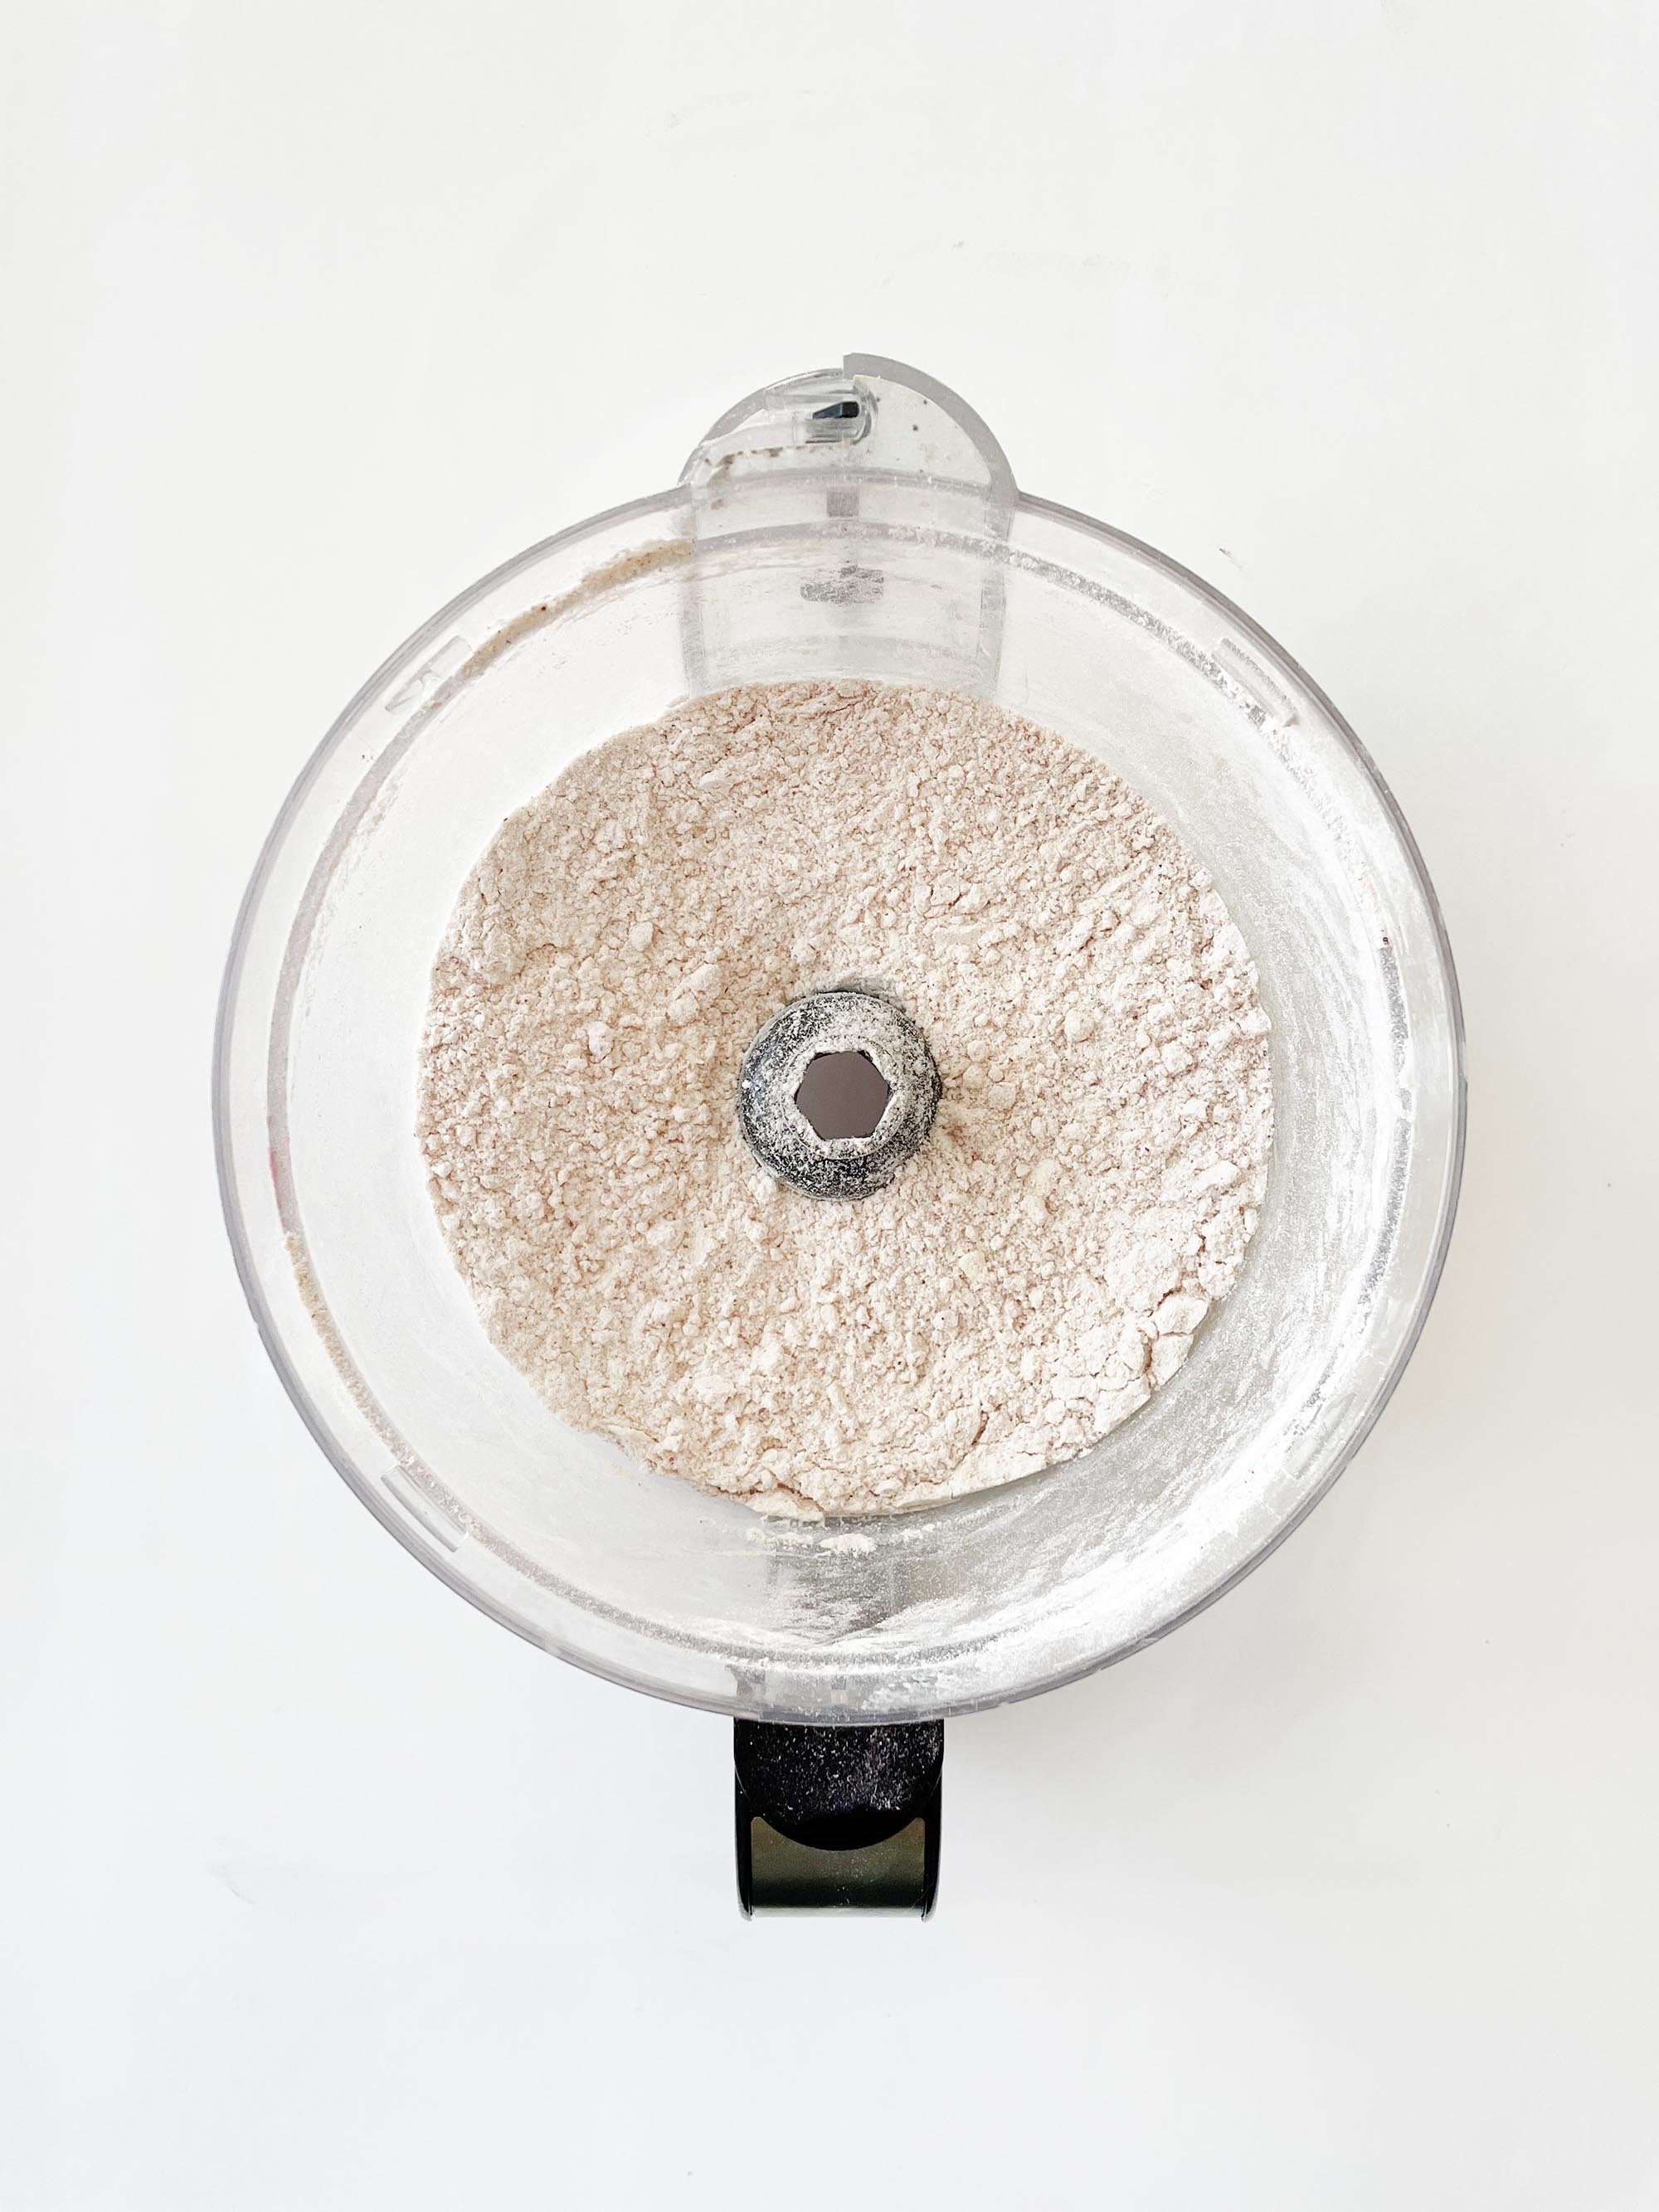
- Add in the 2 Sticks Cold Butter and pulse again until the mixture resembles damp sand.
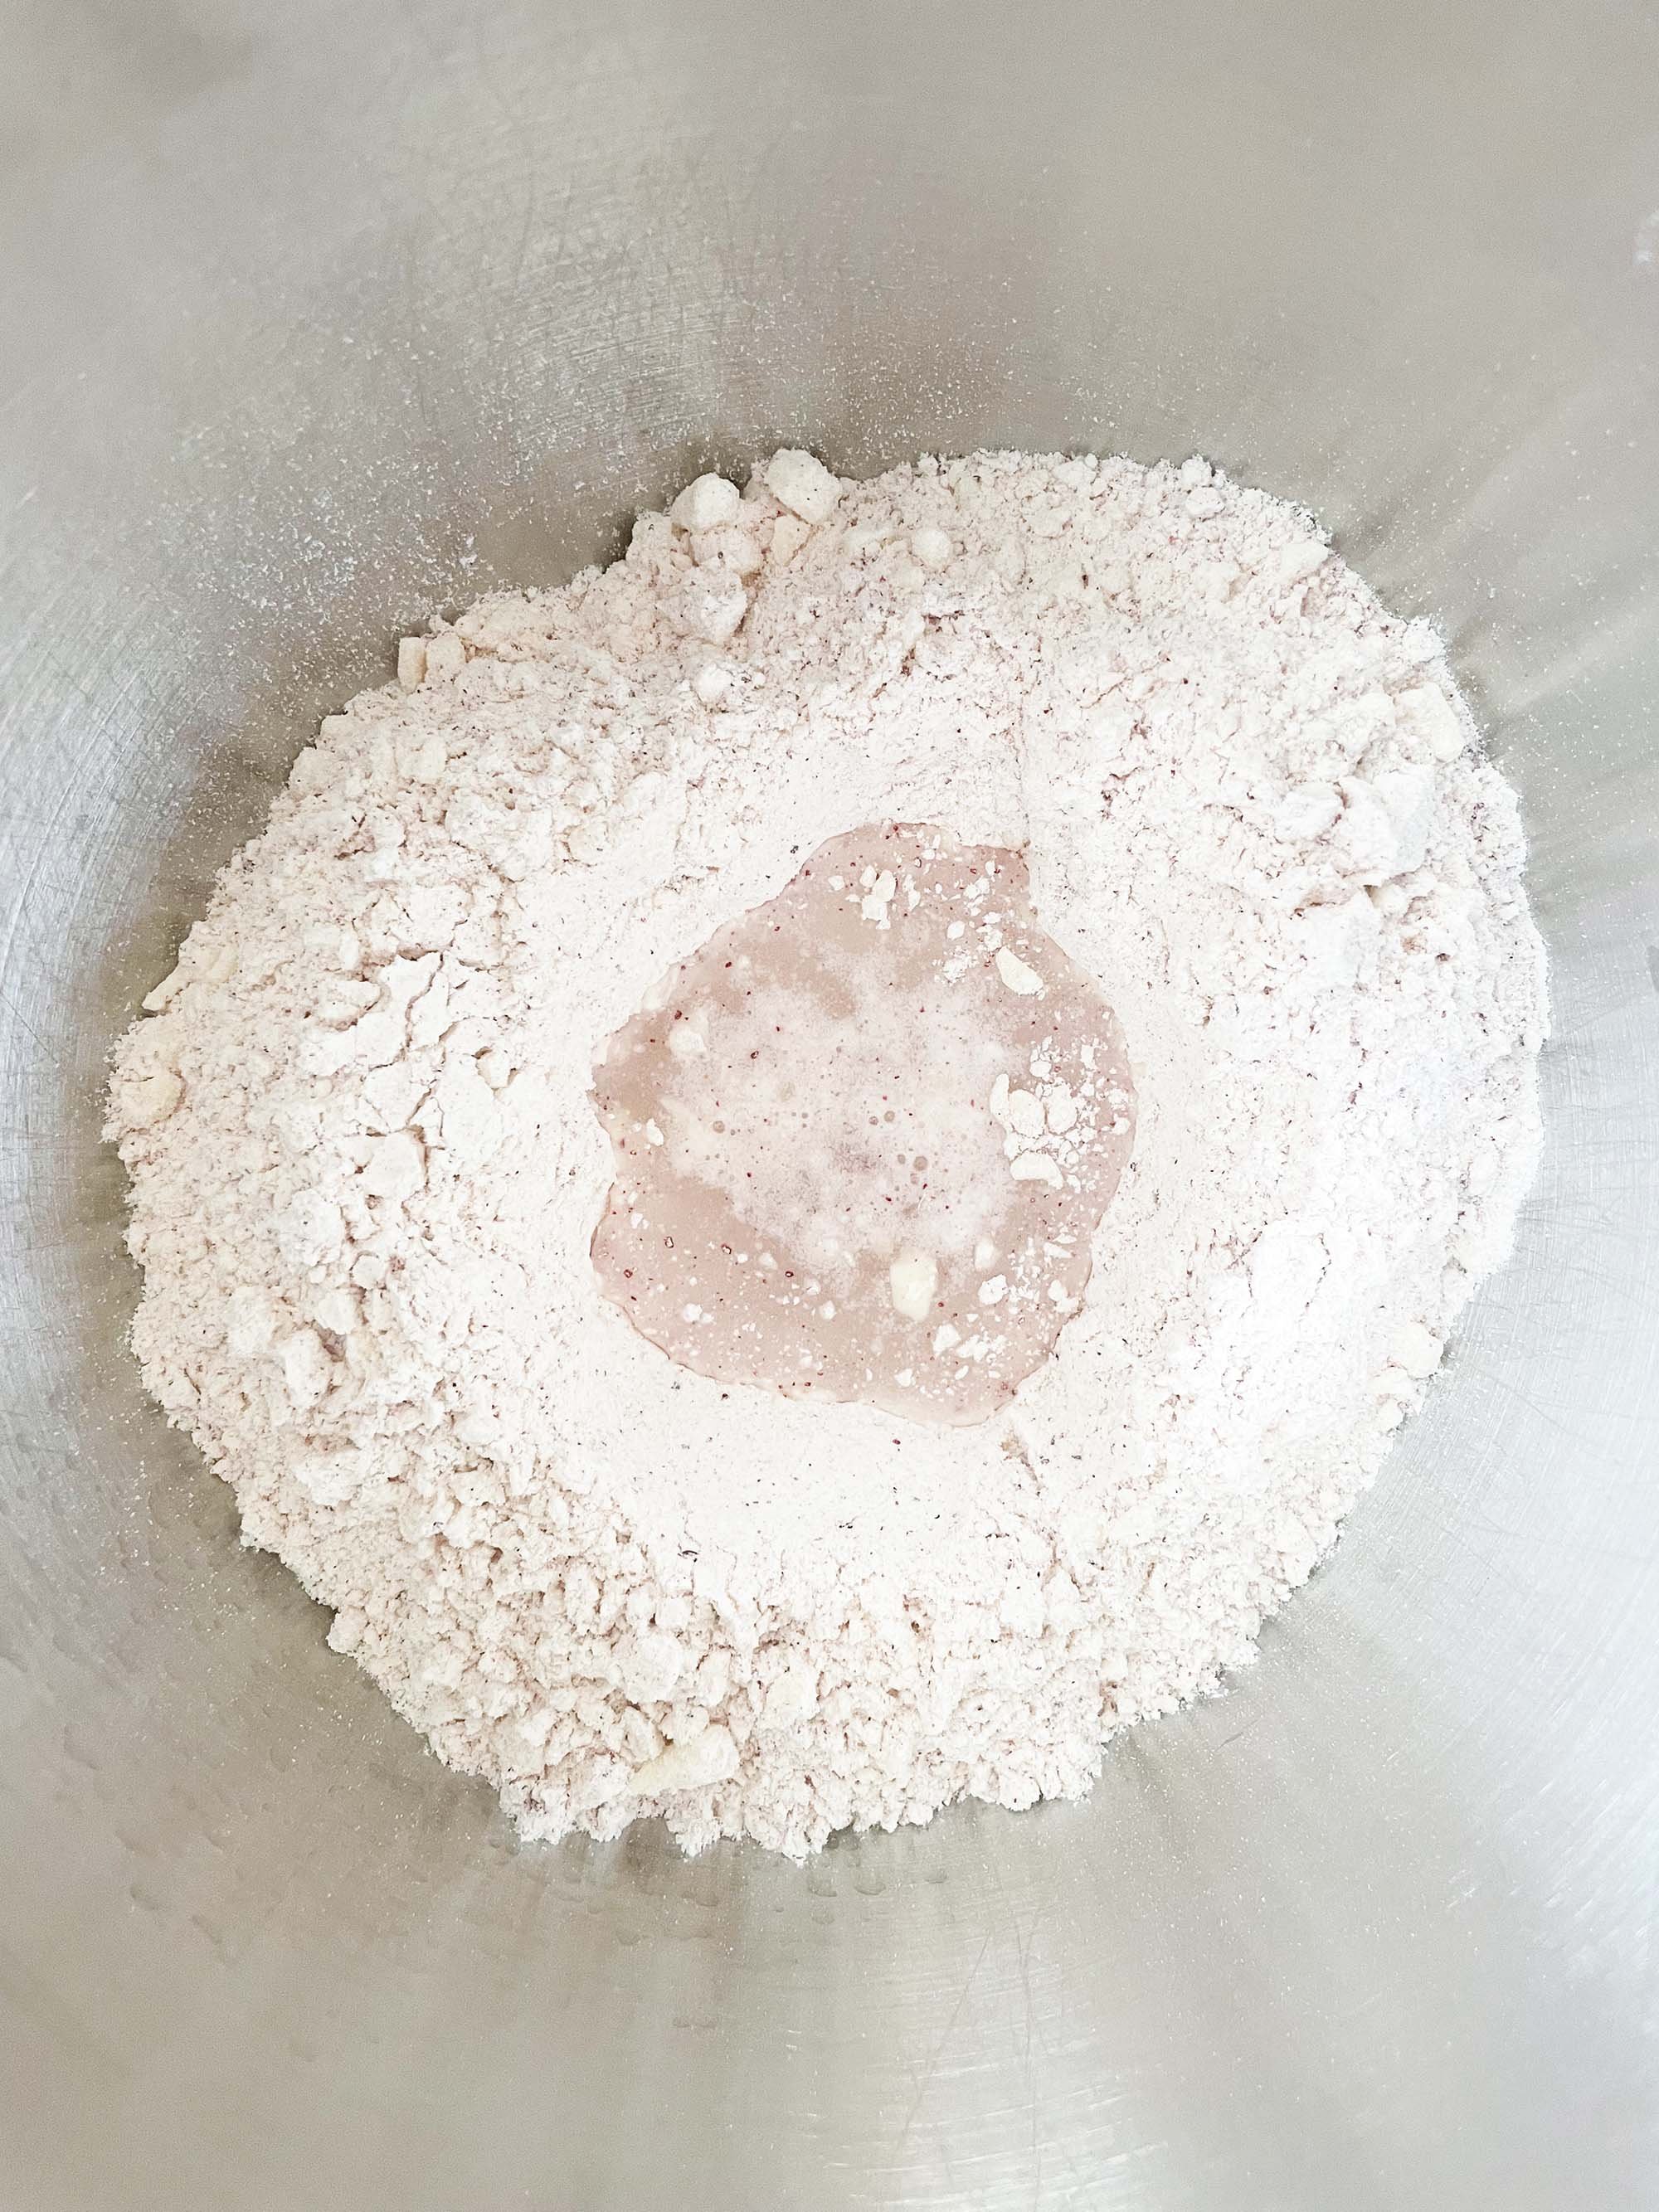
- Transfer the mixture to a medium bowl and make a well in the middle of the flour.
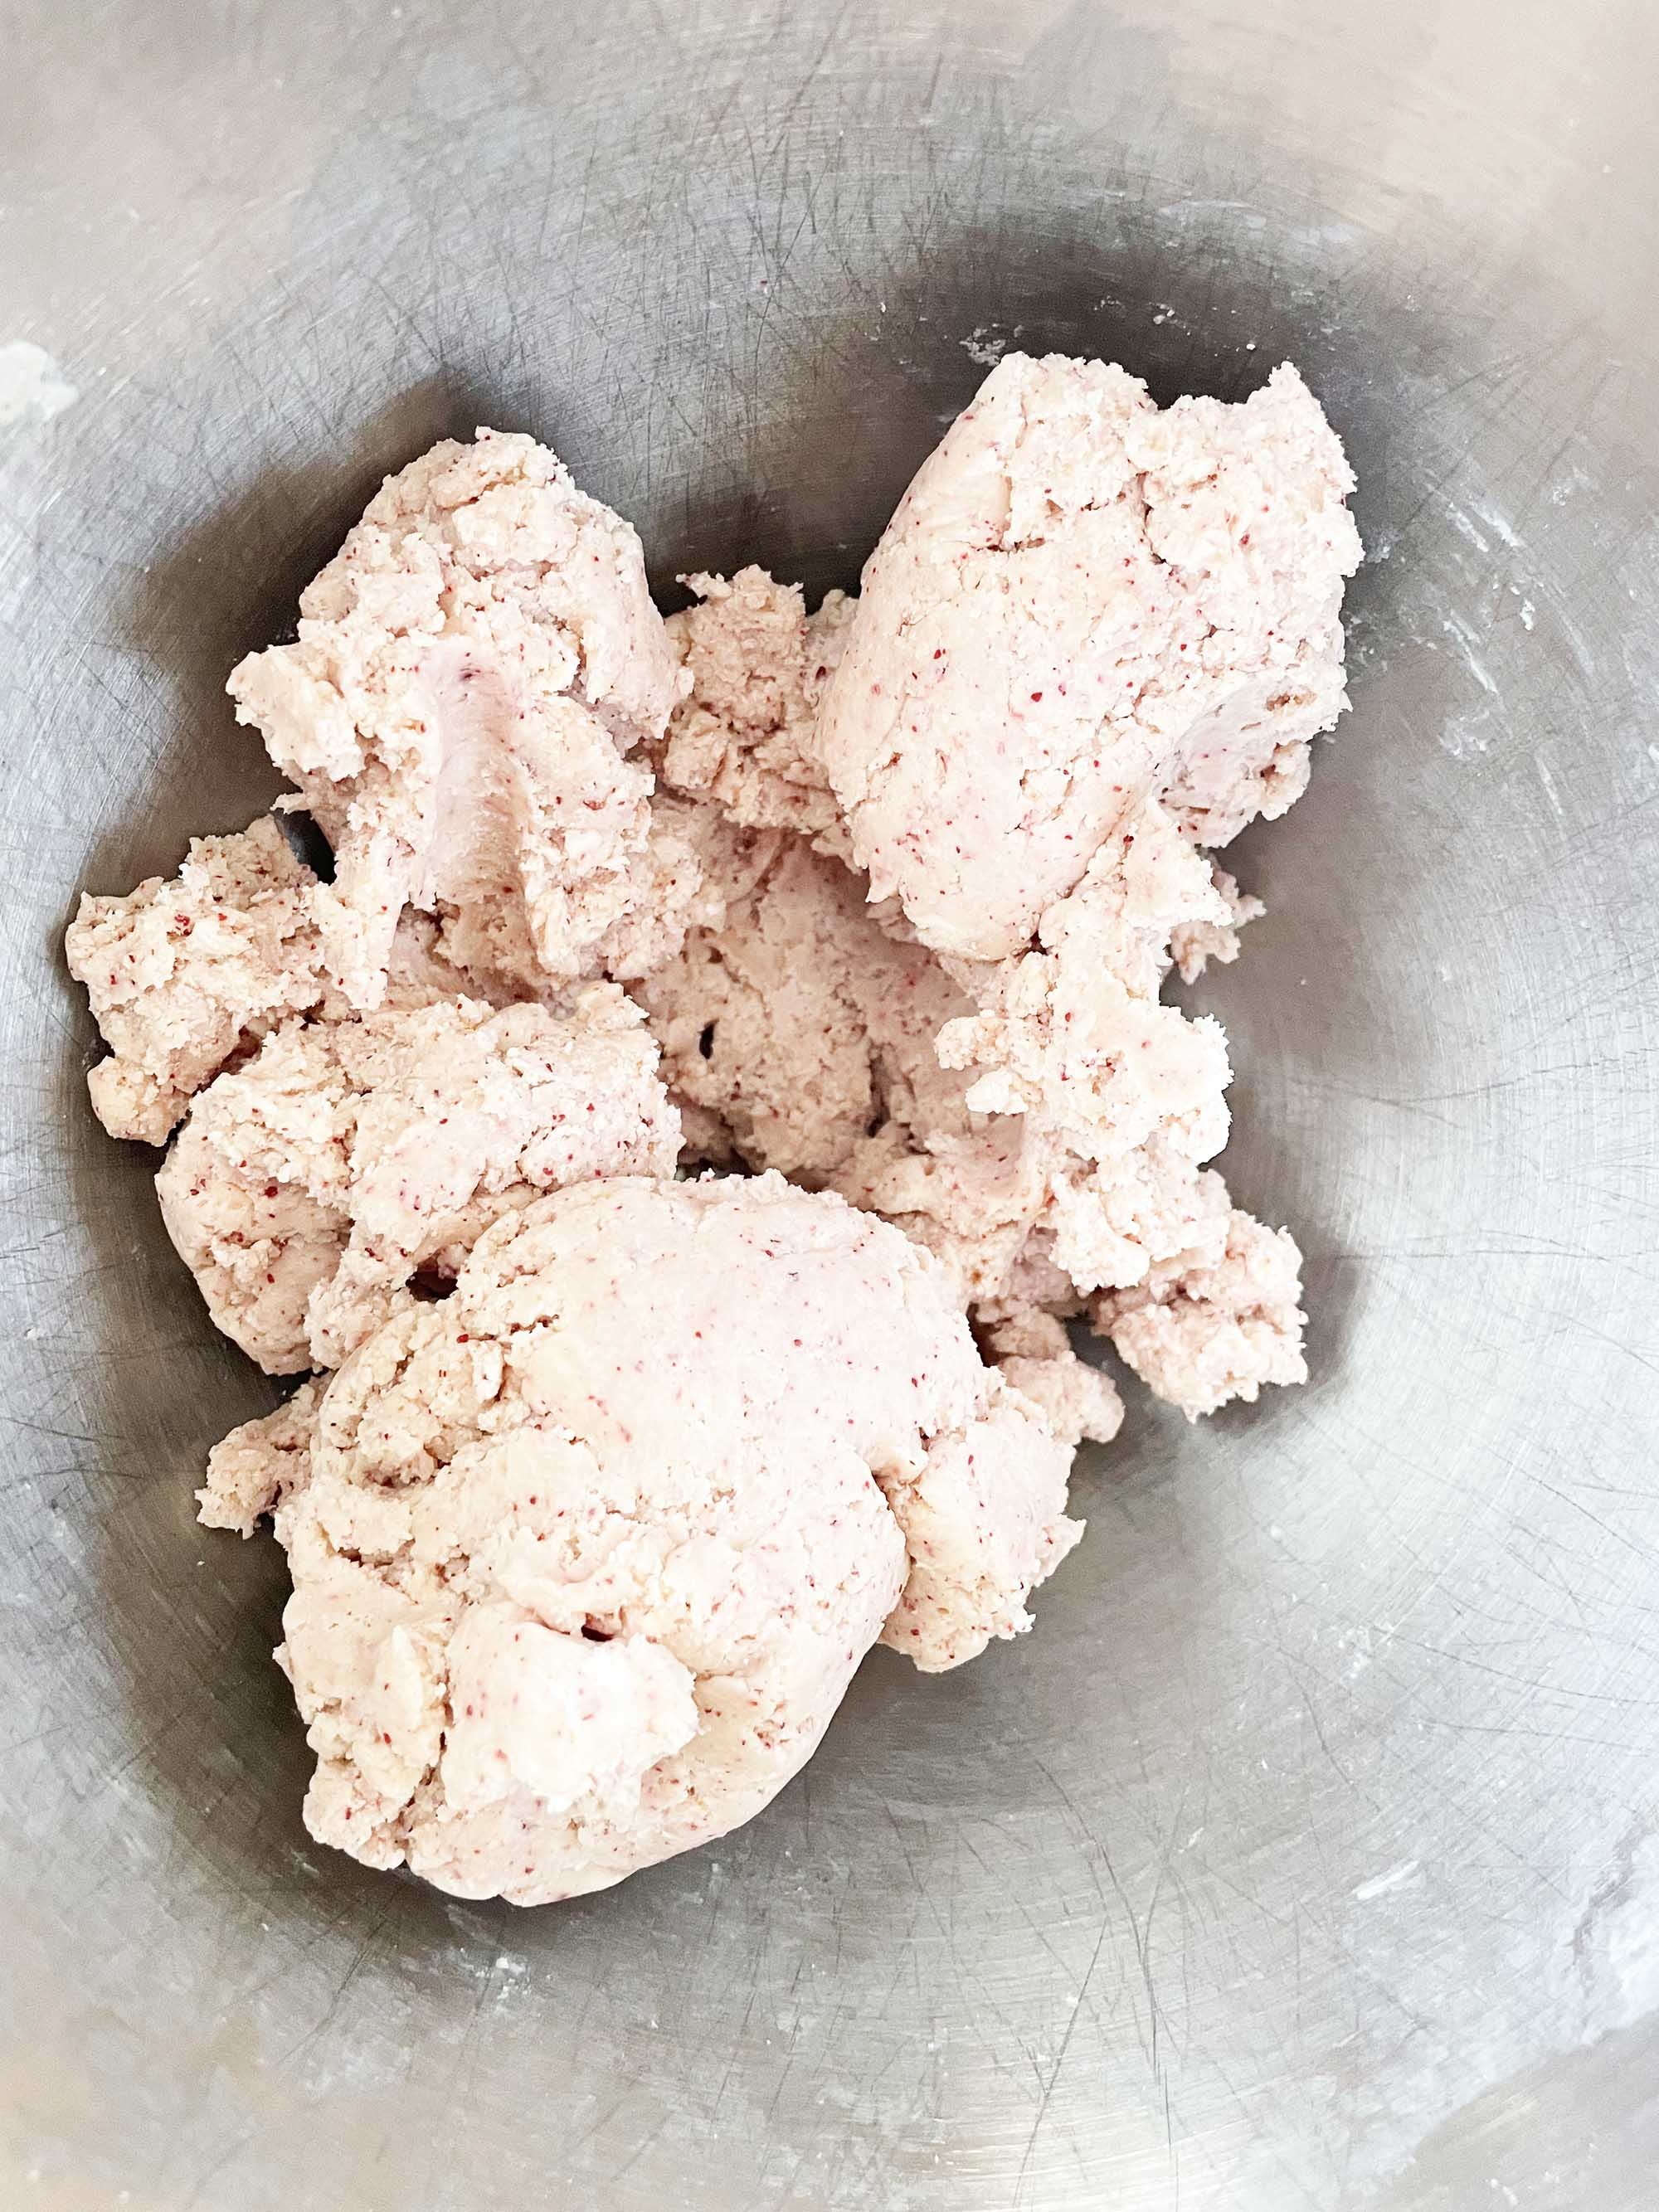
- Pour the 1/4 C. ice water into the well and mix by hand or with a dough hook on a stand mixer. Add more ice water as needed until the dough comes together but isn't sticky or tacky.
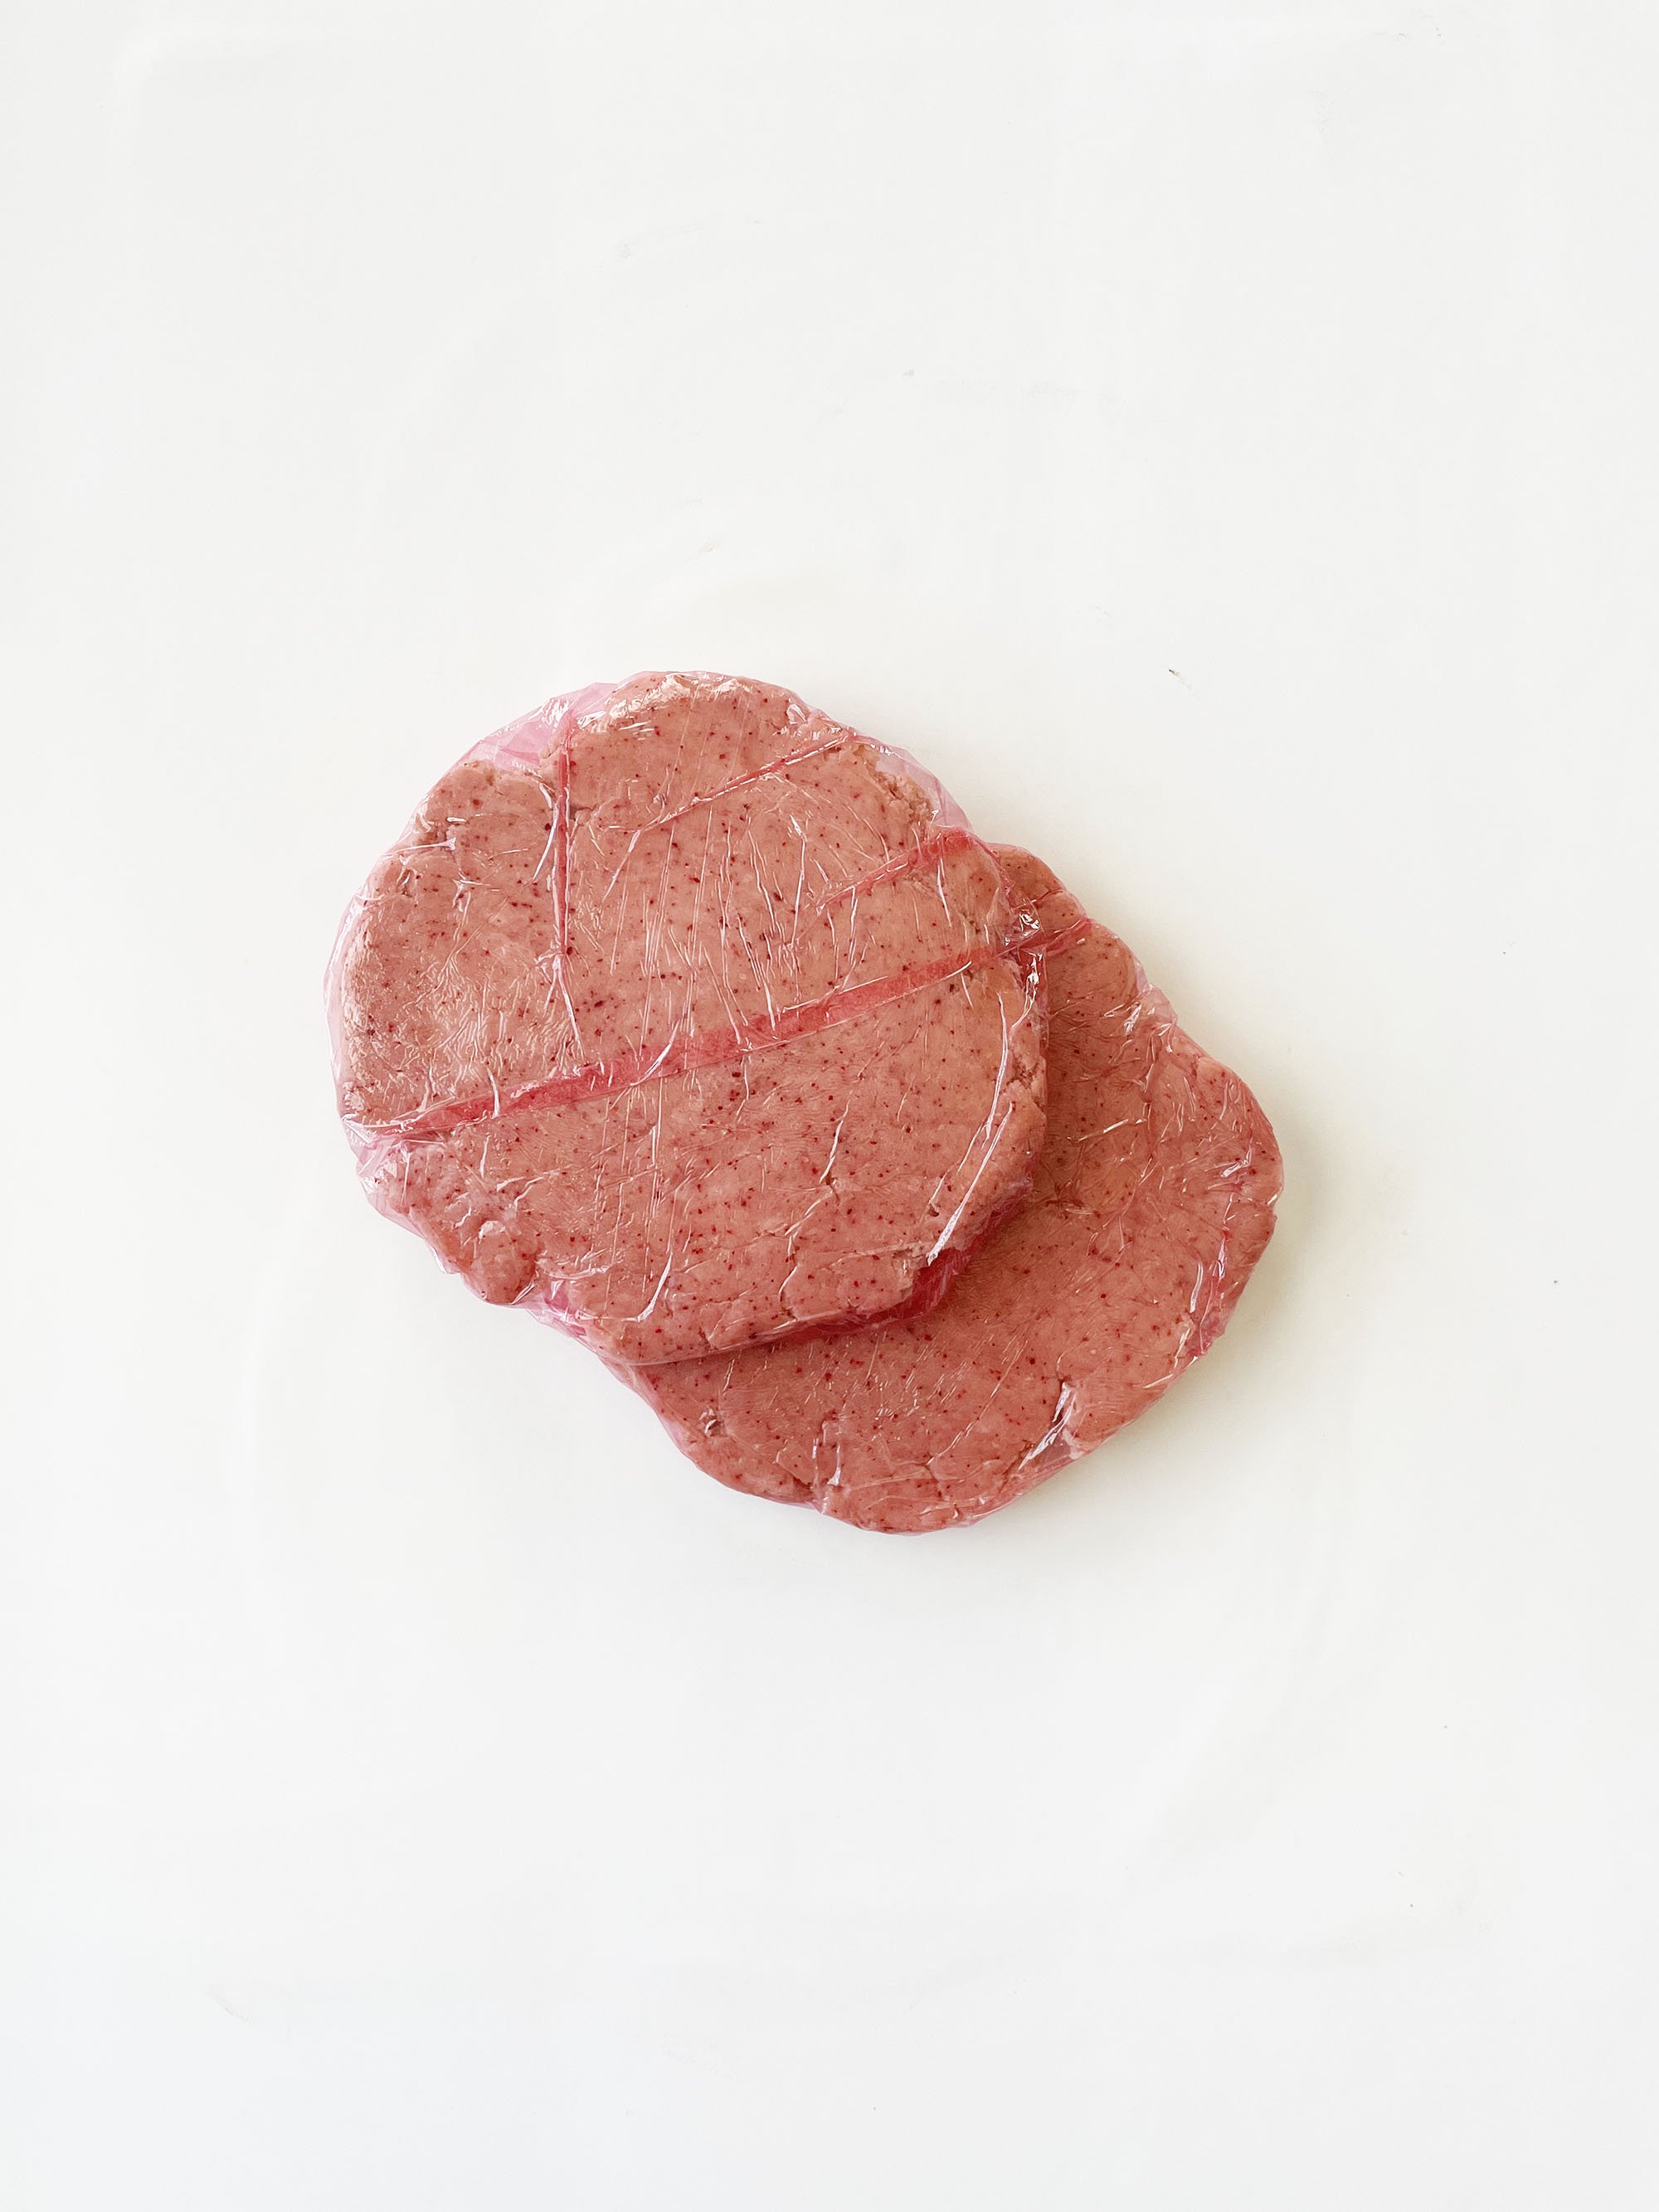
- Divide the dough evenly in half and shape into a 1" thick disk. Wrap each tightly in plastic wrap and chill for at least 30 minutes, and up to overnight.
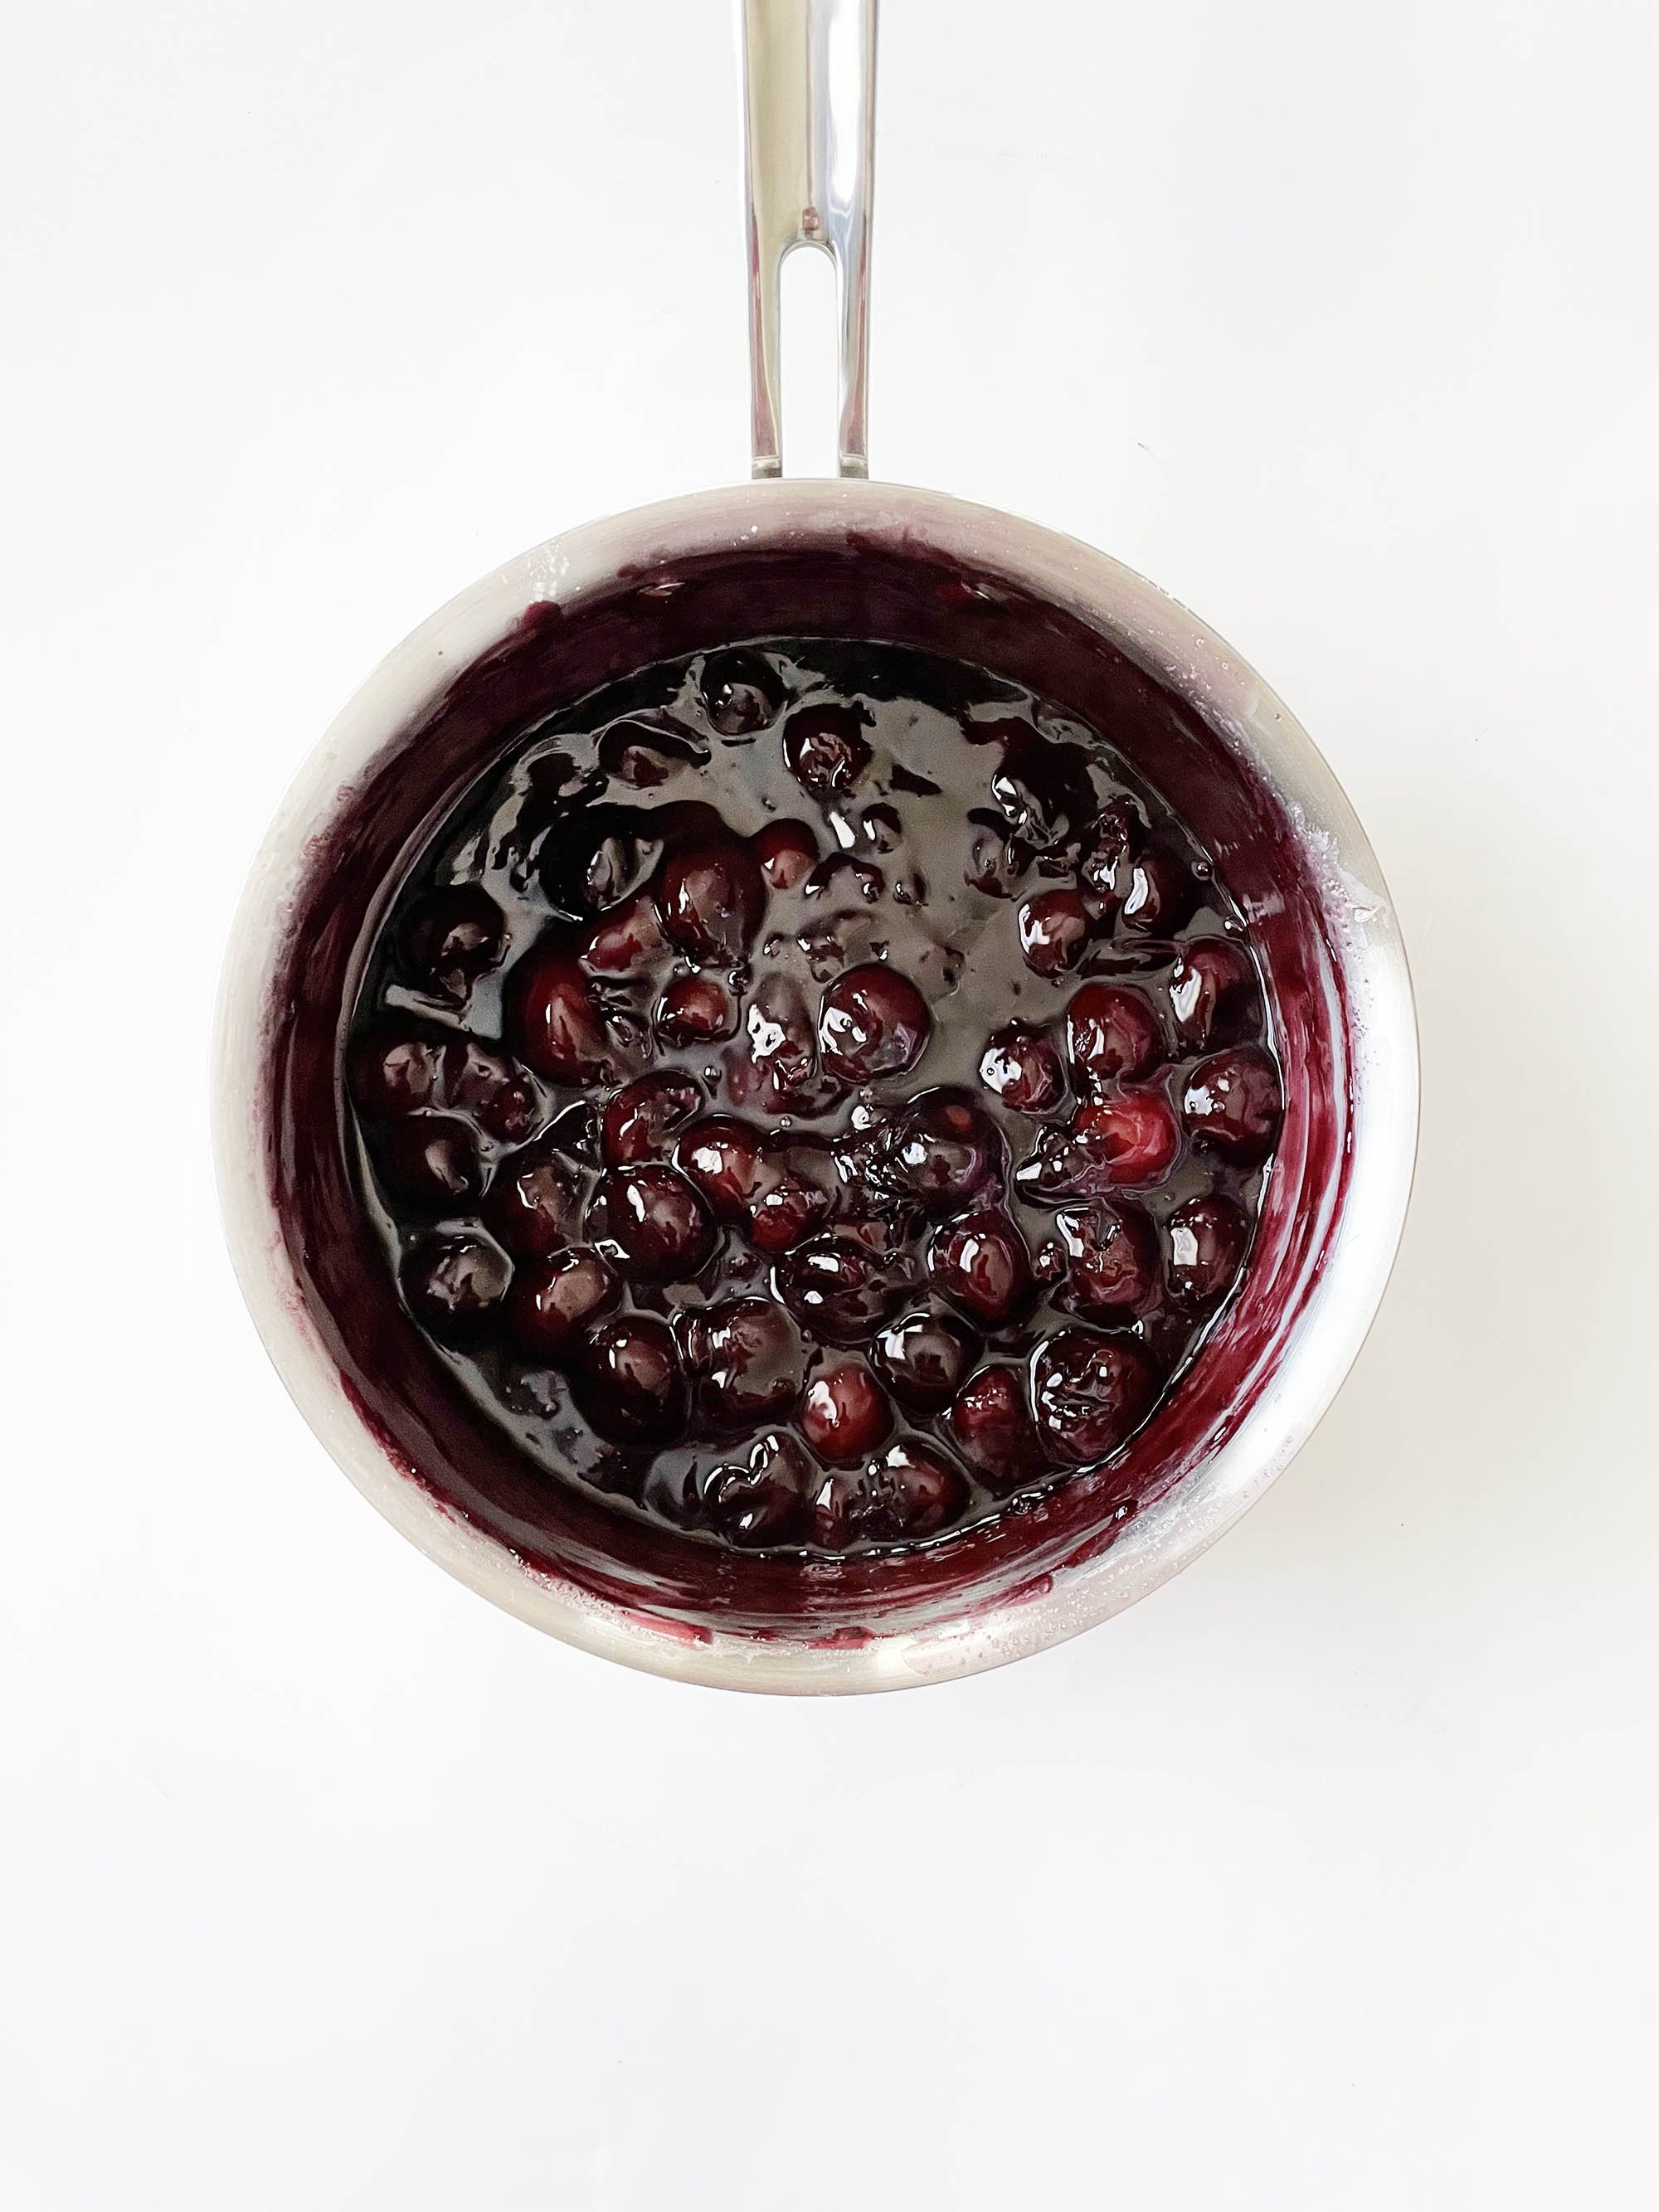
- Stir together the 2 Lbs. Frozen Sweet Cherries, 1/2 C. Sugar, 1/4 C. Sweetener, 1/4 Tsp. Almond Extract, 1/4 Tsp. Vanilla Extract, 1 Tbsp. Lemon Juice, and 3 Tbsp. Cornstarch in a medium size pot.
- Bring it all to a simmer over medium-low heat and continue to cook for 5 minutes.
- Once done, remove from the heat and set aside to cool to room temperature.
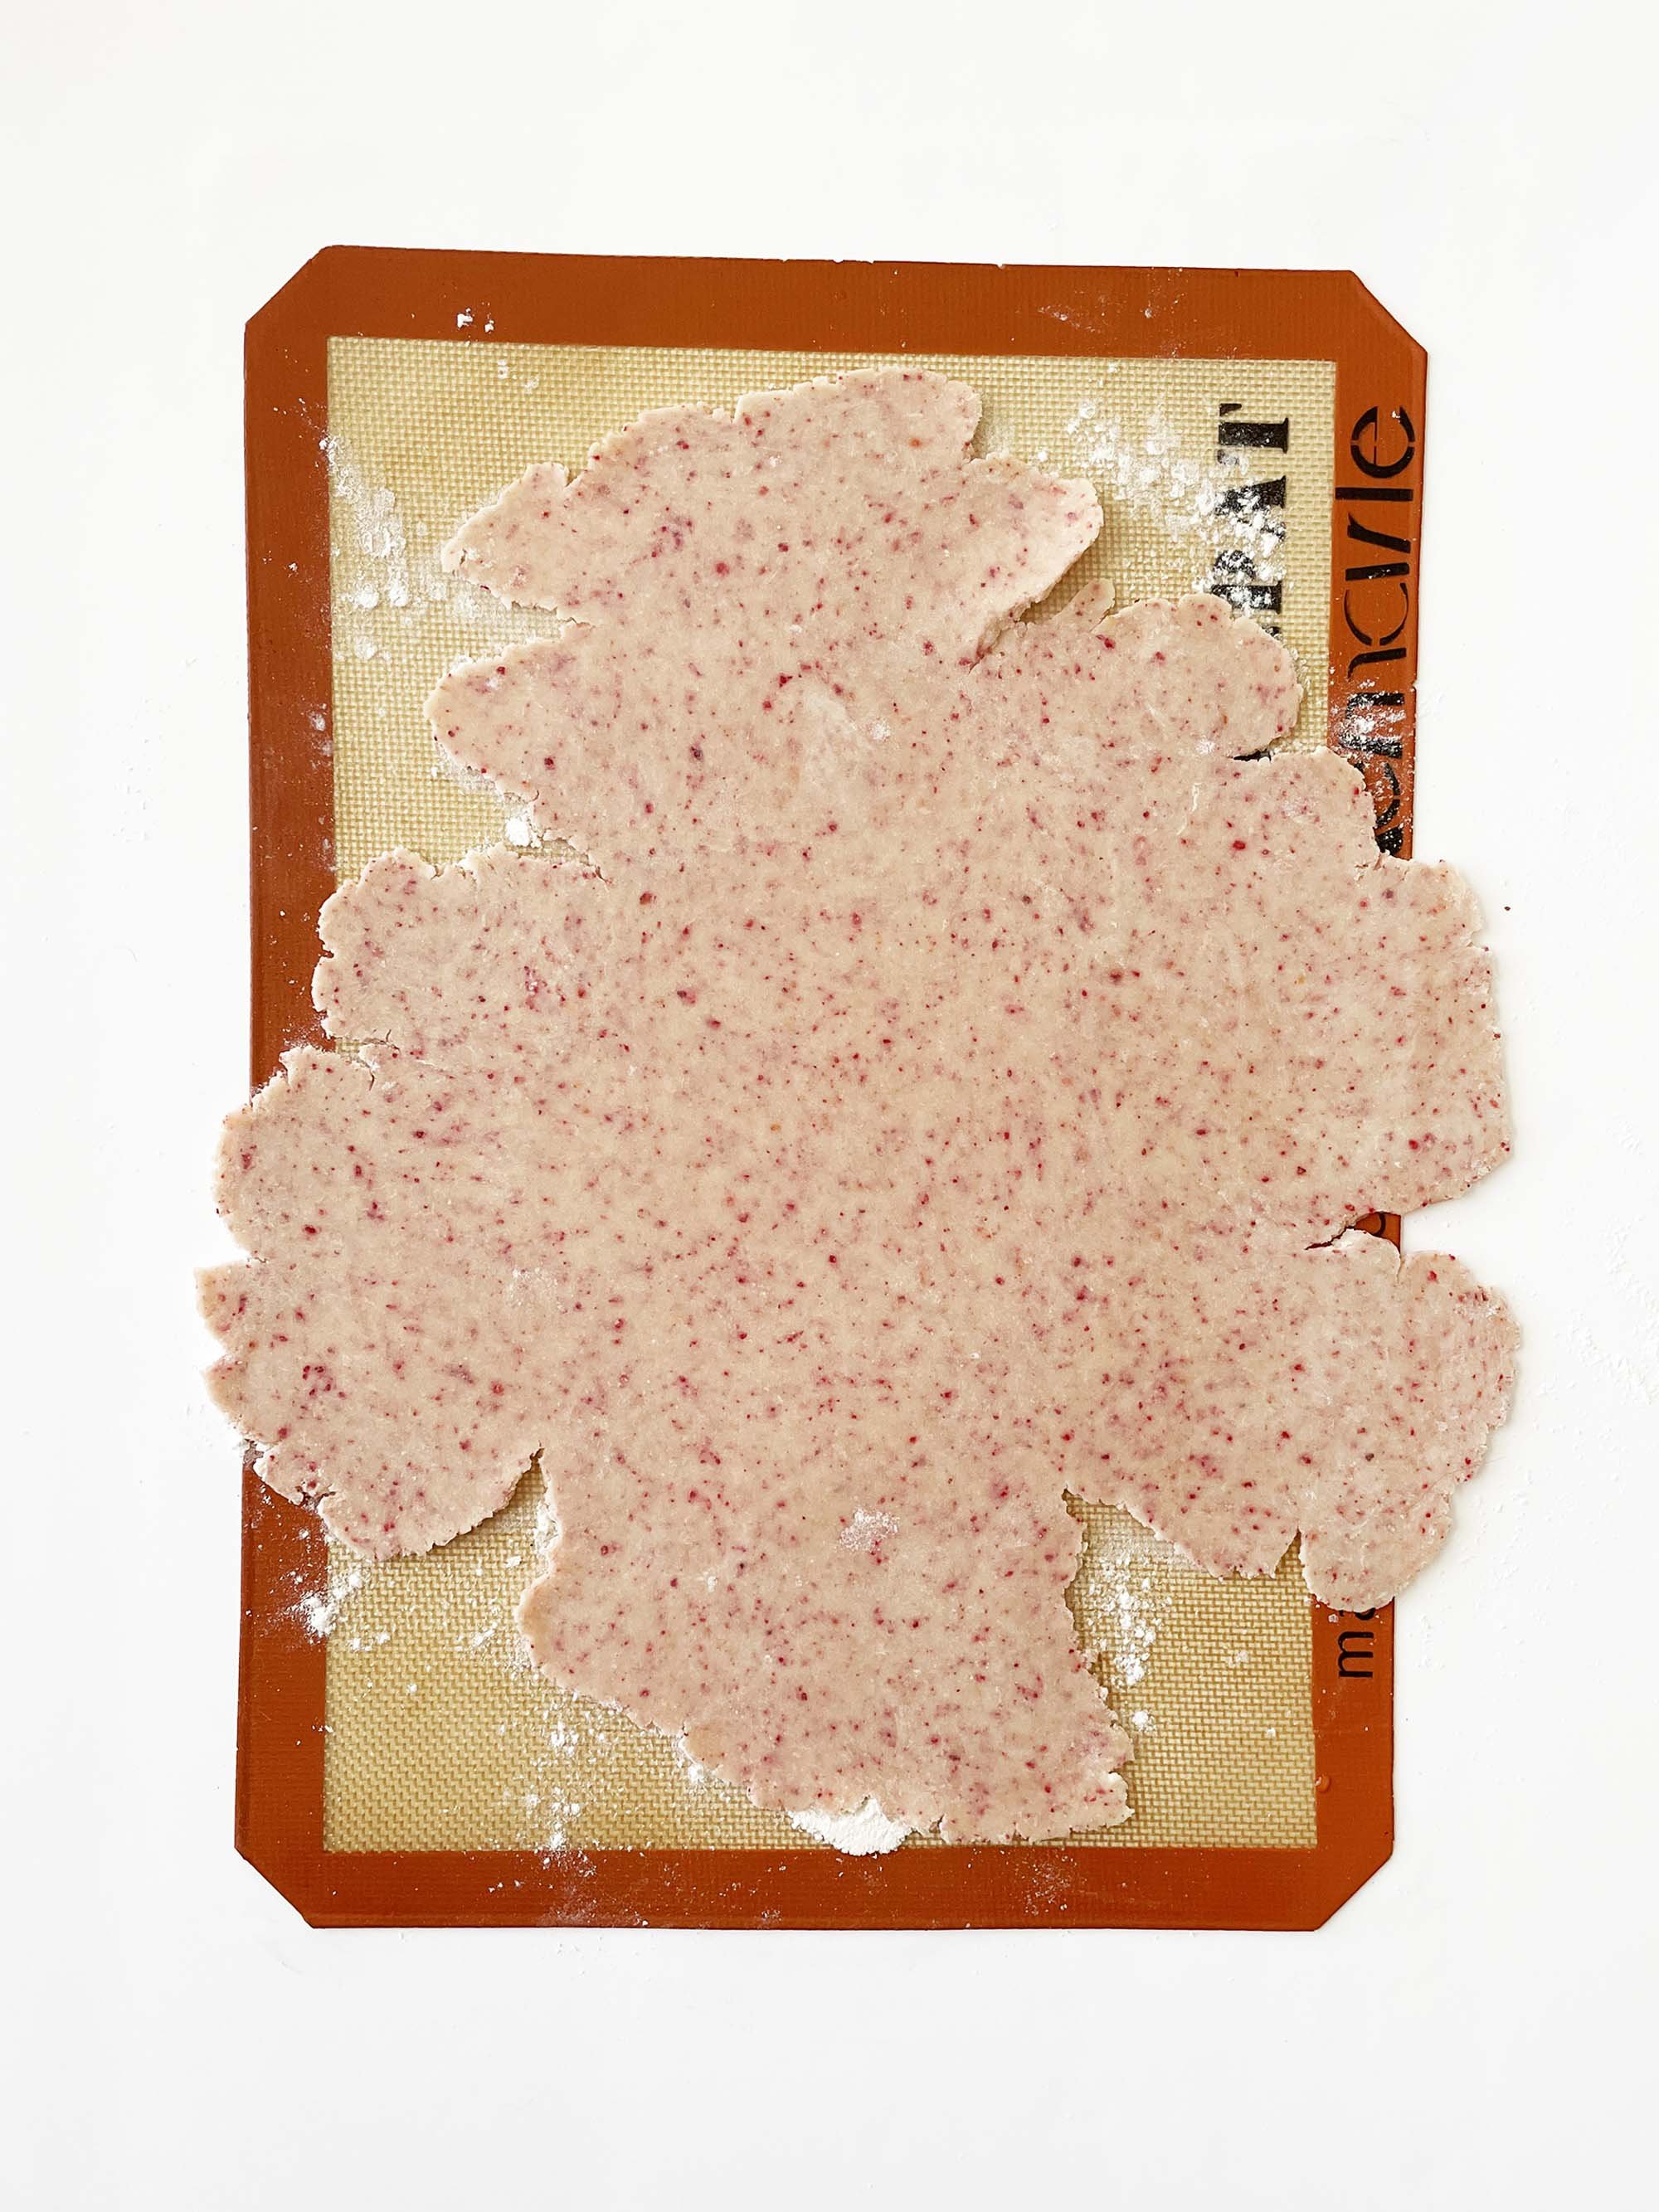
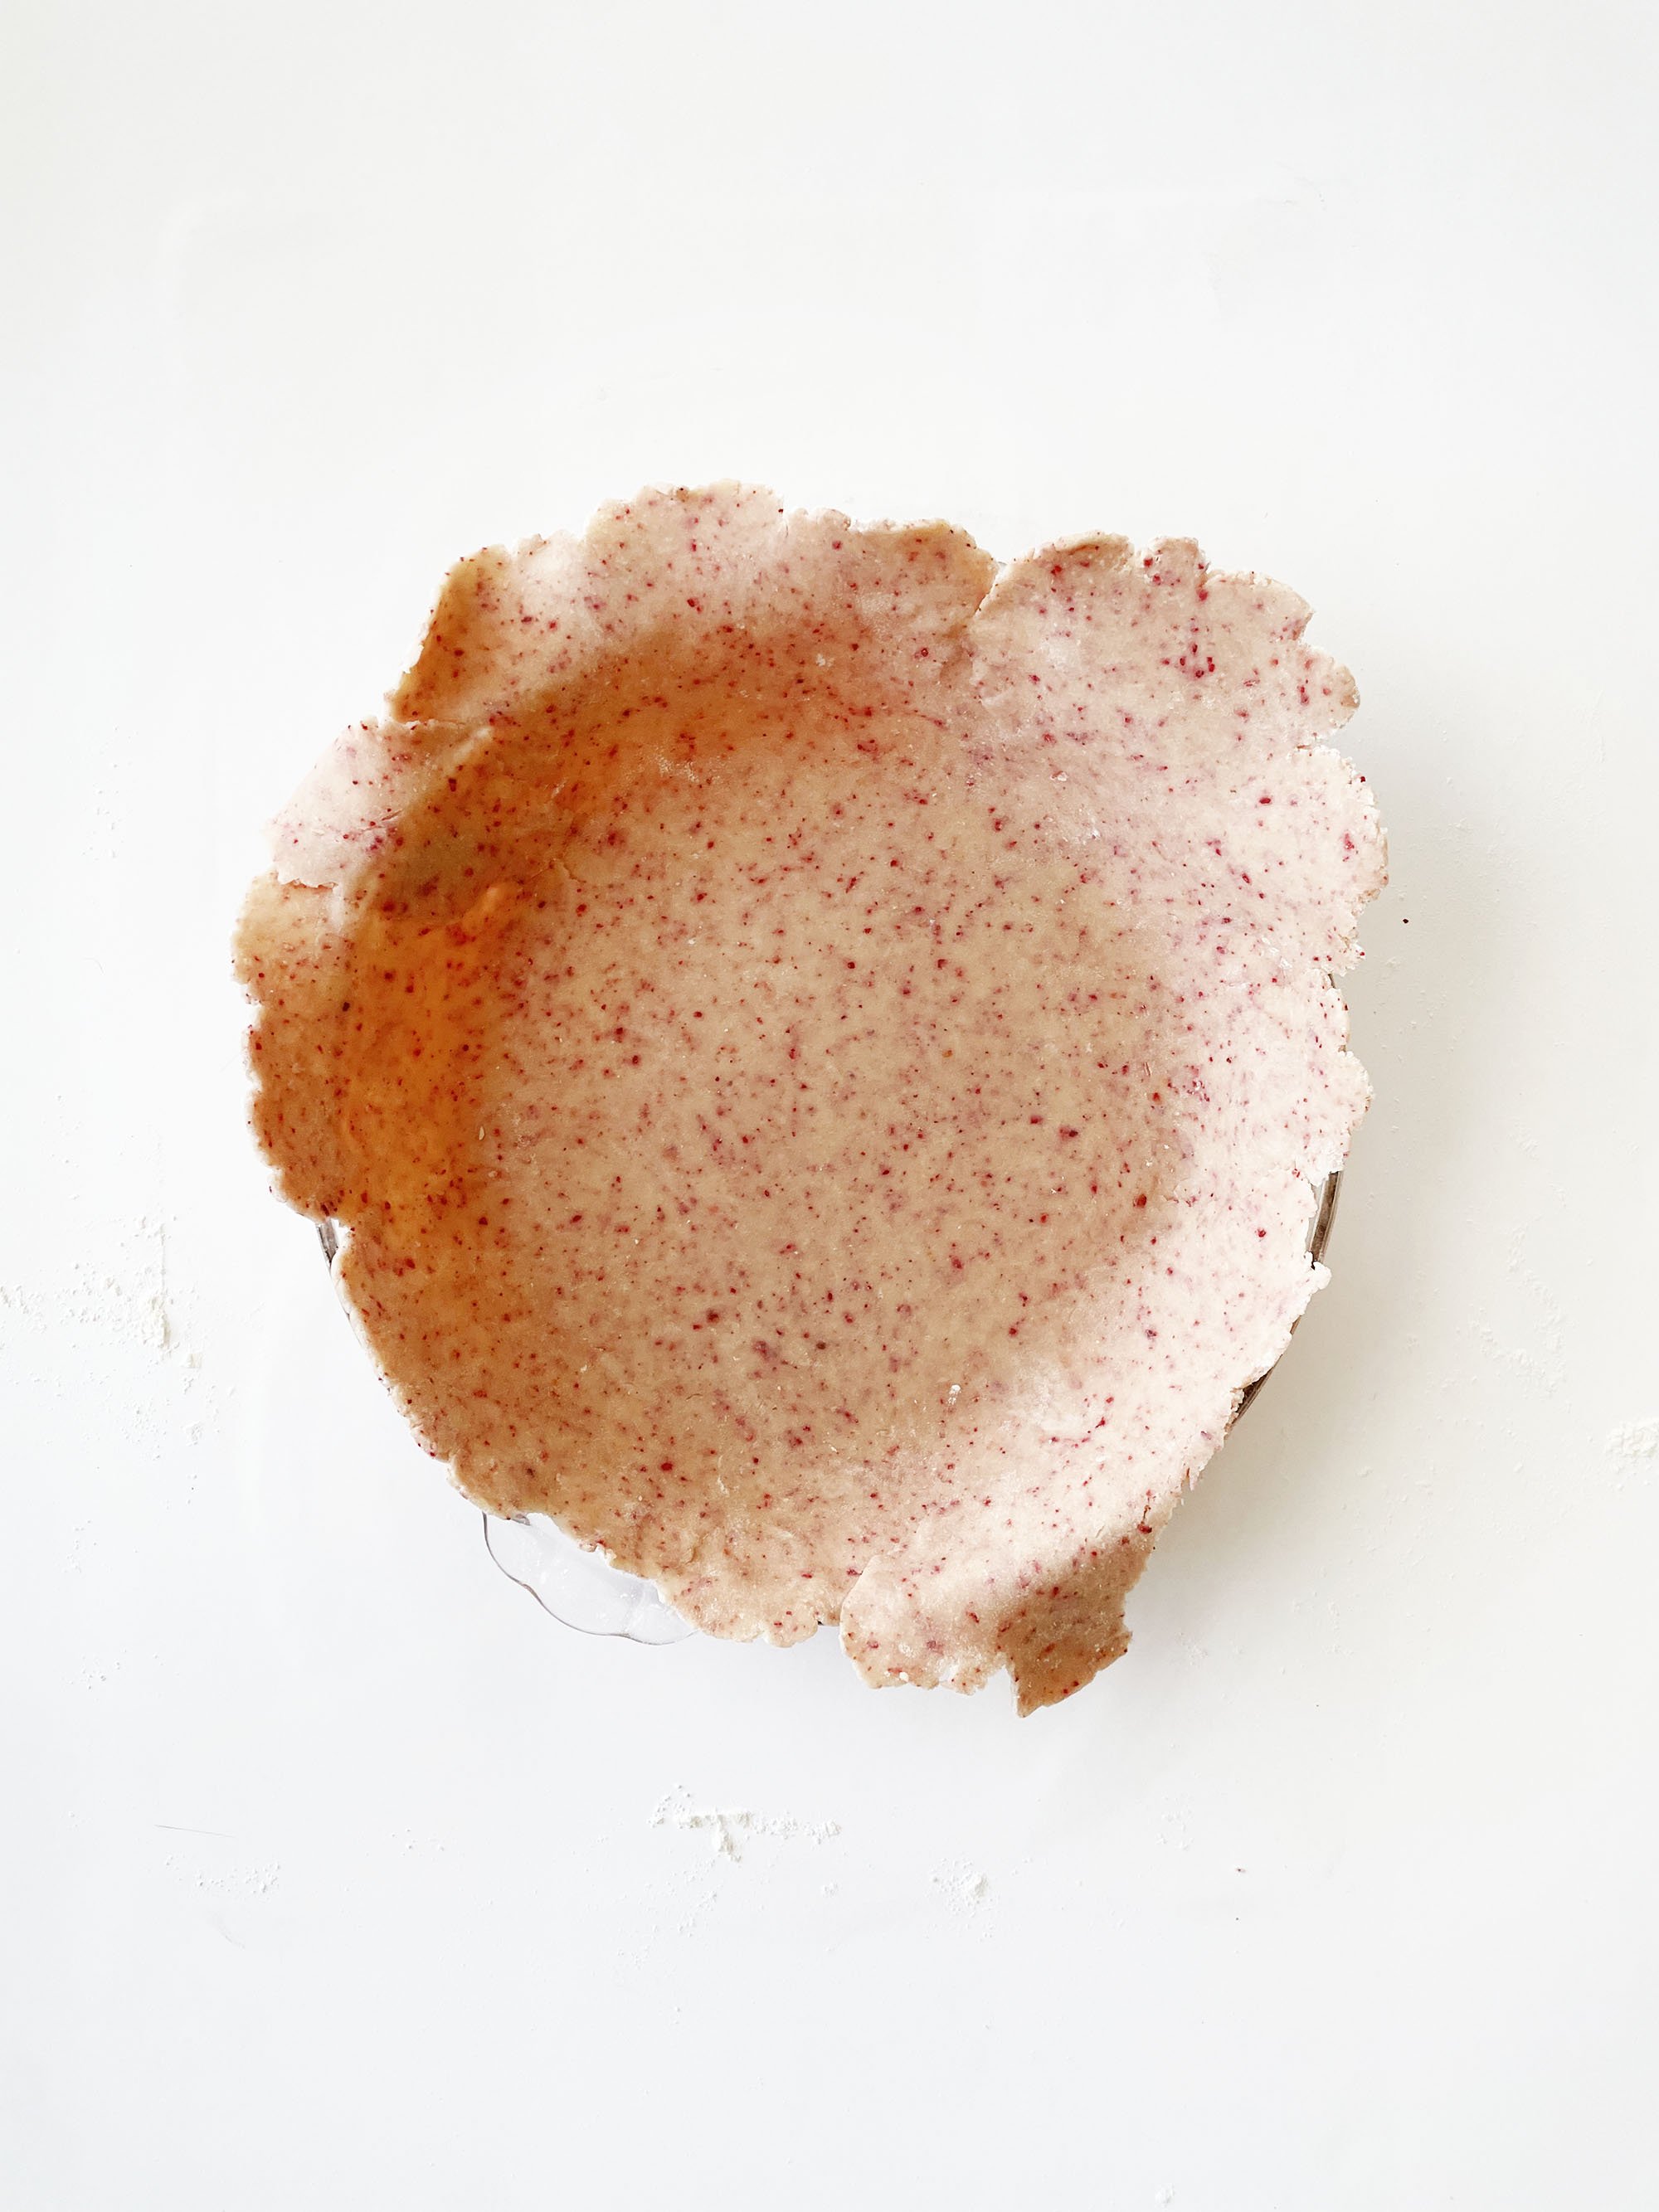
- Roll one of the pie dough disks out on a lightly floured surface until about 1/4" thick.
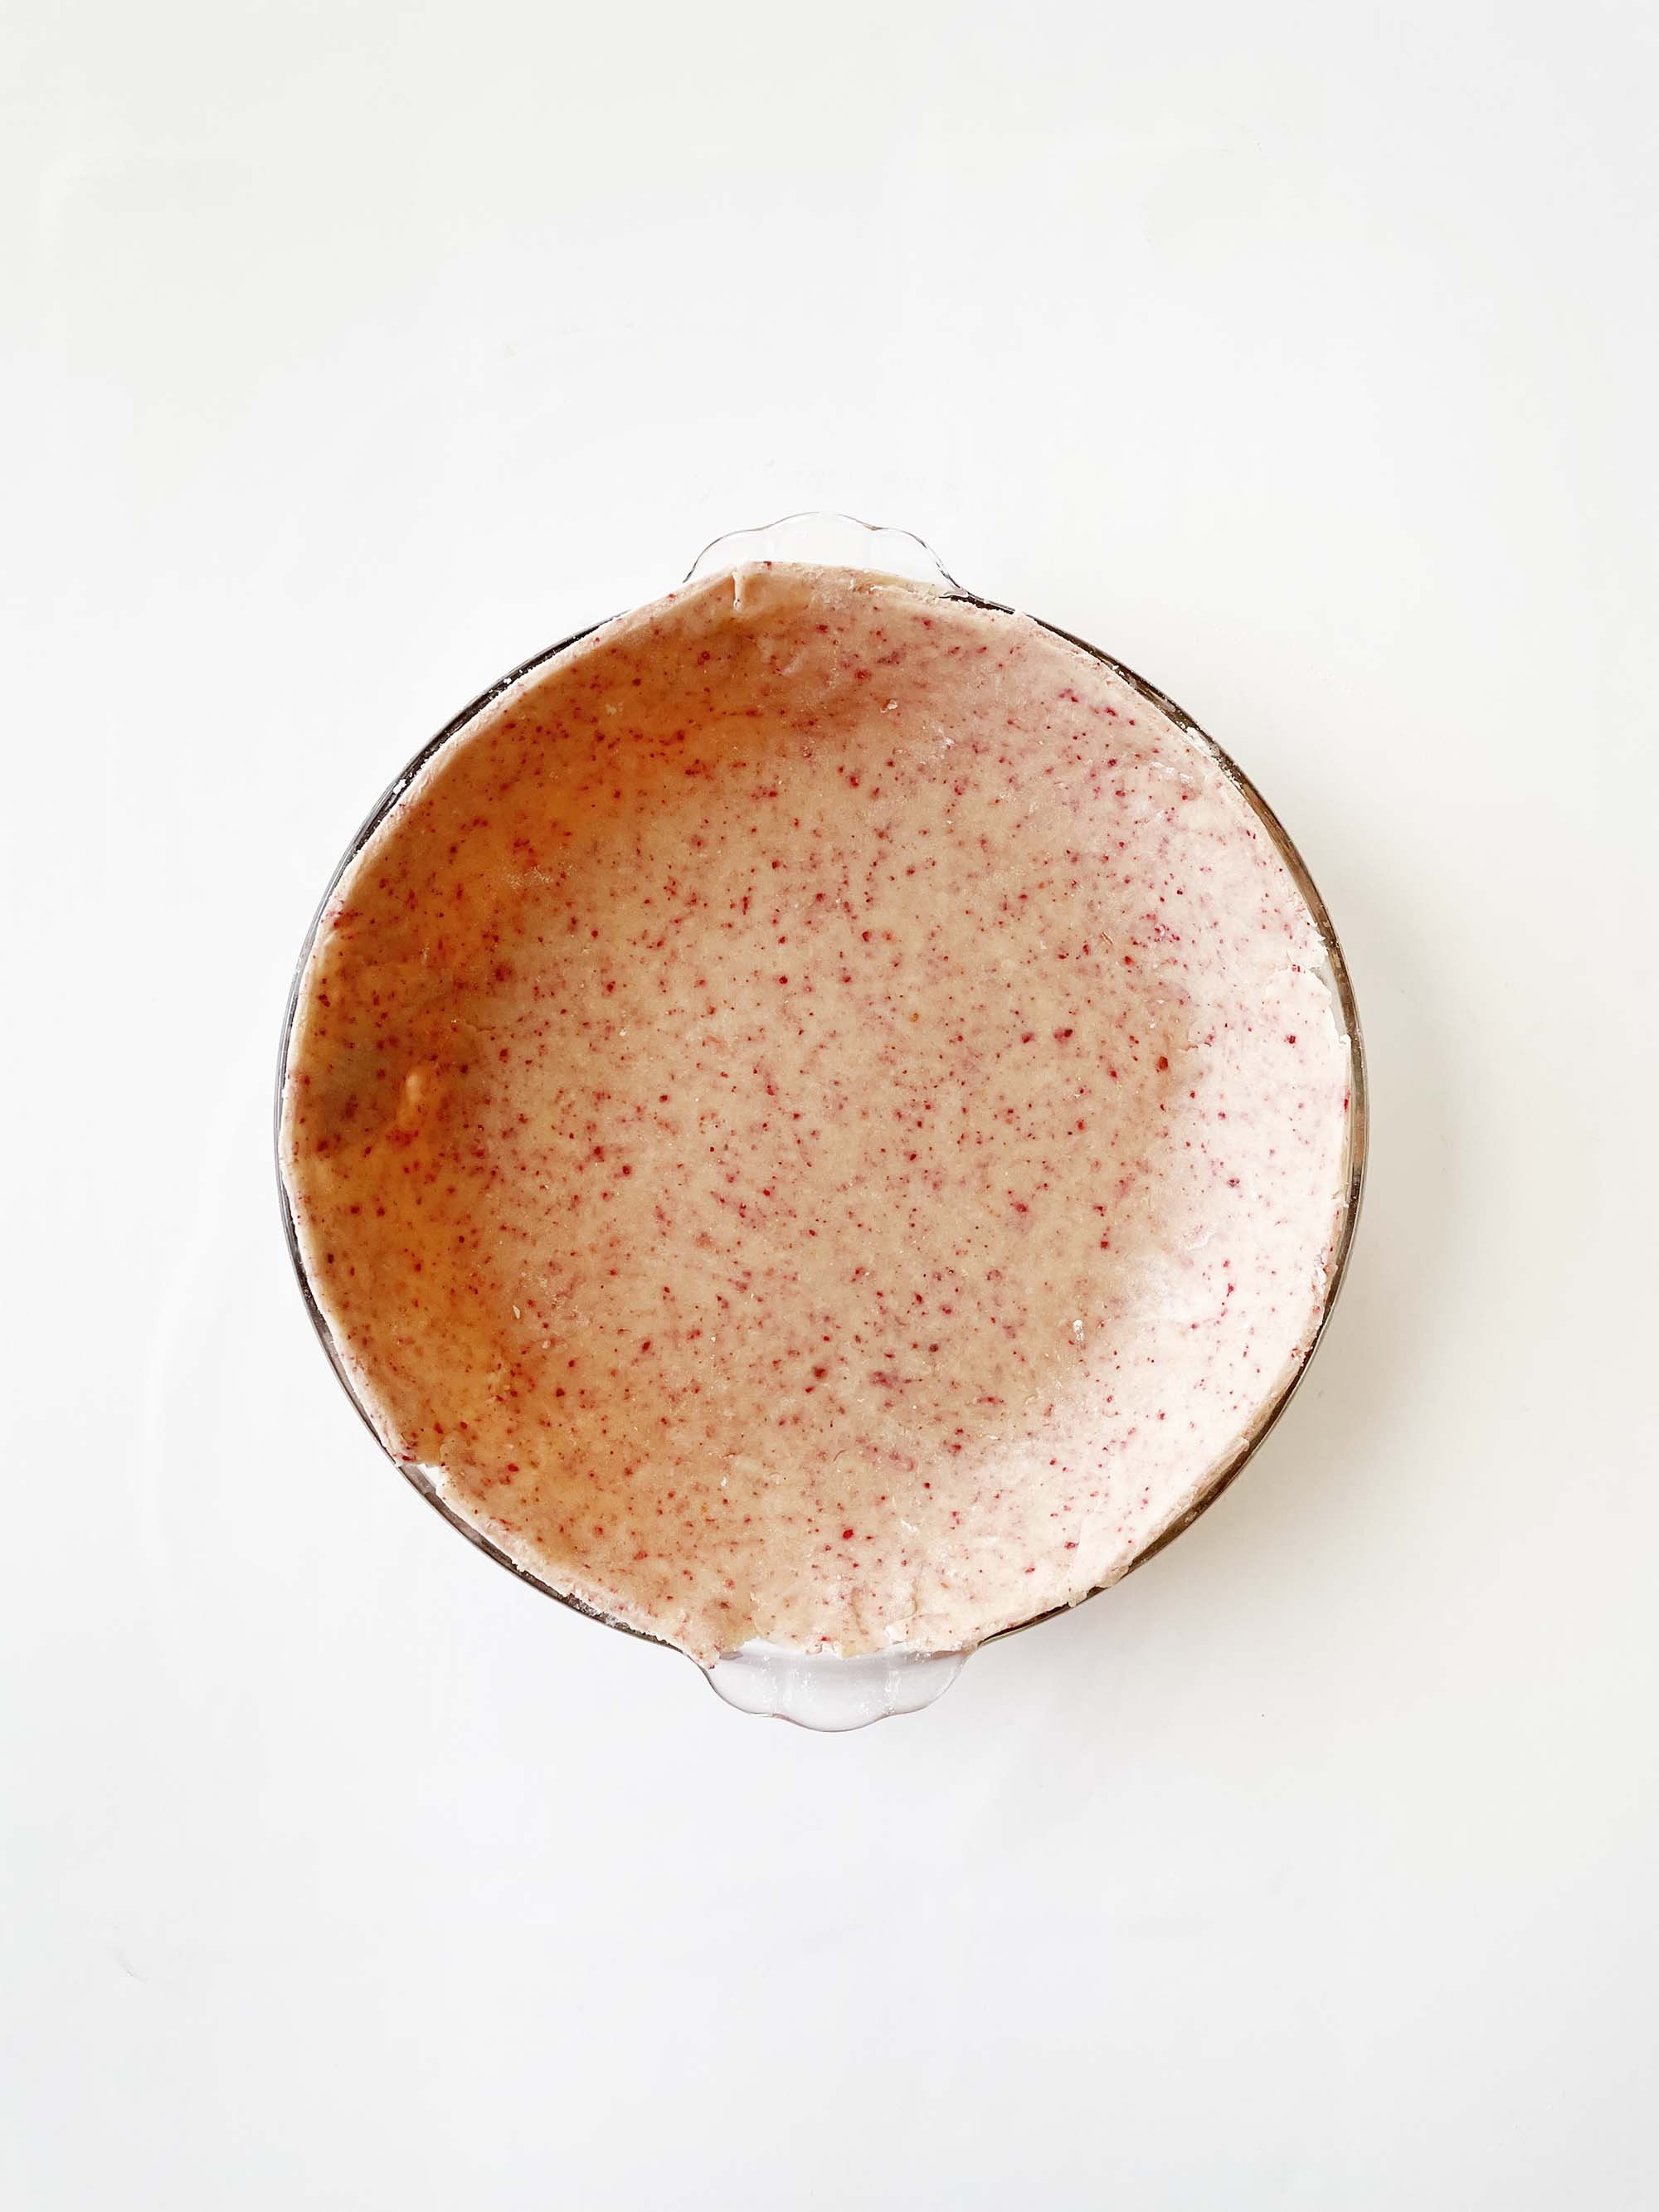
- Transfer to a 9x9" or 8x" pie dish and trim any excess crust beyond 1/2" overhang.
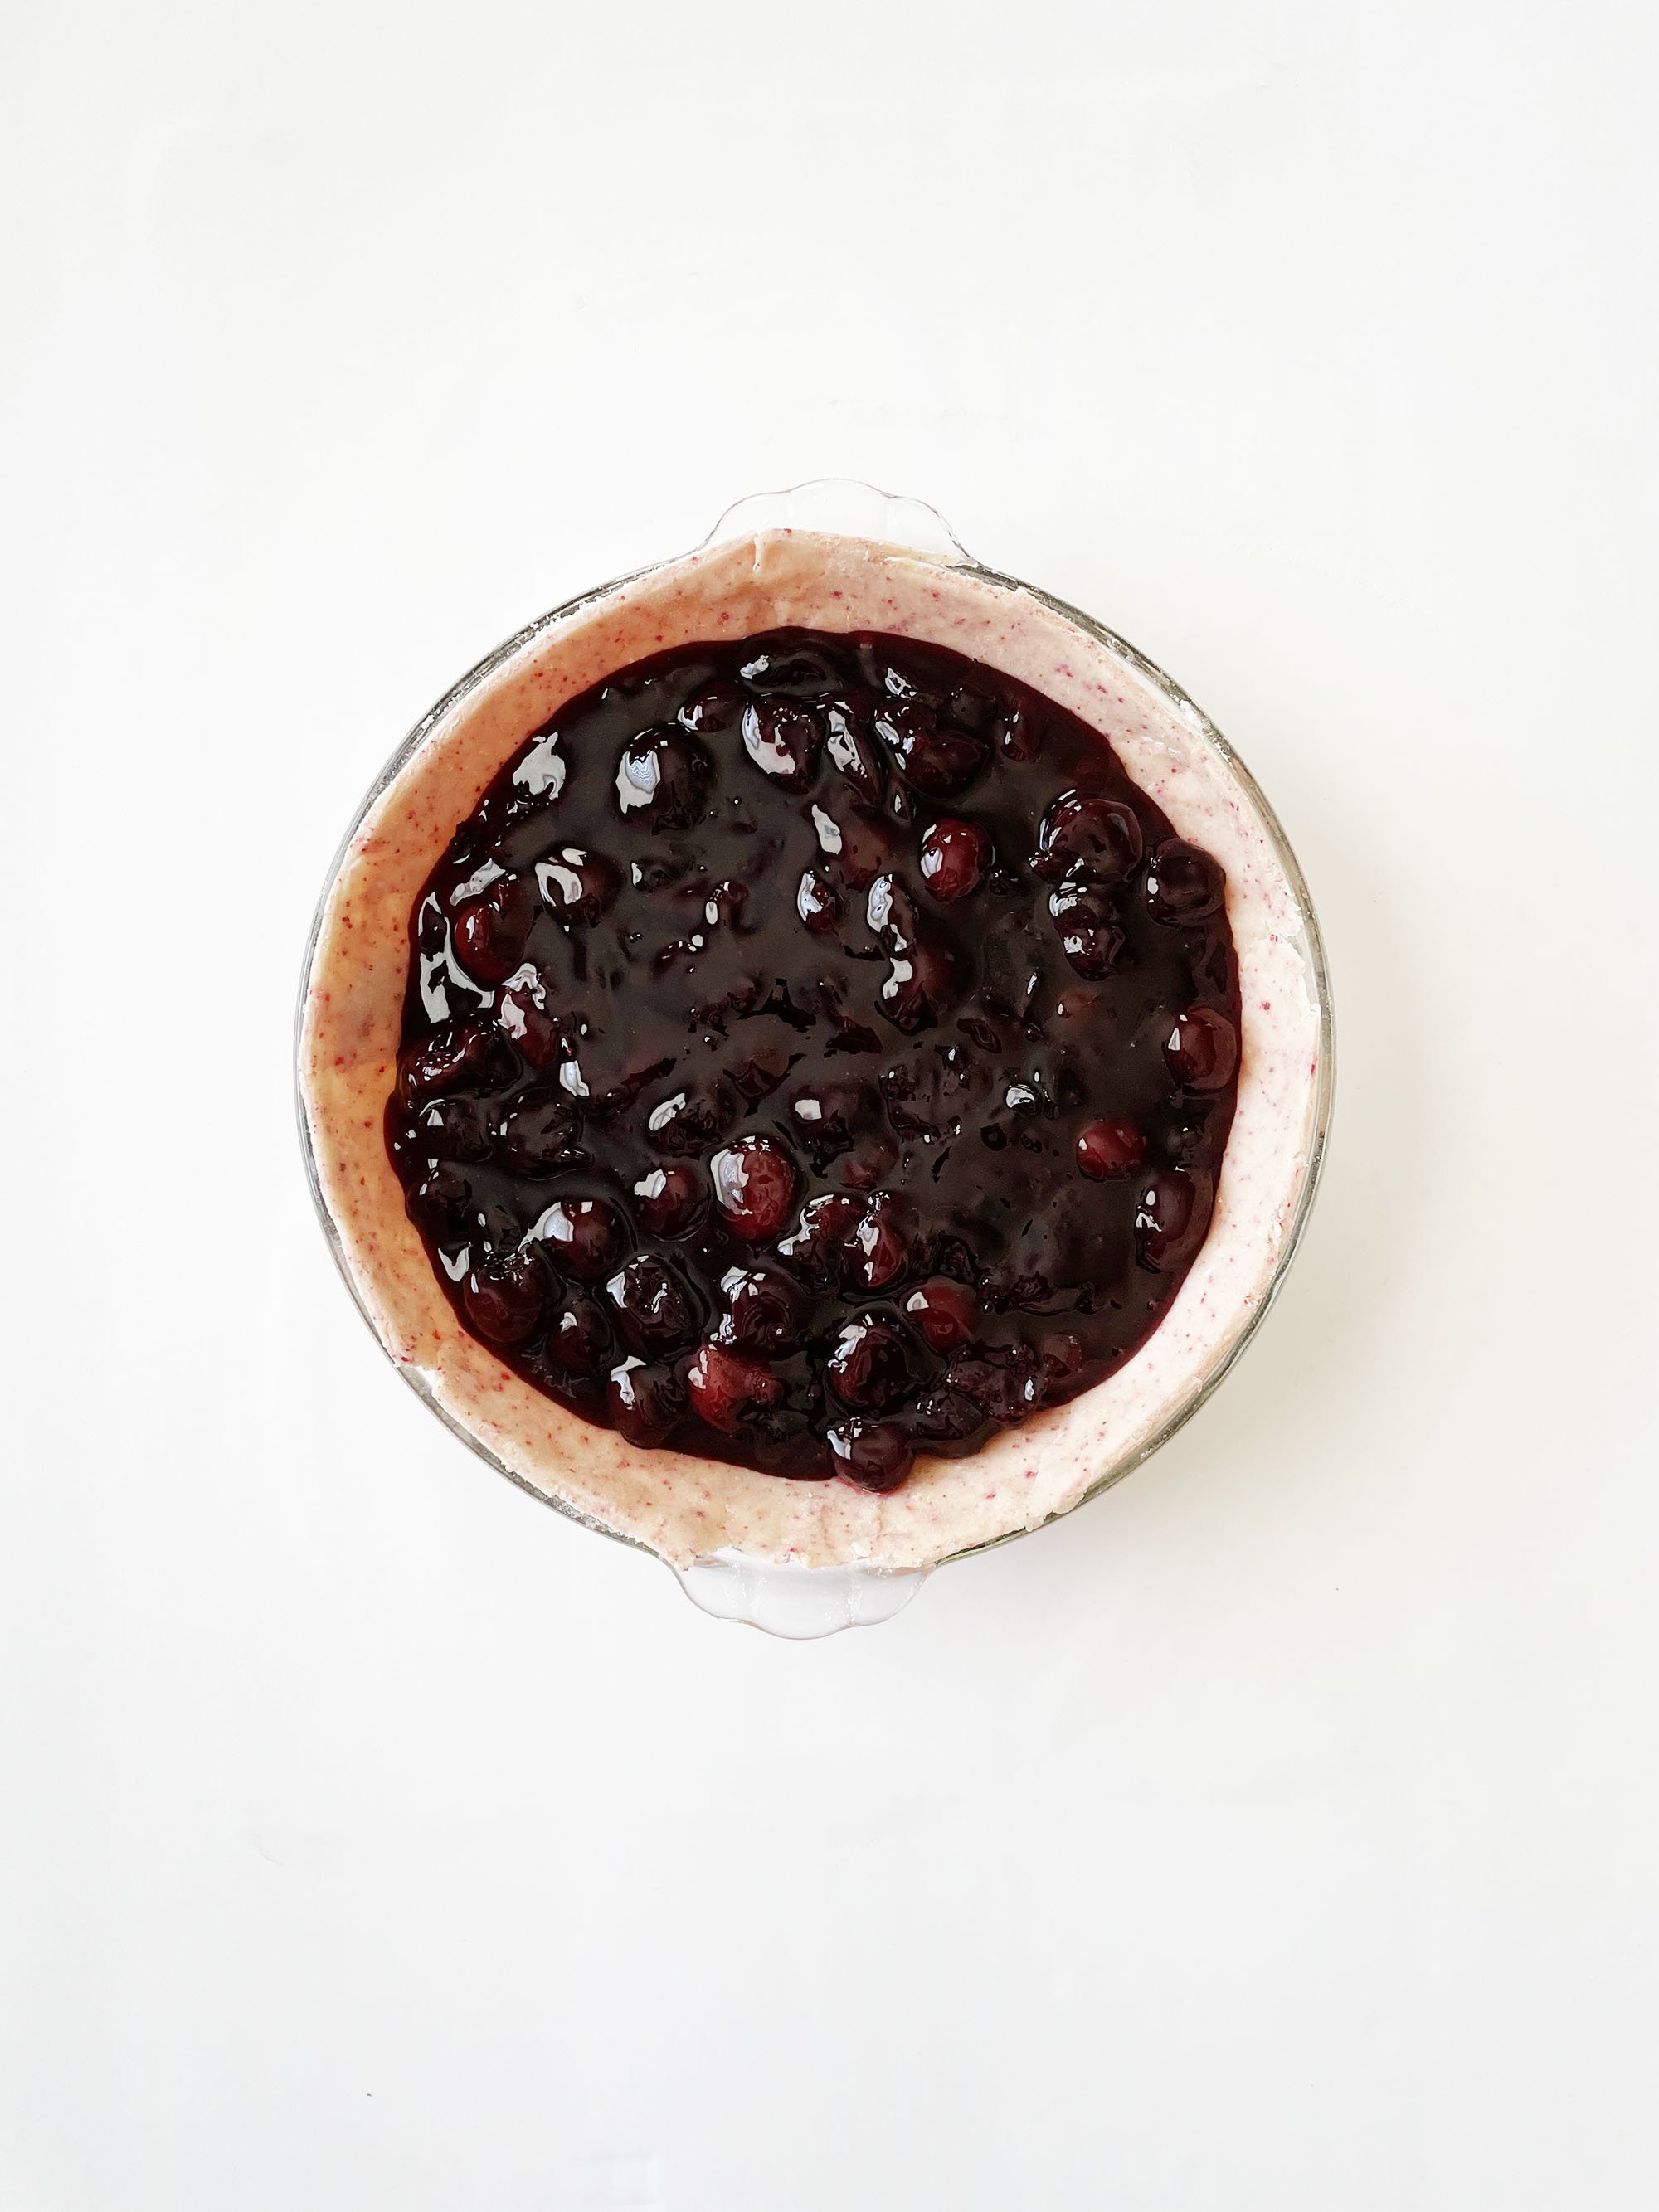
- Pour the cooled cherry pie filling into the pie crust and place in the fridge while you work on the lattice or other decorative top pie crust.
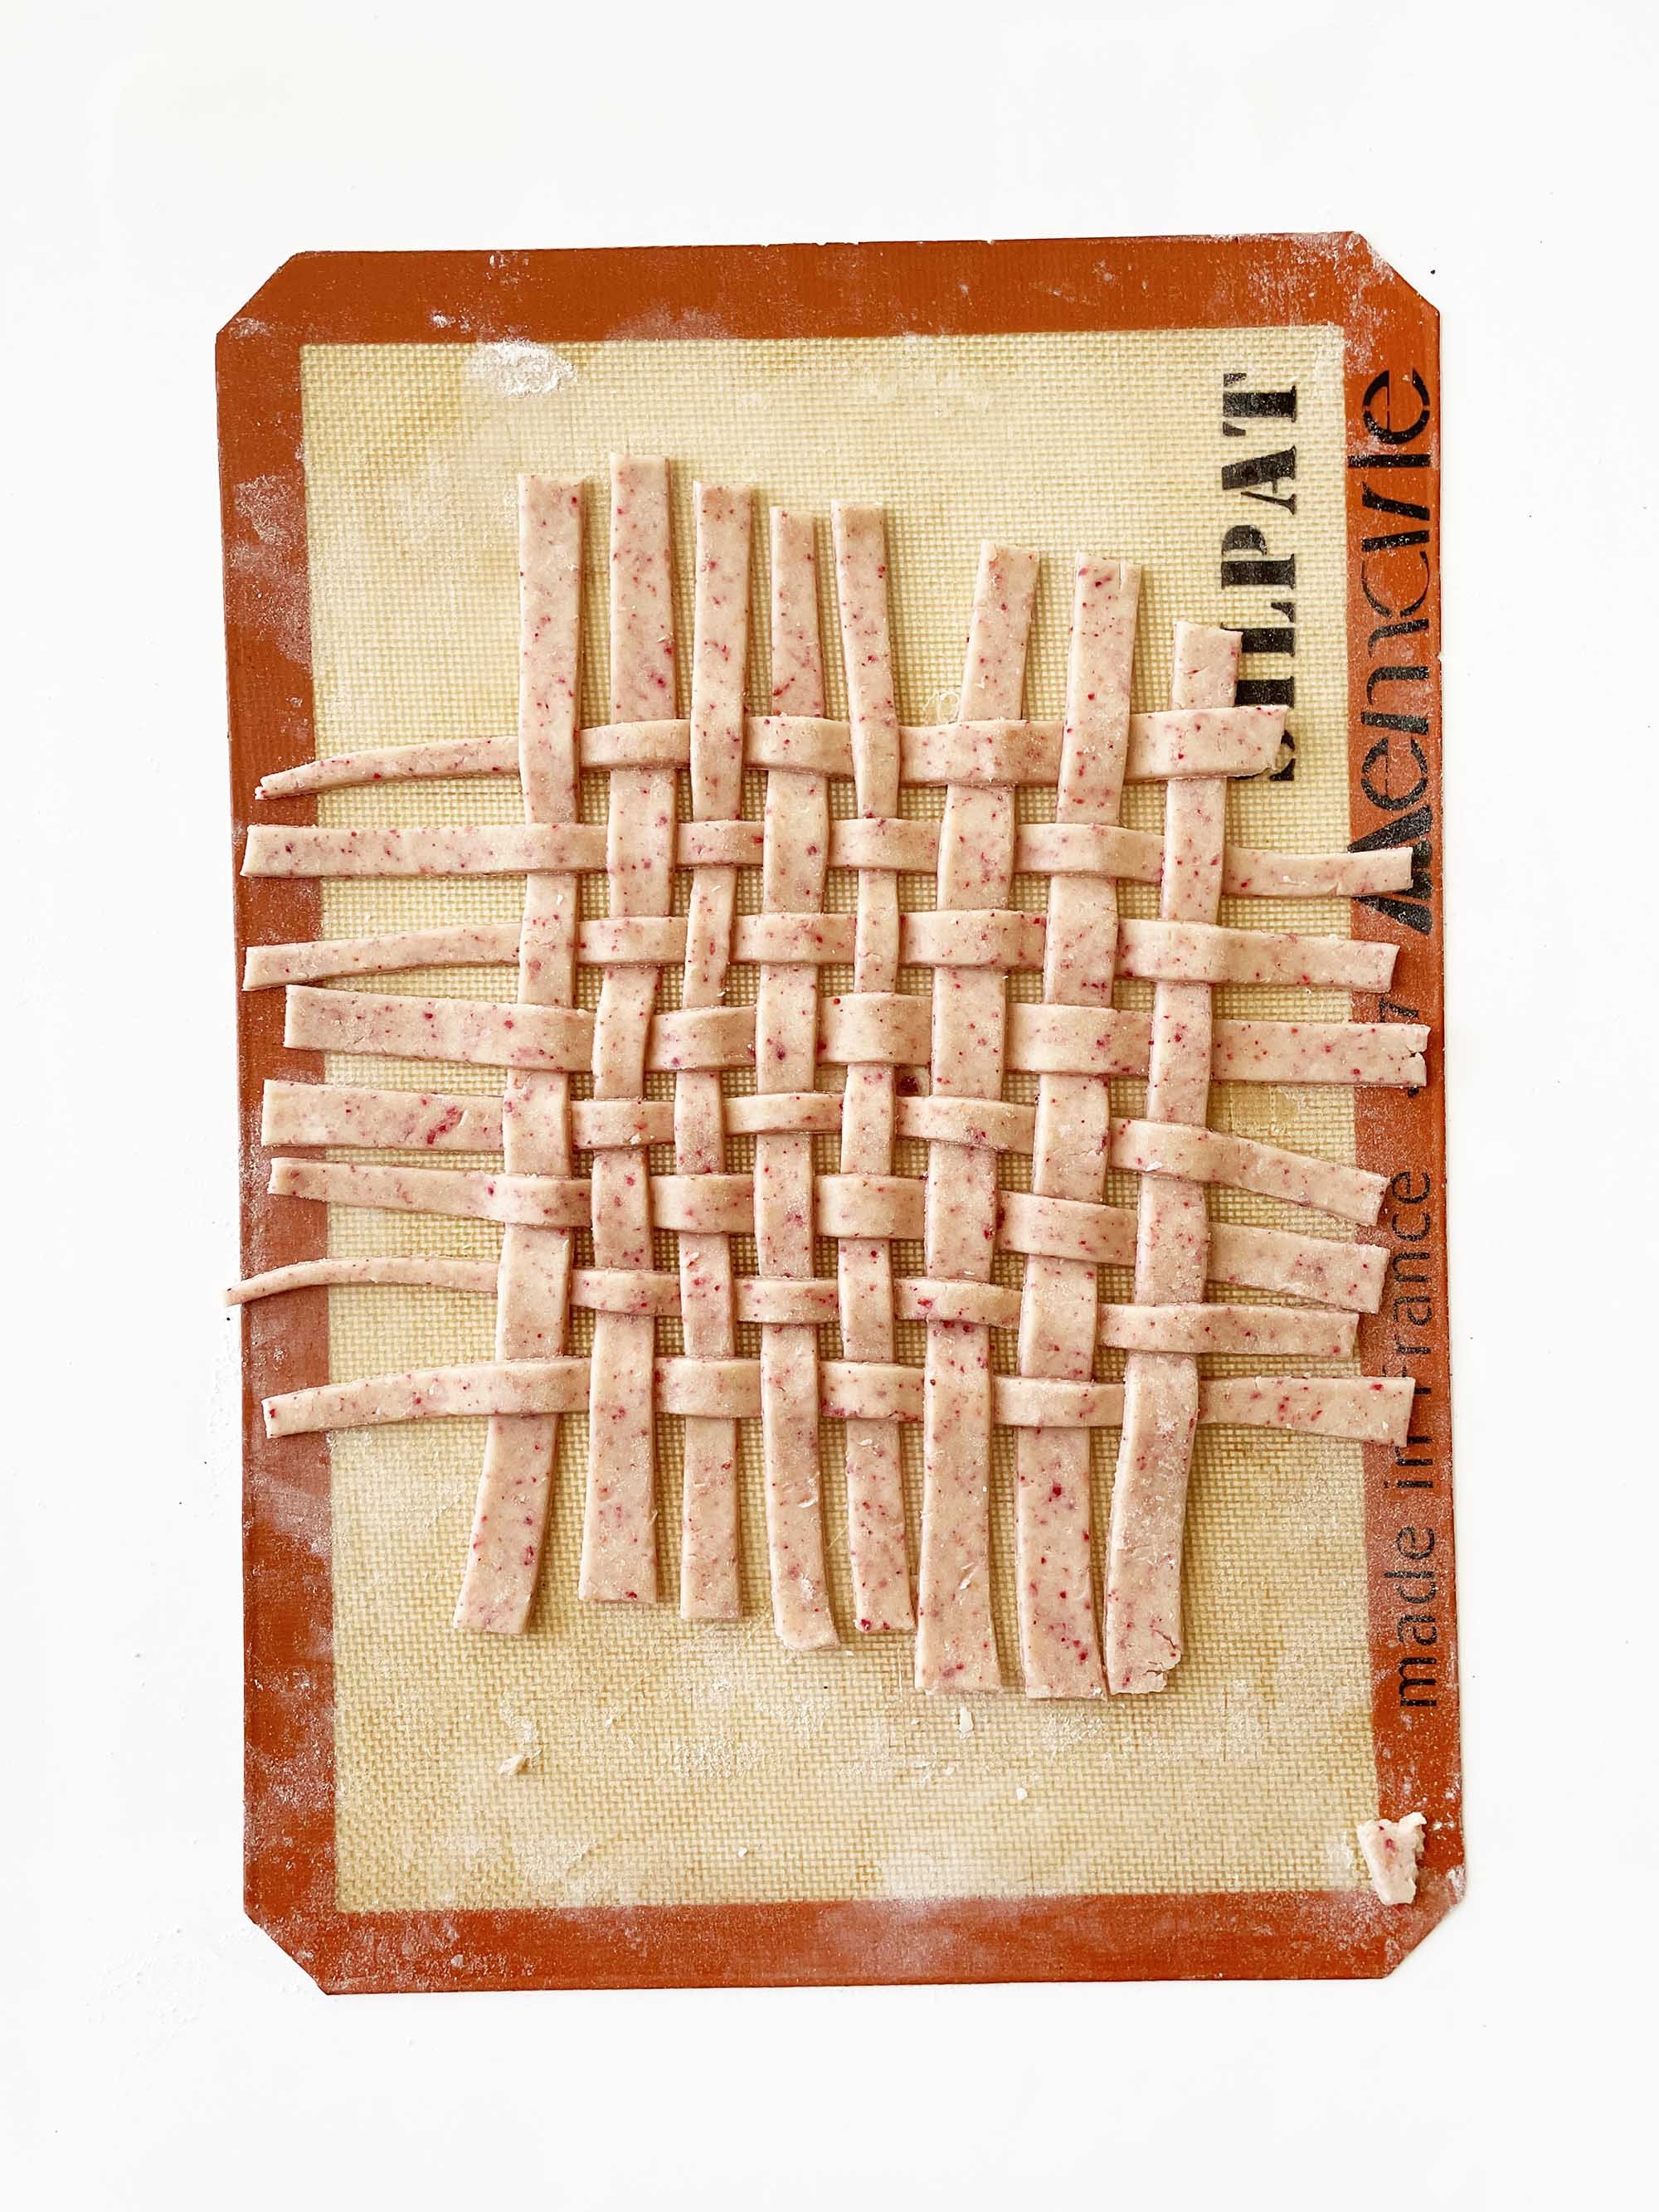
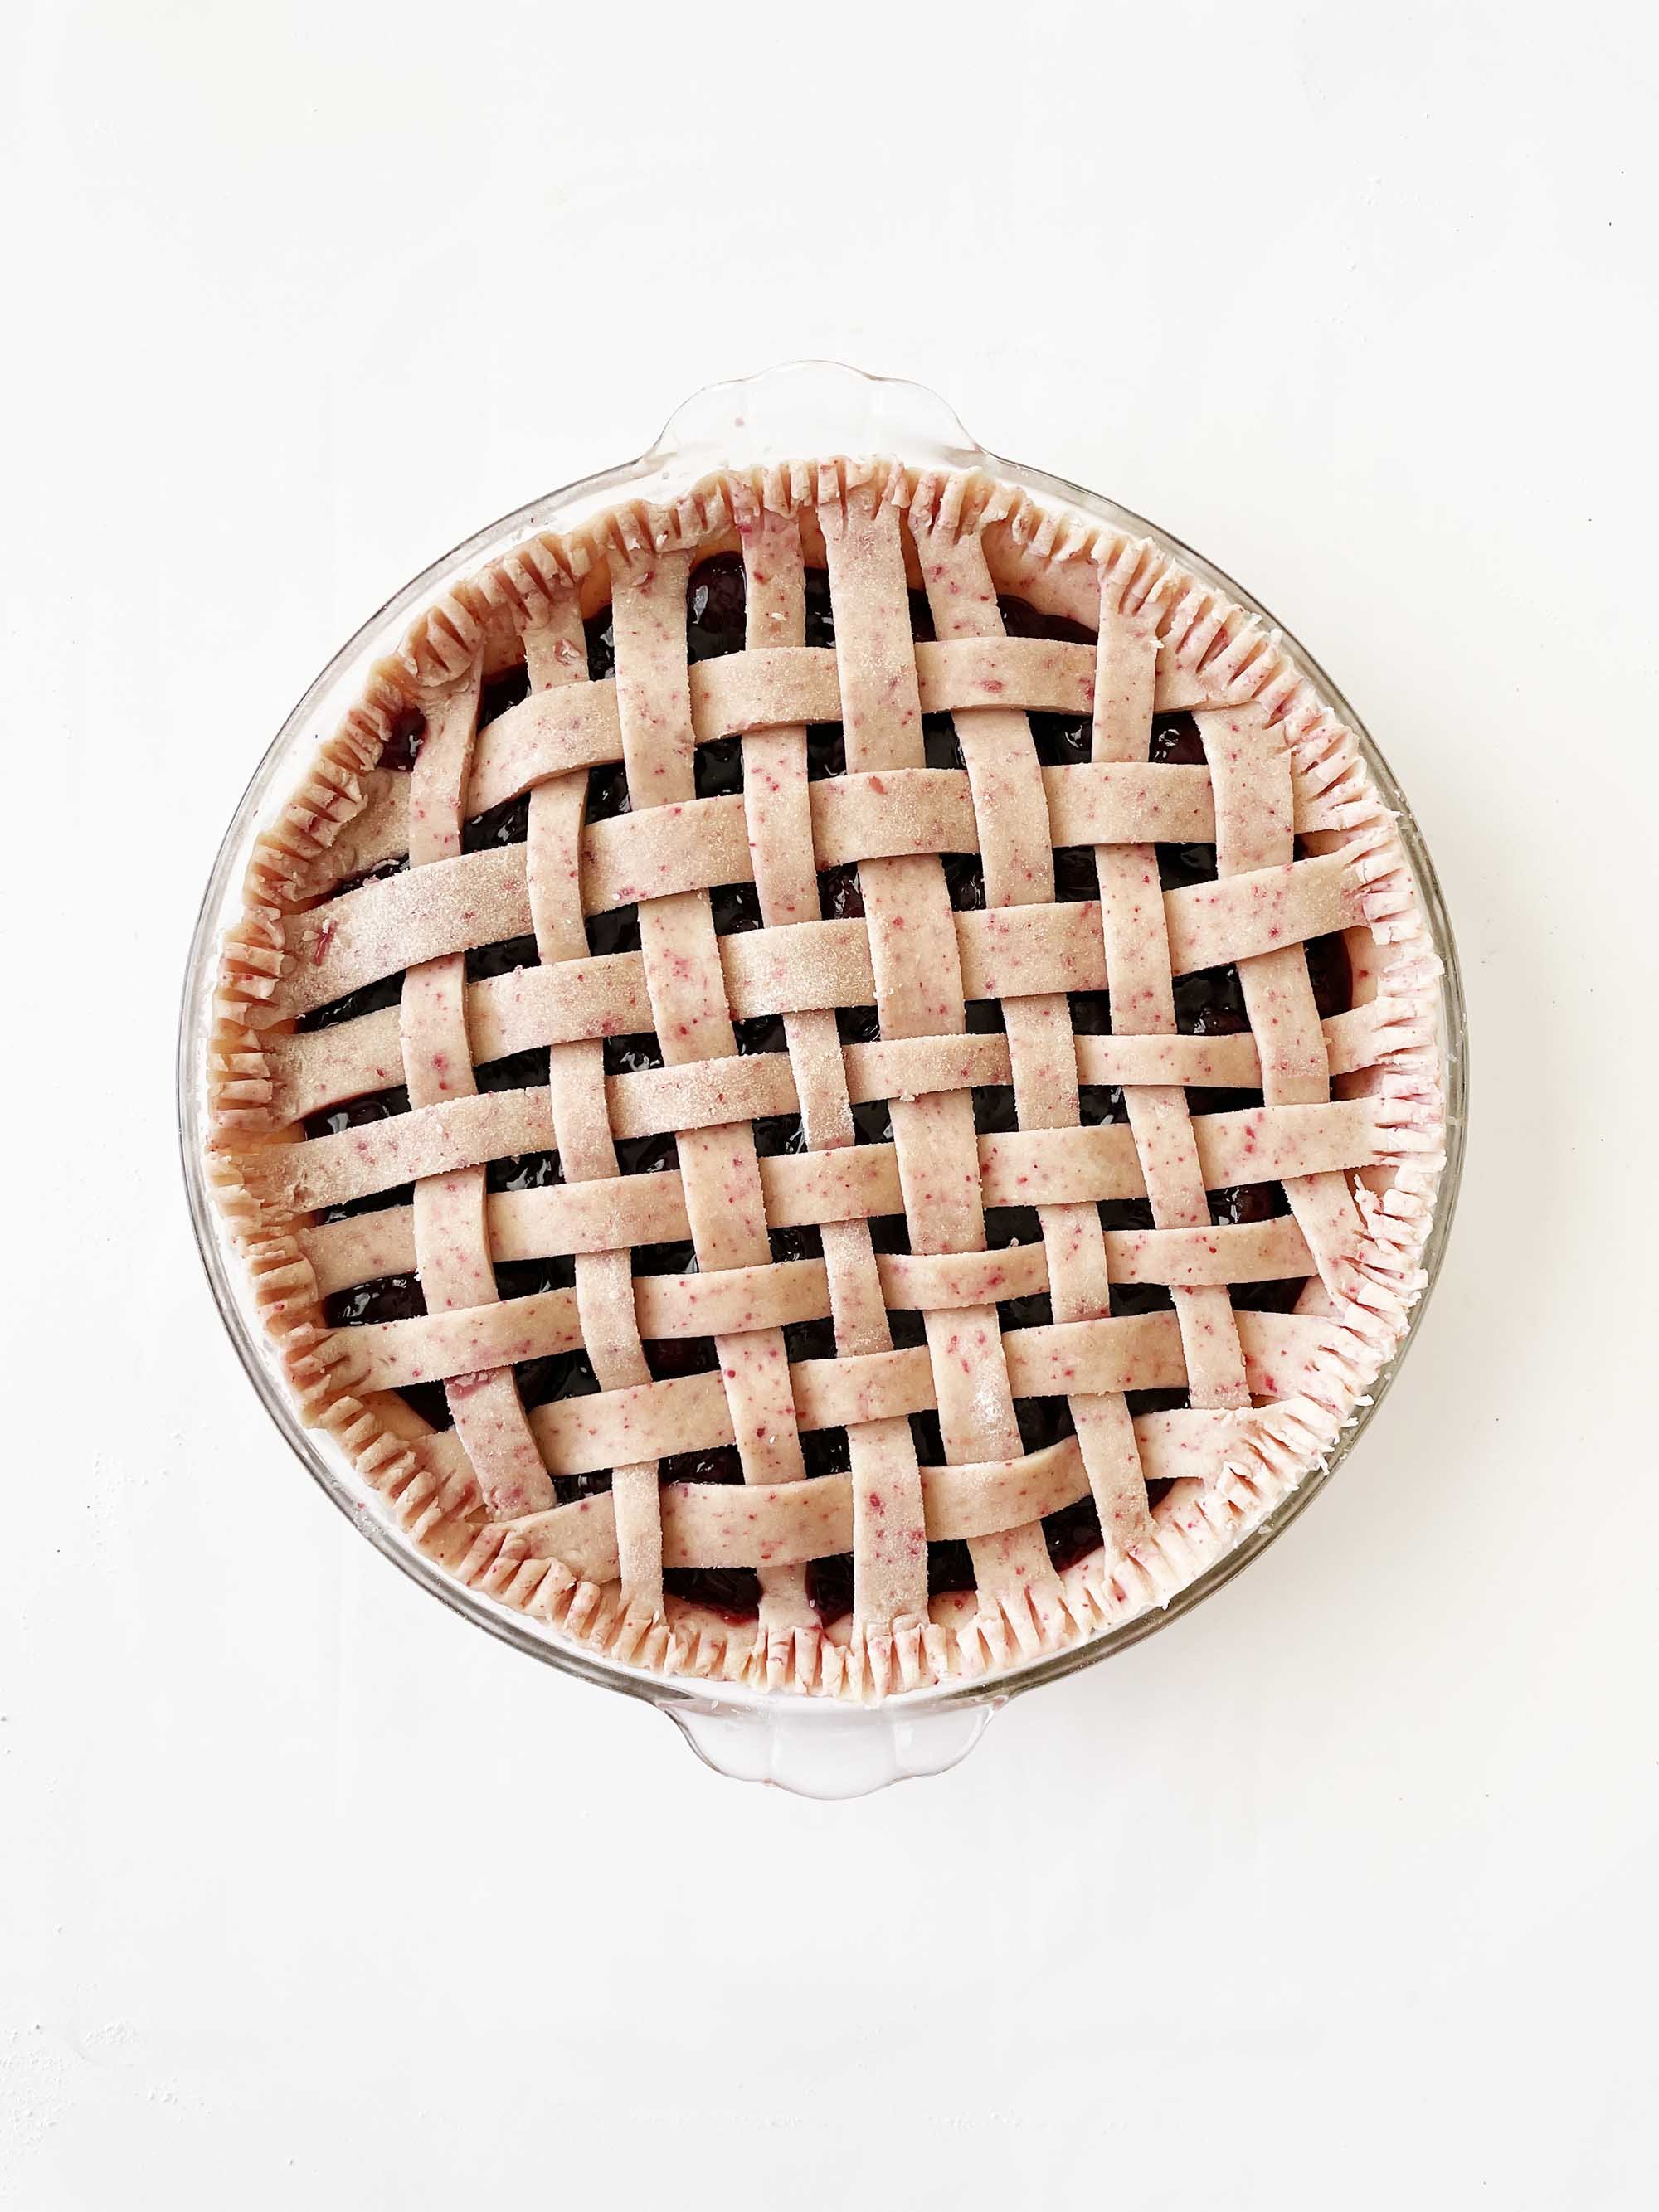
- Roll out the second disk of dough to be 1/4" thick and cut into 1/2" wide strips of dough. Weave into a lattice crust over the top of the pie then roll the overhang up over the lattice work at the edges of the pie dish.
- Place the pie into the fridge to chill for 20 minutes.
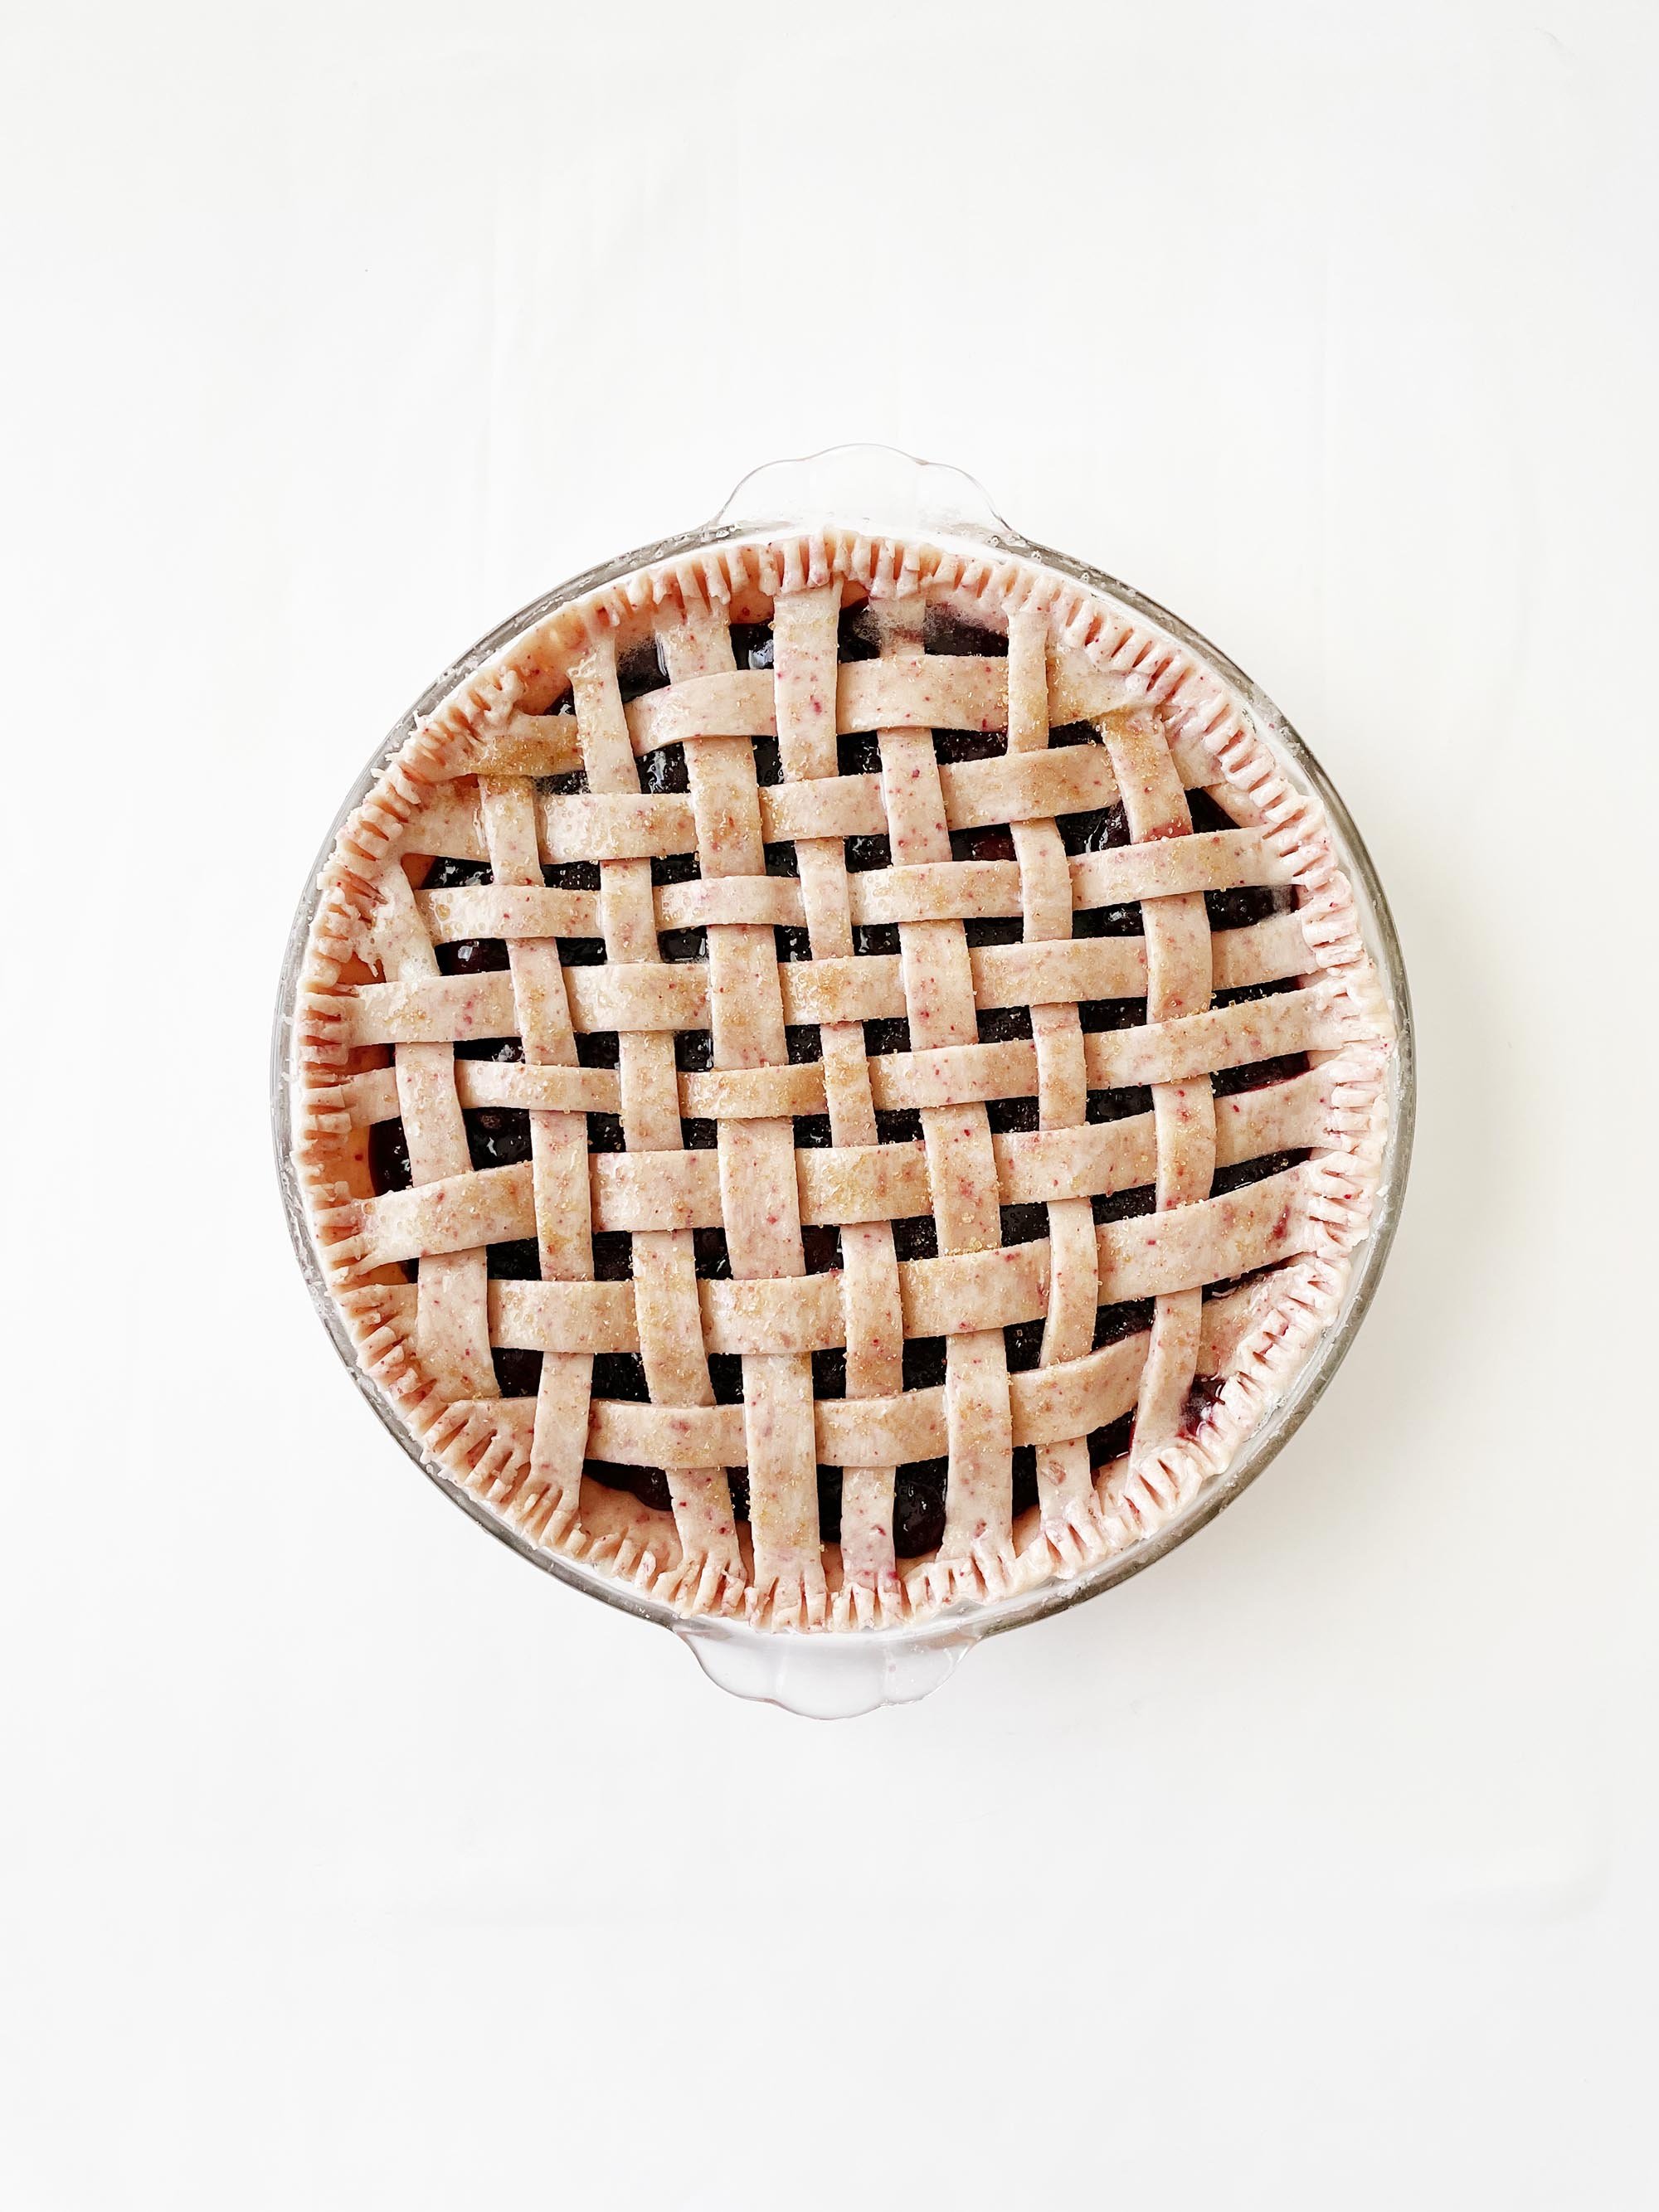
- Preheat the oven to 425 degrees F. Brush the crust with egg wash and/or sprinkle with sugar then place in the oven to bake for 40-45 minutes. Cover with foil to prevent over browning if needed.
- Cool completely before slicing and serving!
Nutrition Facts
Calories
337.83Fat (grams)
15.71Sat. Fat (grams)
9.75Carbs (grams)
46.9Fiber (grams)
2.79Net carbs
44.11Sugar (grams)
21.74Protein (grams)
4.01Sodium (milligrams)
219.62Cholesterol (grams)
40.49Nutritional Claims: Low Sodium • Kidney Friendly • Vegetarian • Pescatarian • Egg Free • Peanut Free • Tree Nut Free • Soy Free • Fish Free • Shellfish Free • Pork Free • Red Meat Free • Crustacean Free • Celery Free • Mustard Free • Sesame Free • Lupine Free • Mollusk Free • Alcohol Free • Kosher
Step-by-Step Photos:
