Today it's going to be a whopping 107 in Austin, Texas! I'm at that point of summer where it's so hot that I nearly want it to be over, but I'm also not quite ready to end the freedom with the onslaught of another school year for my daughter. Let's face it, there is just something about waking up in the morning naturally and having absolutely nothing on the schedule that's required to be done that day.
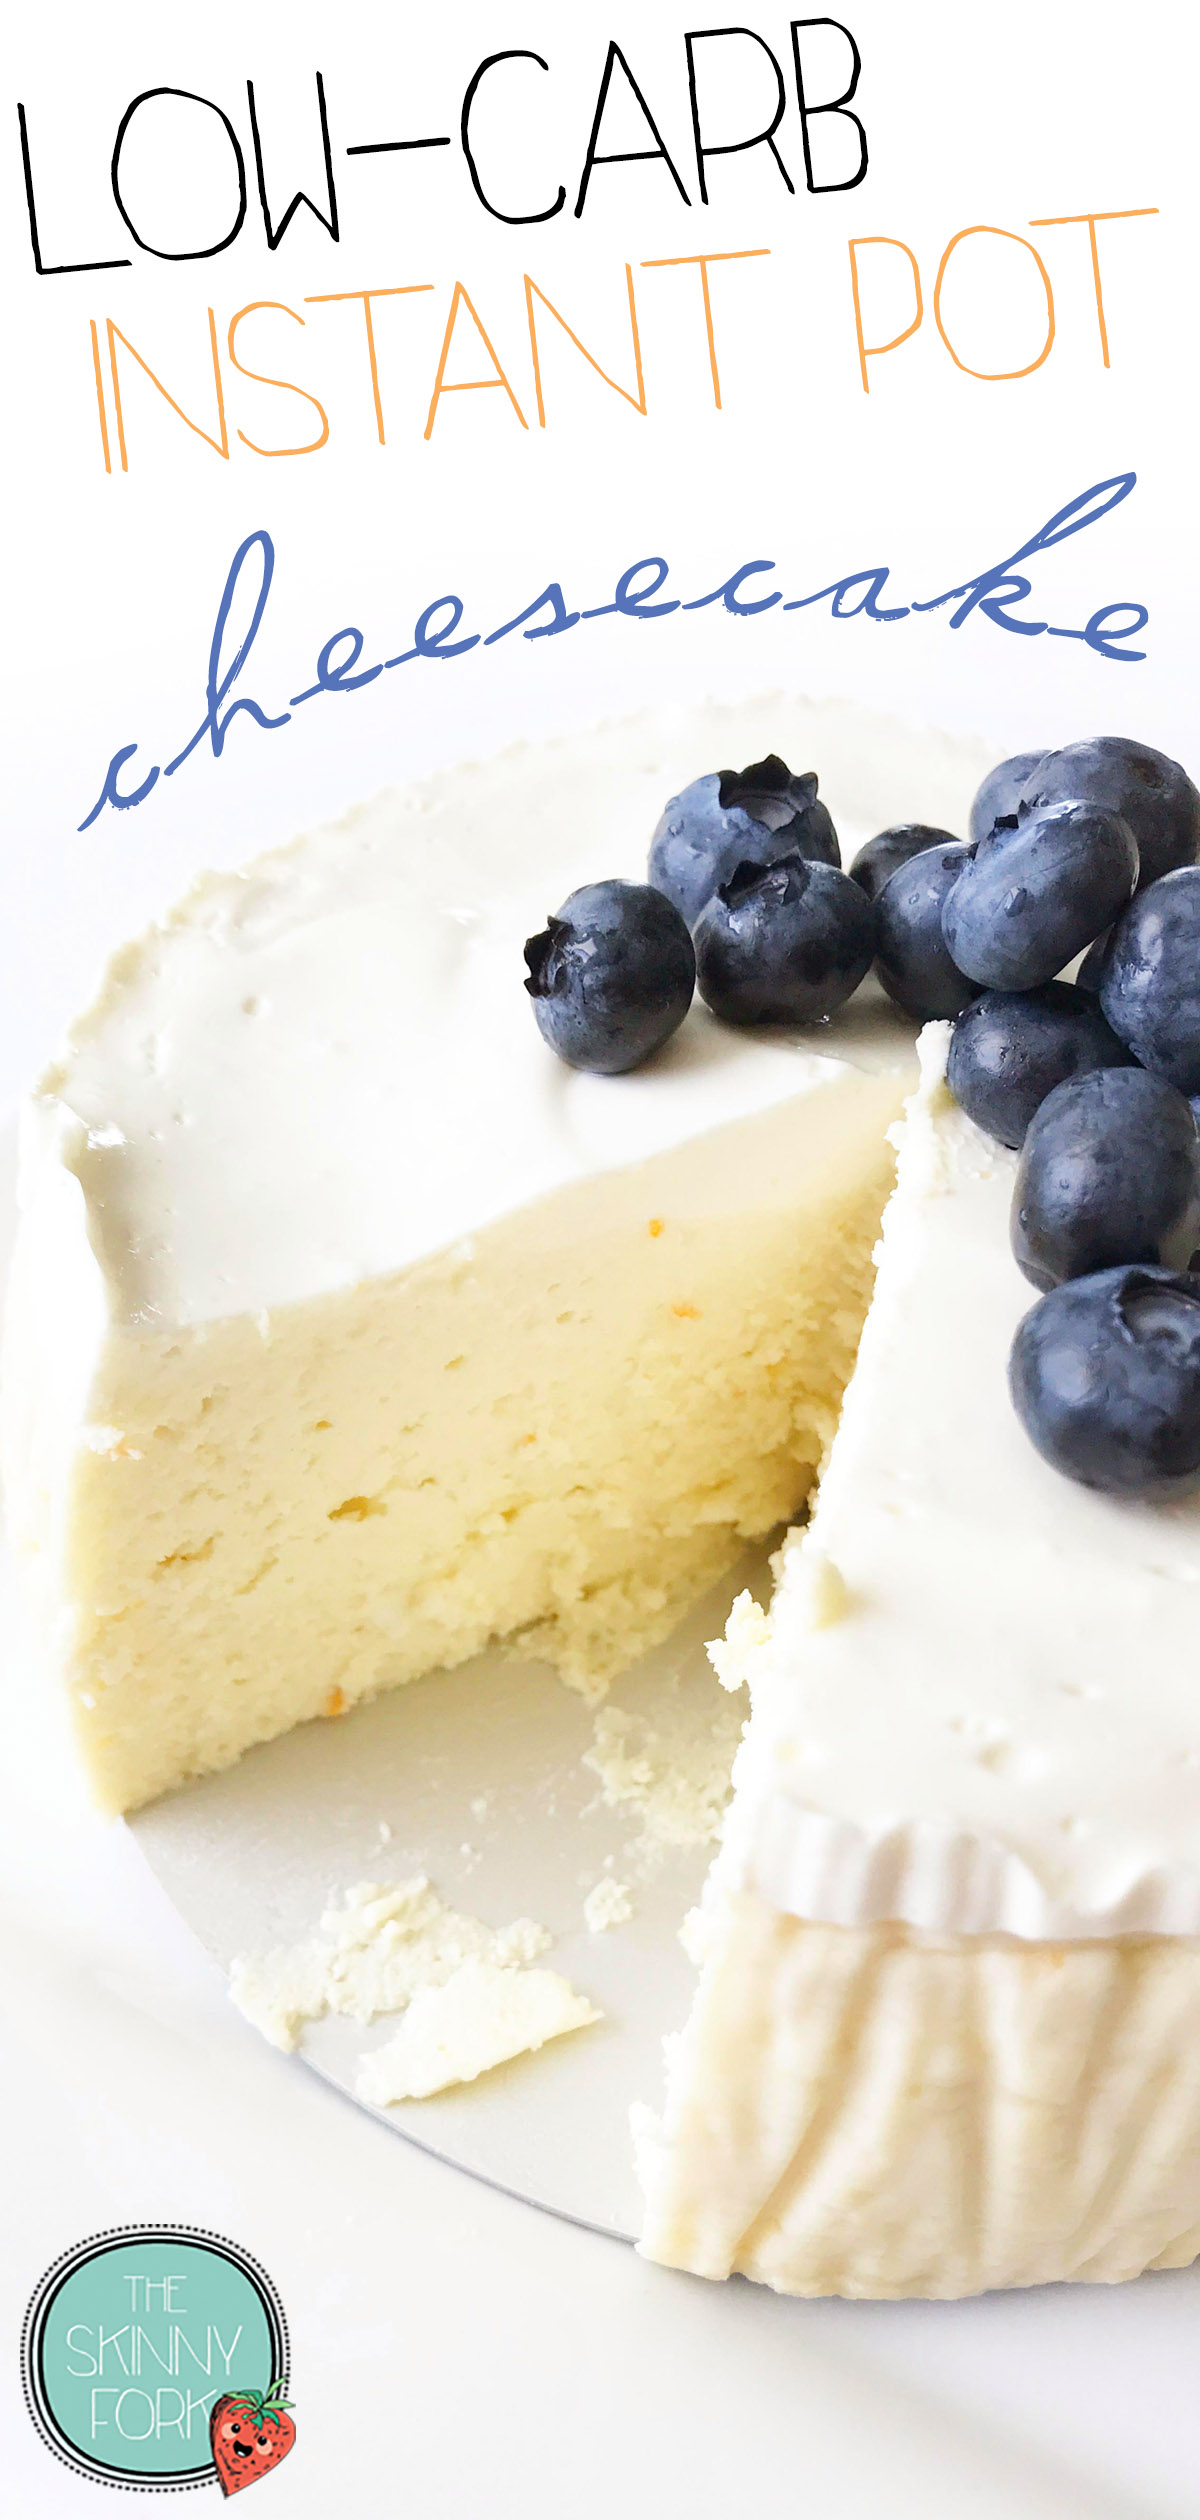
So, while it's literally as hot as hell in Texas... That doesn't stop me from wanting the things that I can't have. Or dare not have, anyway. Things that generally require the oven. Things like... cheesecake. Here we have a no-bake cheesecake that still manages to be cooked!
Don't let the idea of a cheesecake scare you. The idea of cheesecake more than scares me. There is SO many things that could go wrong with a cheesecake. And by cooking this one in the pressure cooker, we're eliminating a great deal of those complications while also lowering the sugar, the carbs, and the hassle.
First of all, we're lowering the carbs of this cheesecake right off the bat by making it a crustless cheesecake. We don't need it. So, we're skipping it all together. And I promise, you won't miss it at all! We're also lowering the sugar and flavoring this dessert with fresh citrus zest and a sweetened sour cream topping that you won't want to skip!
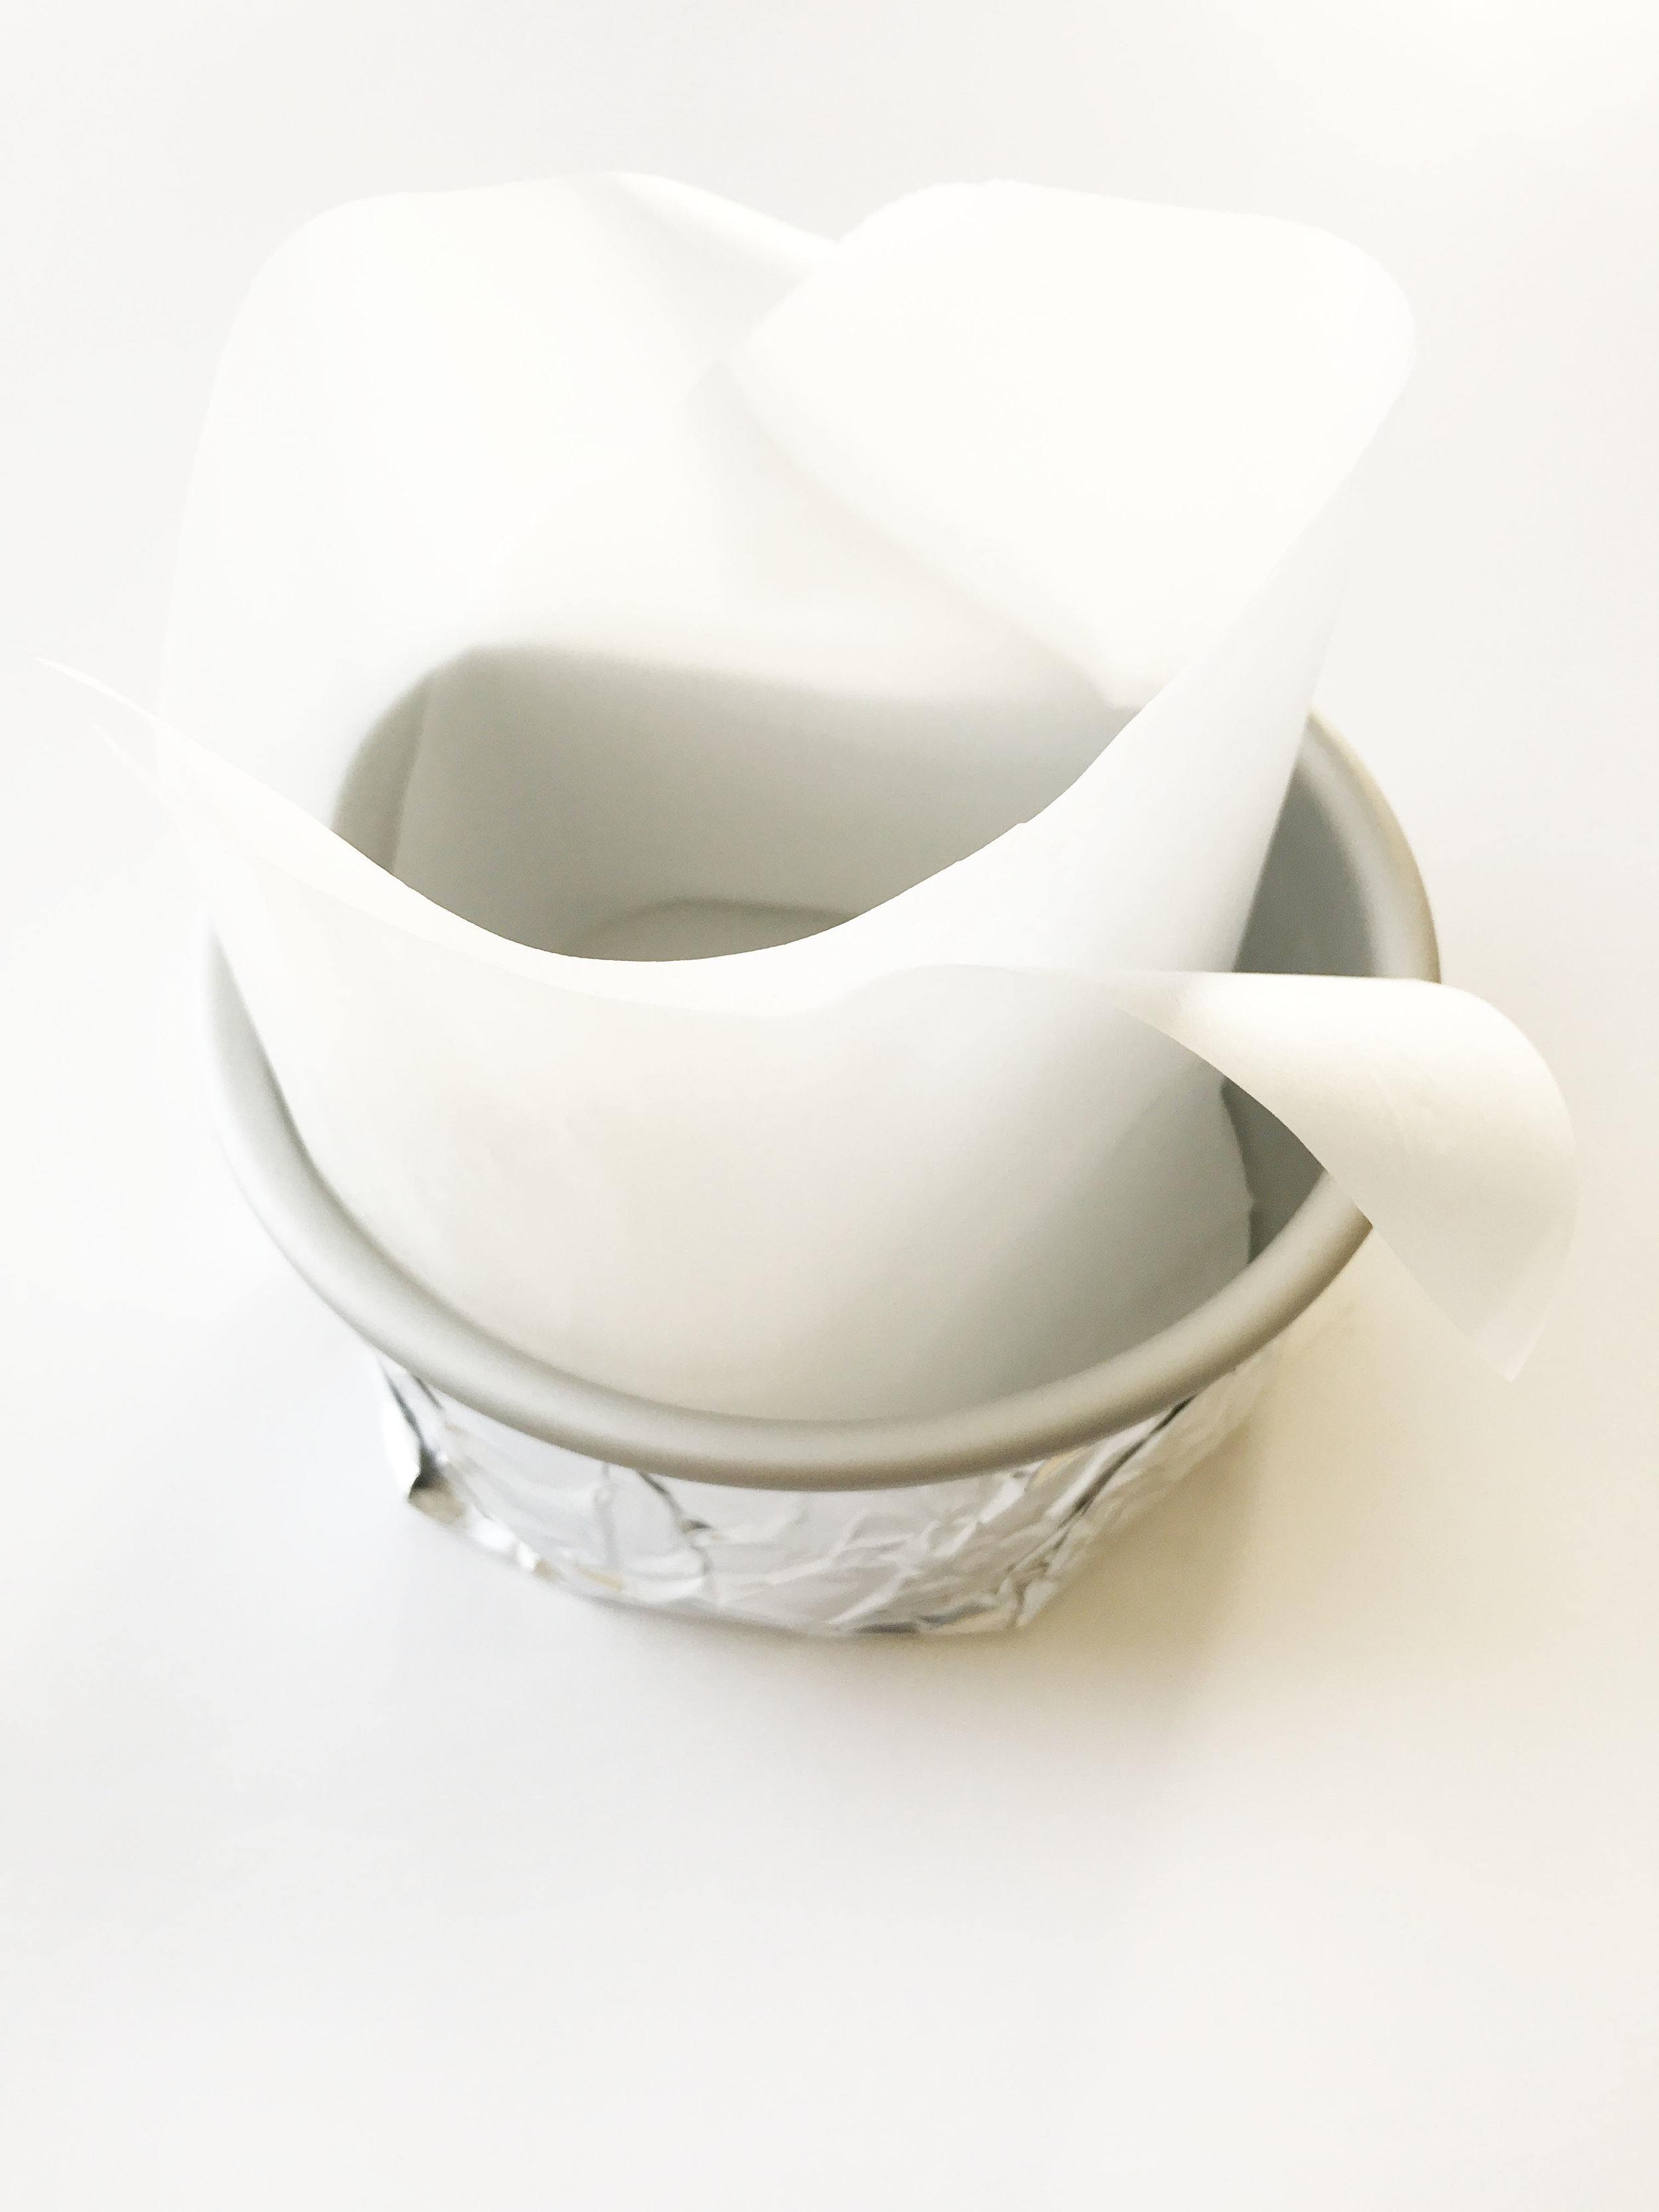
This cheesecake is rather easy to make. The hardest part about it is preparing the pan ahead of adding the cheesecake batter to it. And, if you've ever made a cheesecake before, this is pretty much a lot of the same in that regard.
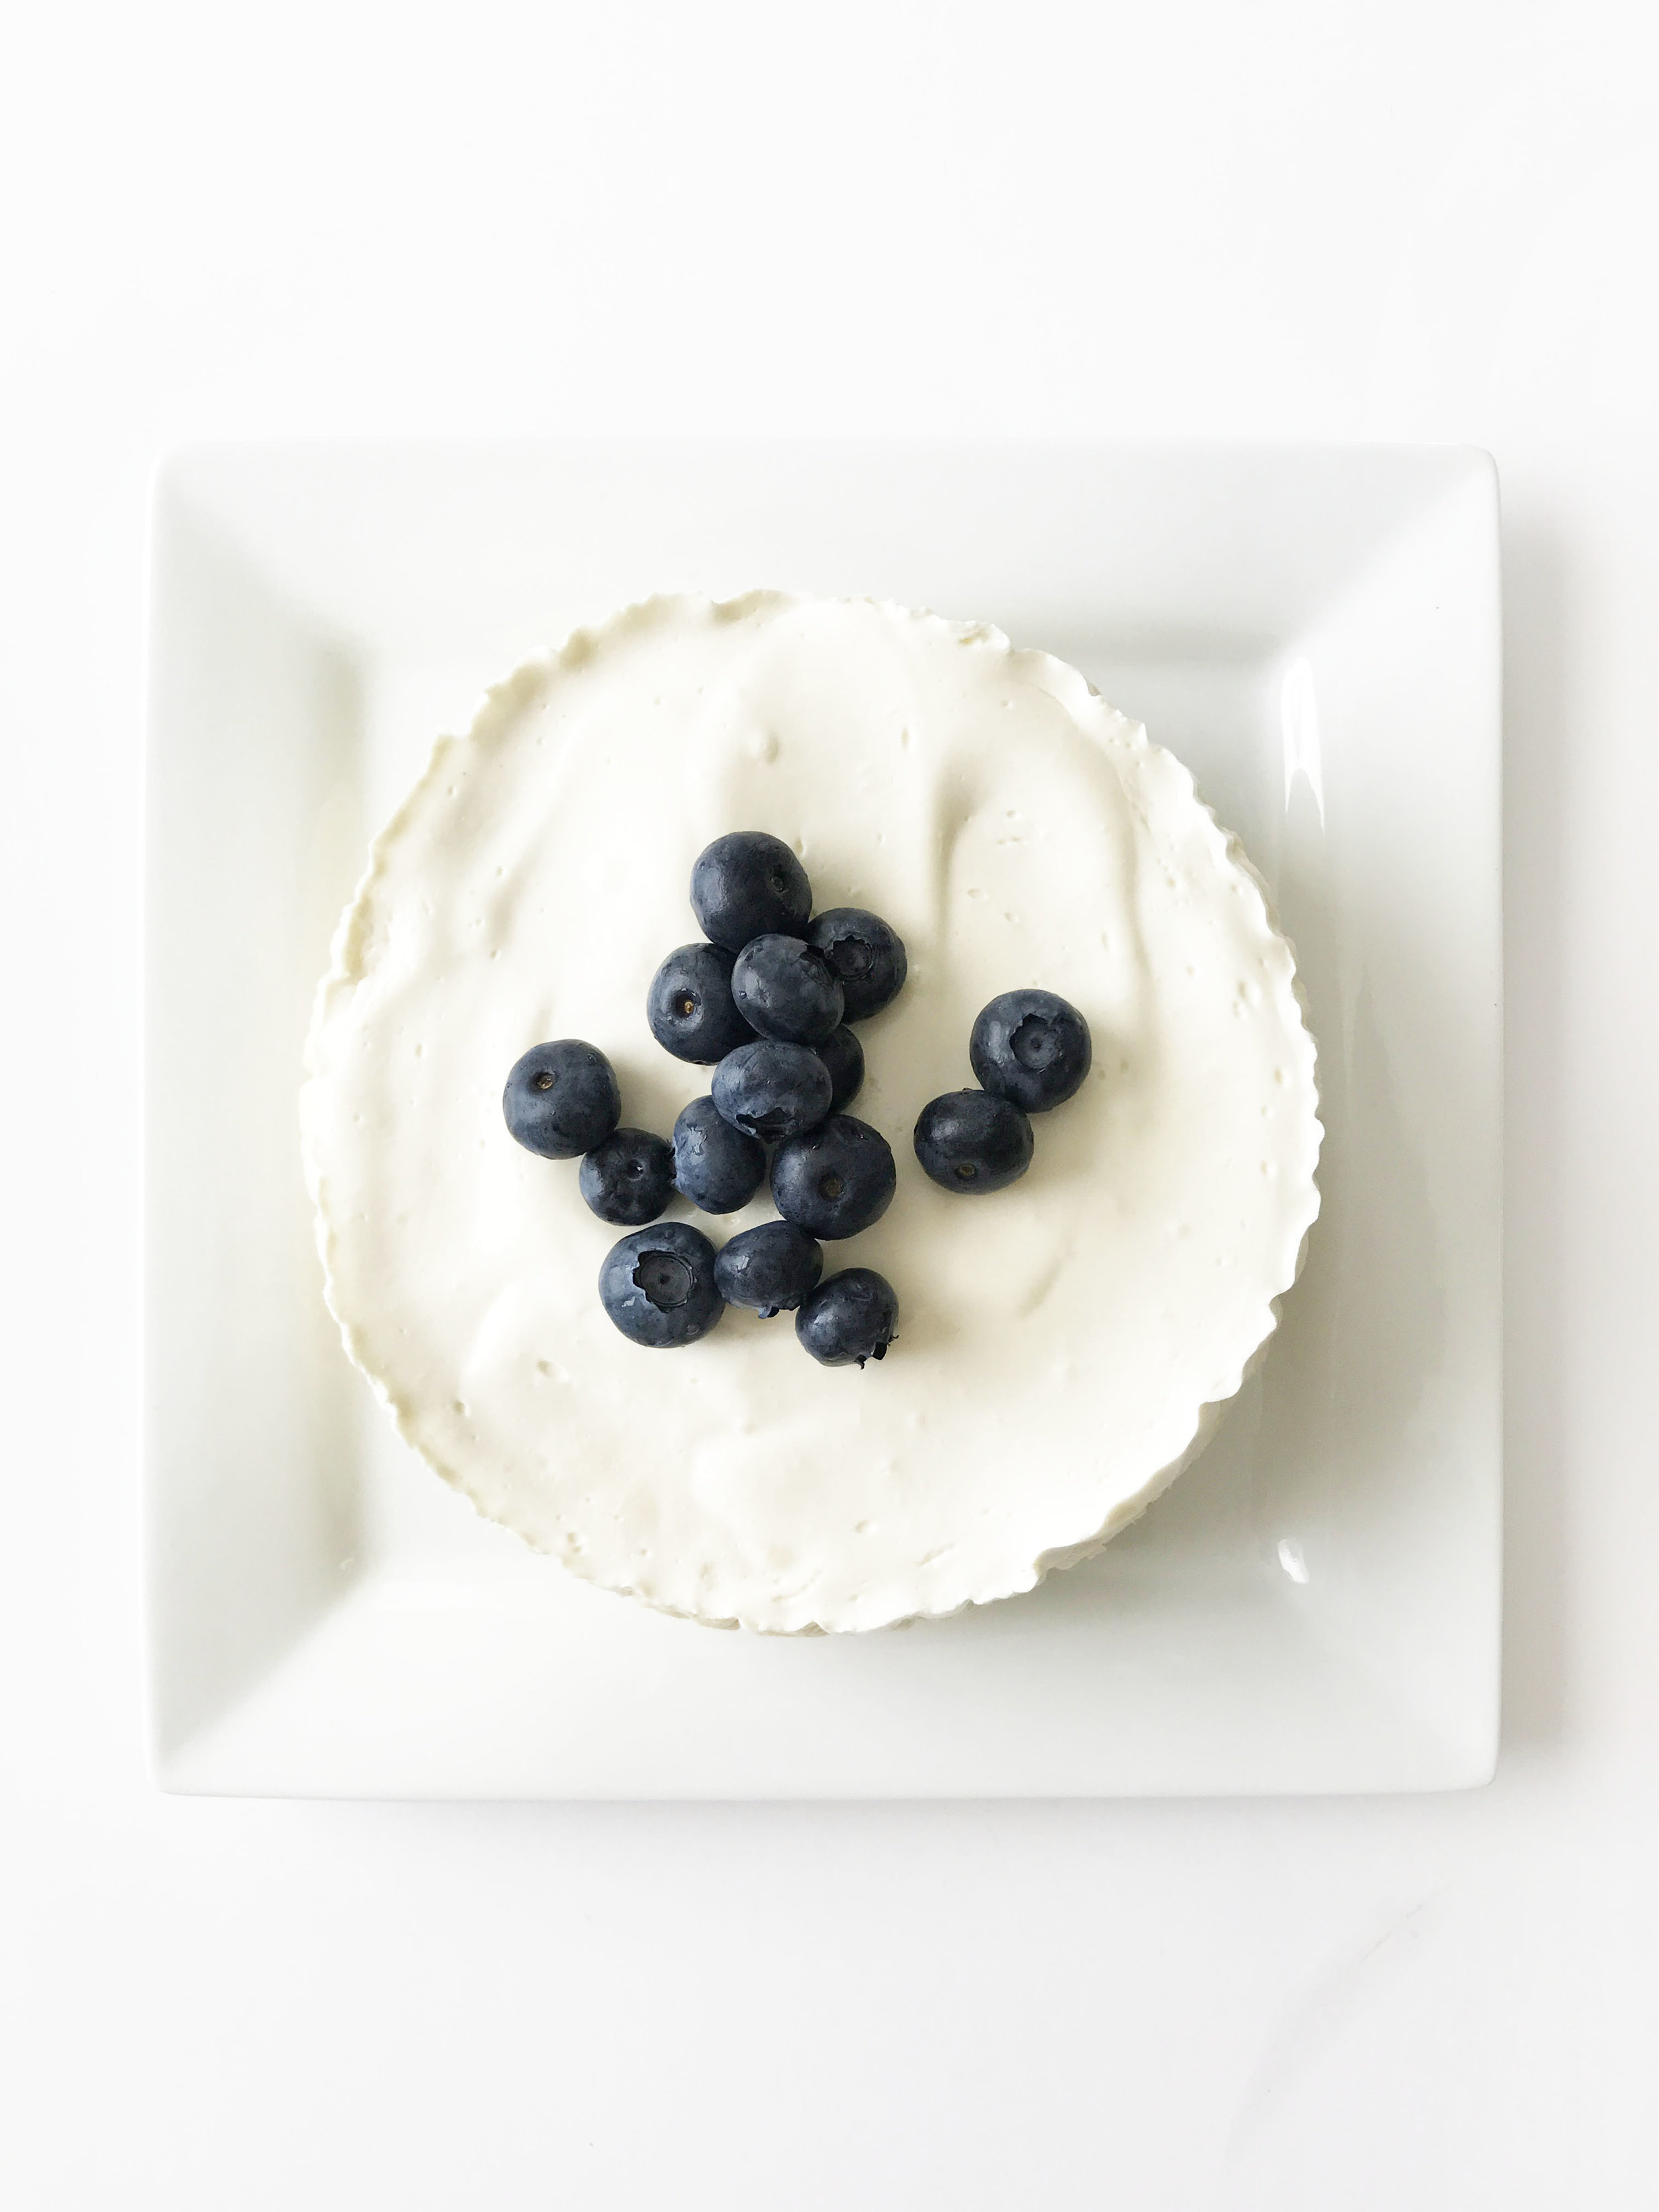
The only thing that I found needed to be added to this cheesecake at the end was a few fresh blueberries. But, any fresh fruit would be just as good with it!
TheSkinnyFork.com A delicious low-carb and low-sugar cheesecake that's no-bake and takes minimal heat to cook it in a pressure cooker. It's one of the best and easiest cheesecakes to make! Prep Time: 10 Minutes • Cook time: 12 Hours
Servings: 8 • Serving Size: 1 Slice • Calories: 309 • Fat: 30 g • Saturated Fat: 17 g • Carb: 5 g • Fiber: 0 g • Protein: 6 g • Sugar: 3 g • Sodium: 251 mg
Cheesecake:
• 16 Oz. Cream Cheese, Room Temperature
• 1/2 C. + 2 Tbsp. Granulated Natural Sweetener (Swerve, Stevia, Monk, Etc.)
• 1/4 C. Heavy Whipping Cream
• 1/2 Tsp. Vanilla Extract
• 1 Small Lemon Zested
• 1 Tsp. Fresh Orange Zest
• 3 Whole Large Eggs, At Room Temperature
Topping:
• 1/2 C. Sour Cream
• 2 Tsp. Granulated Natural Sweetener (Swerve, Stevia, Monk, Etc.) Directions:
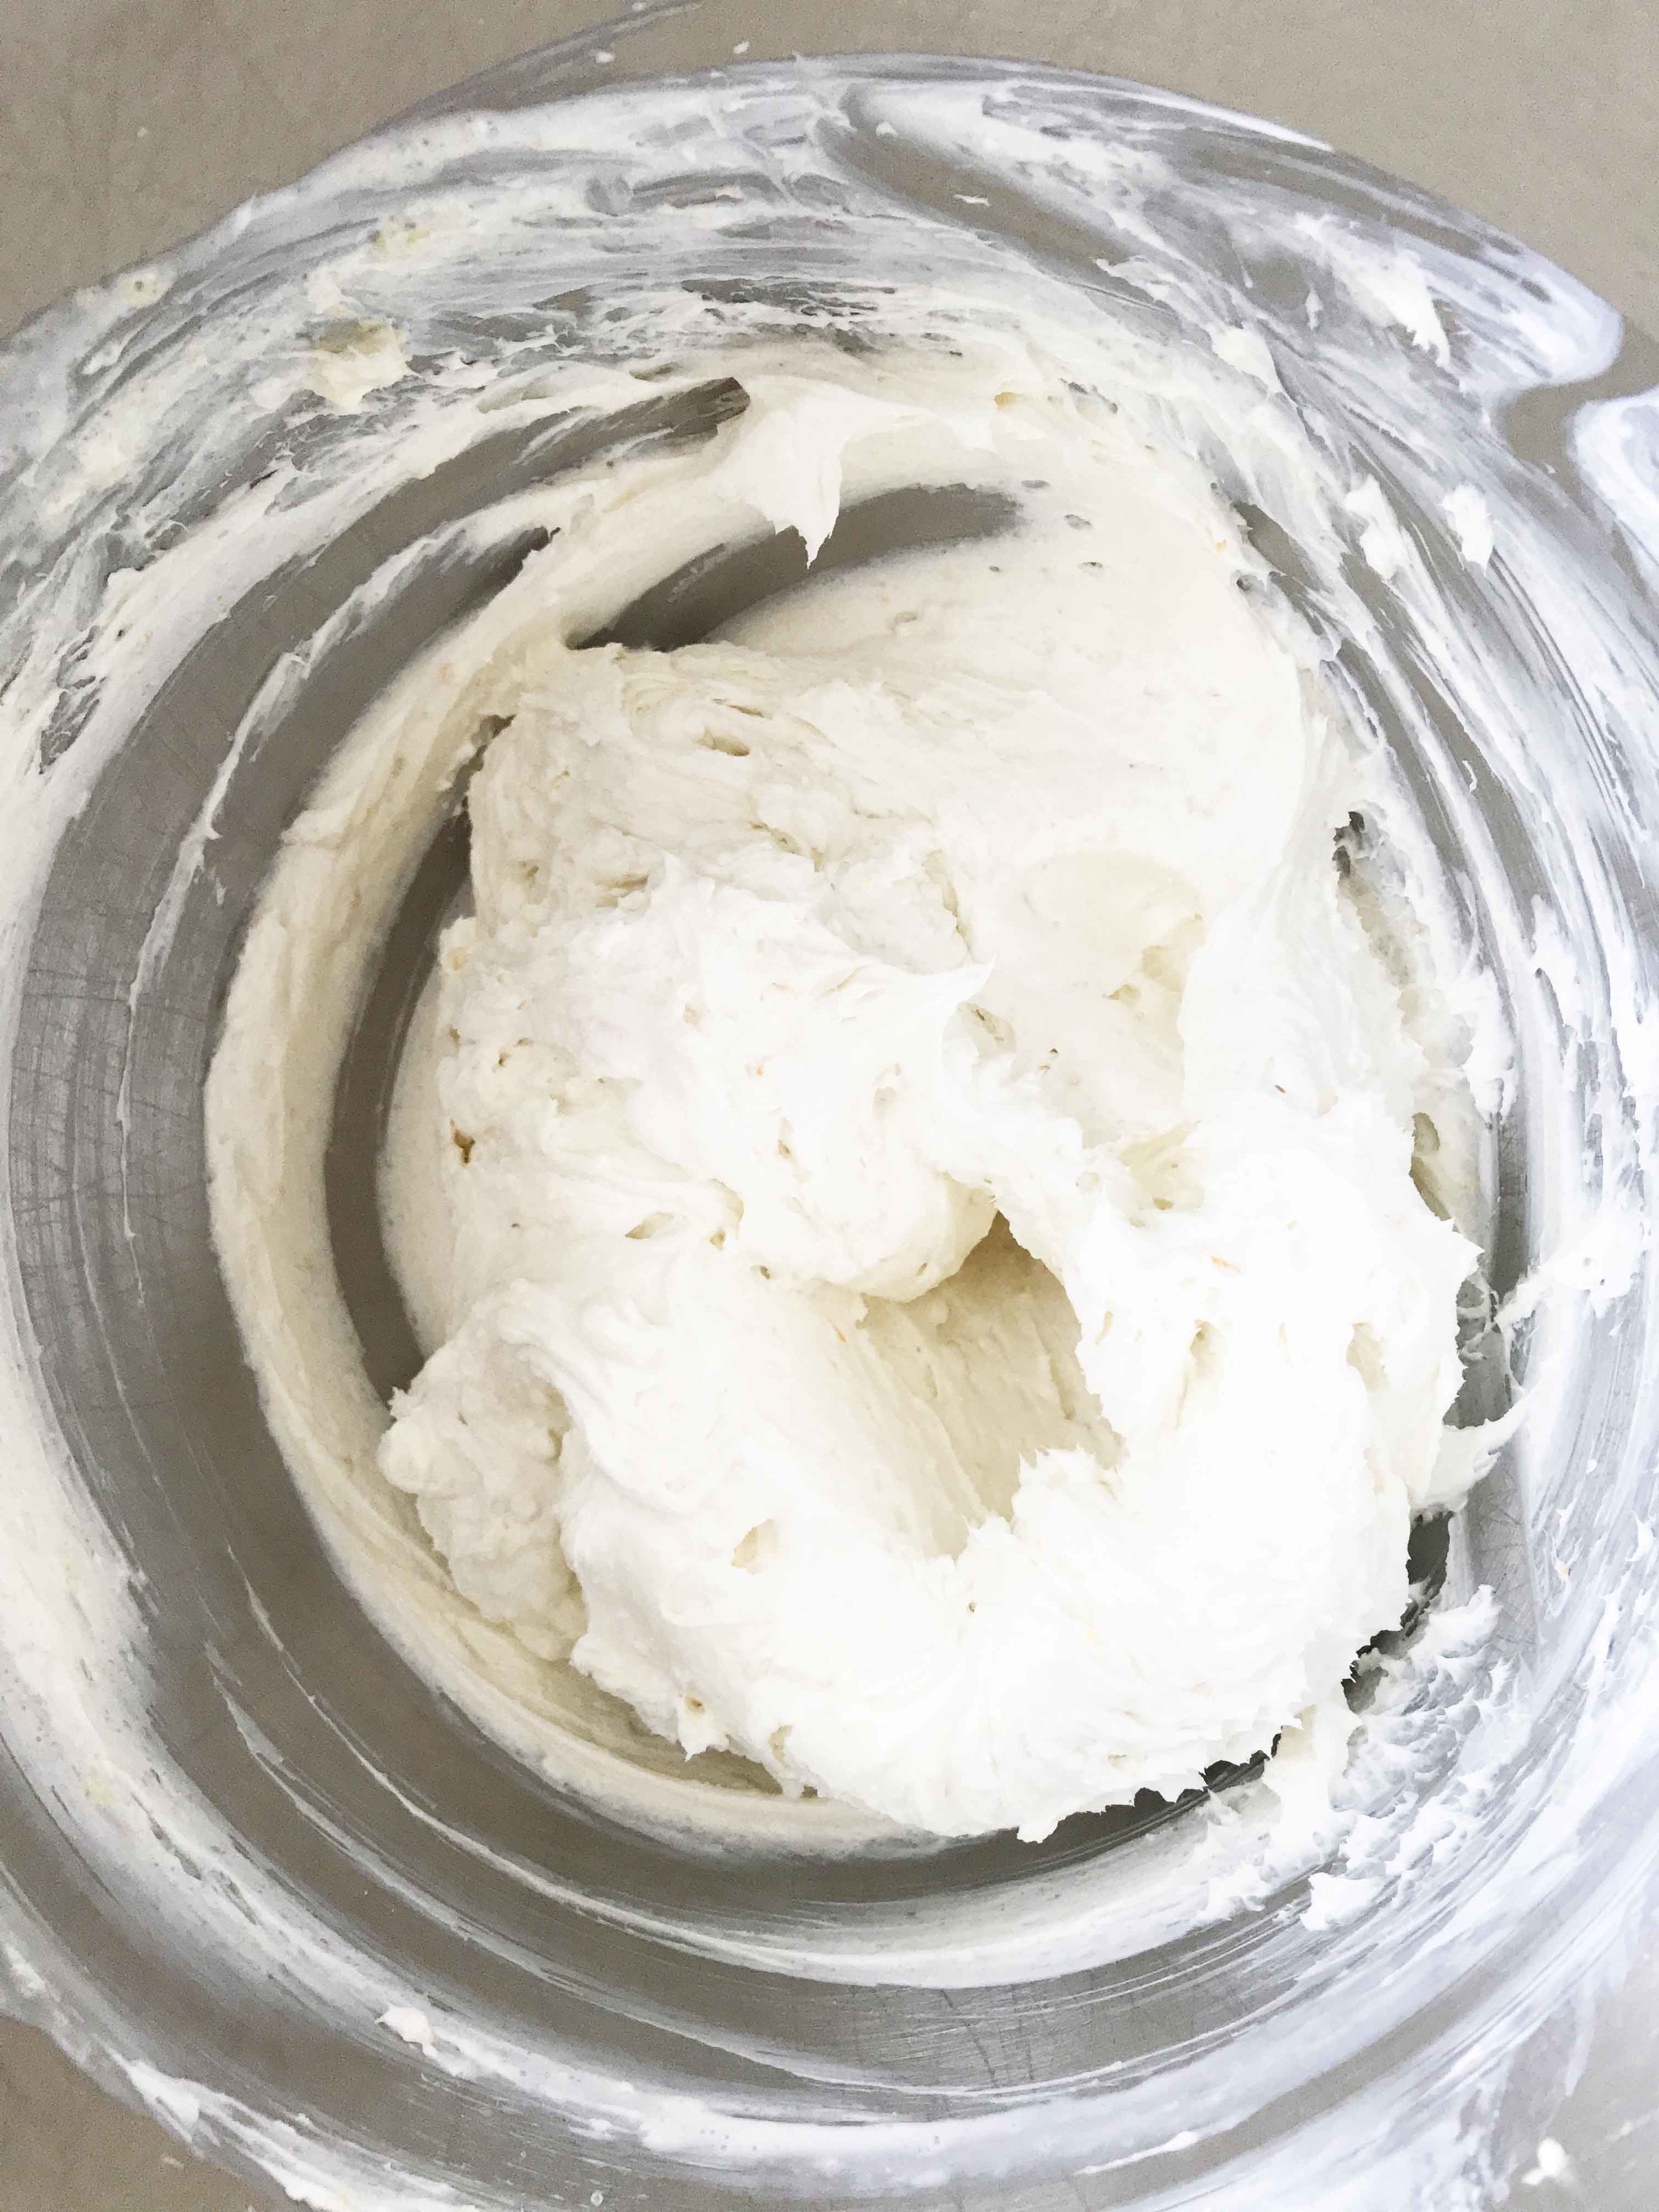
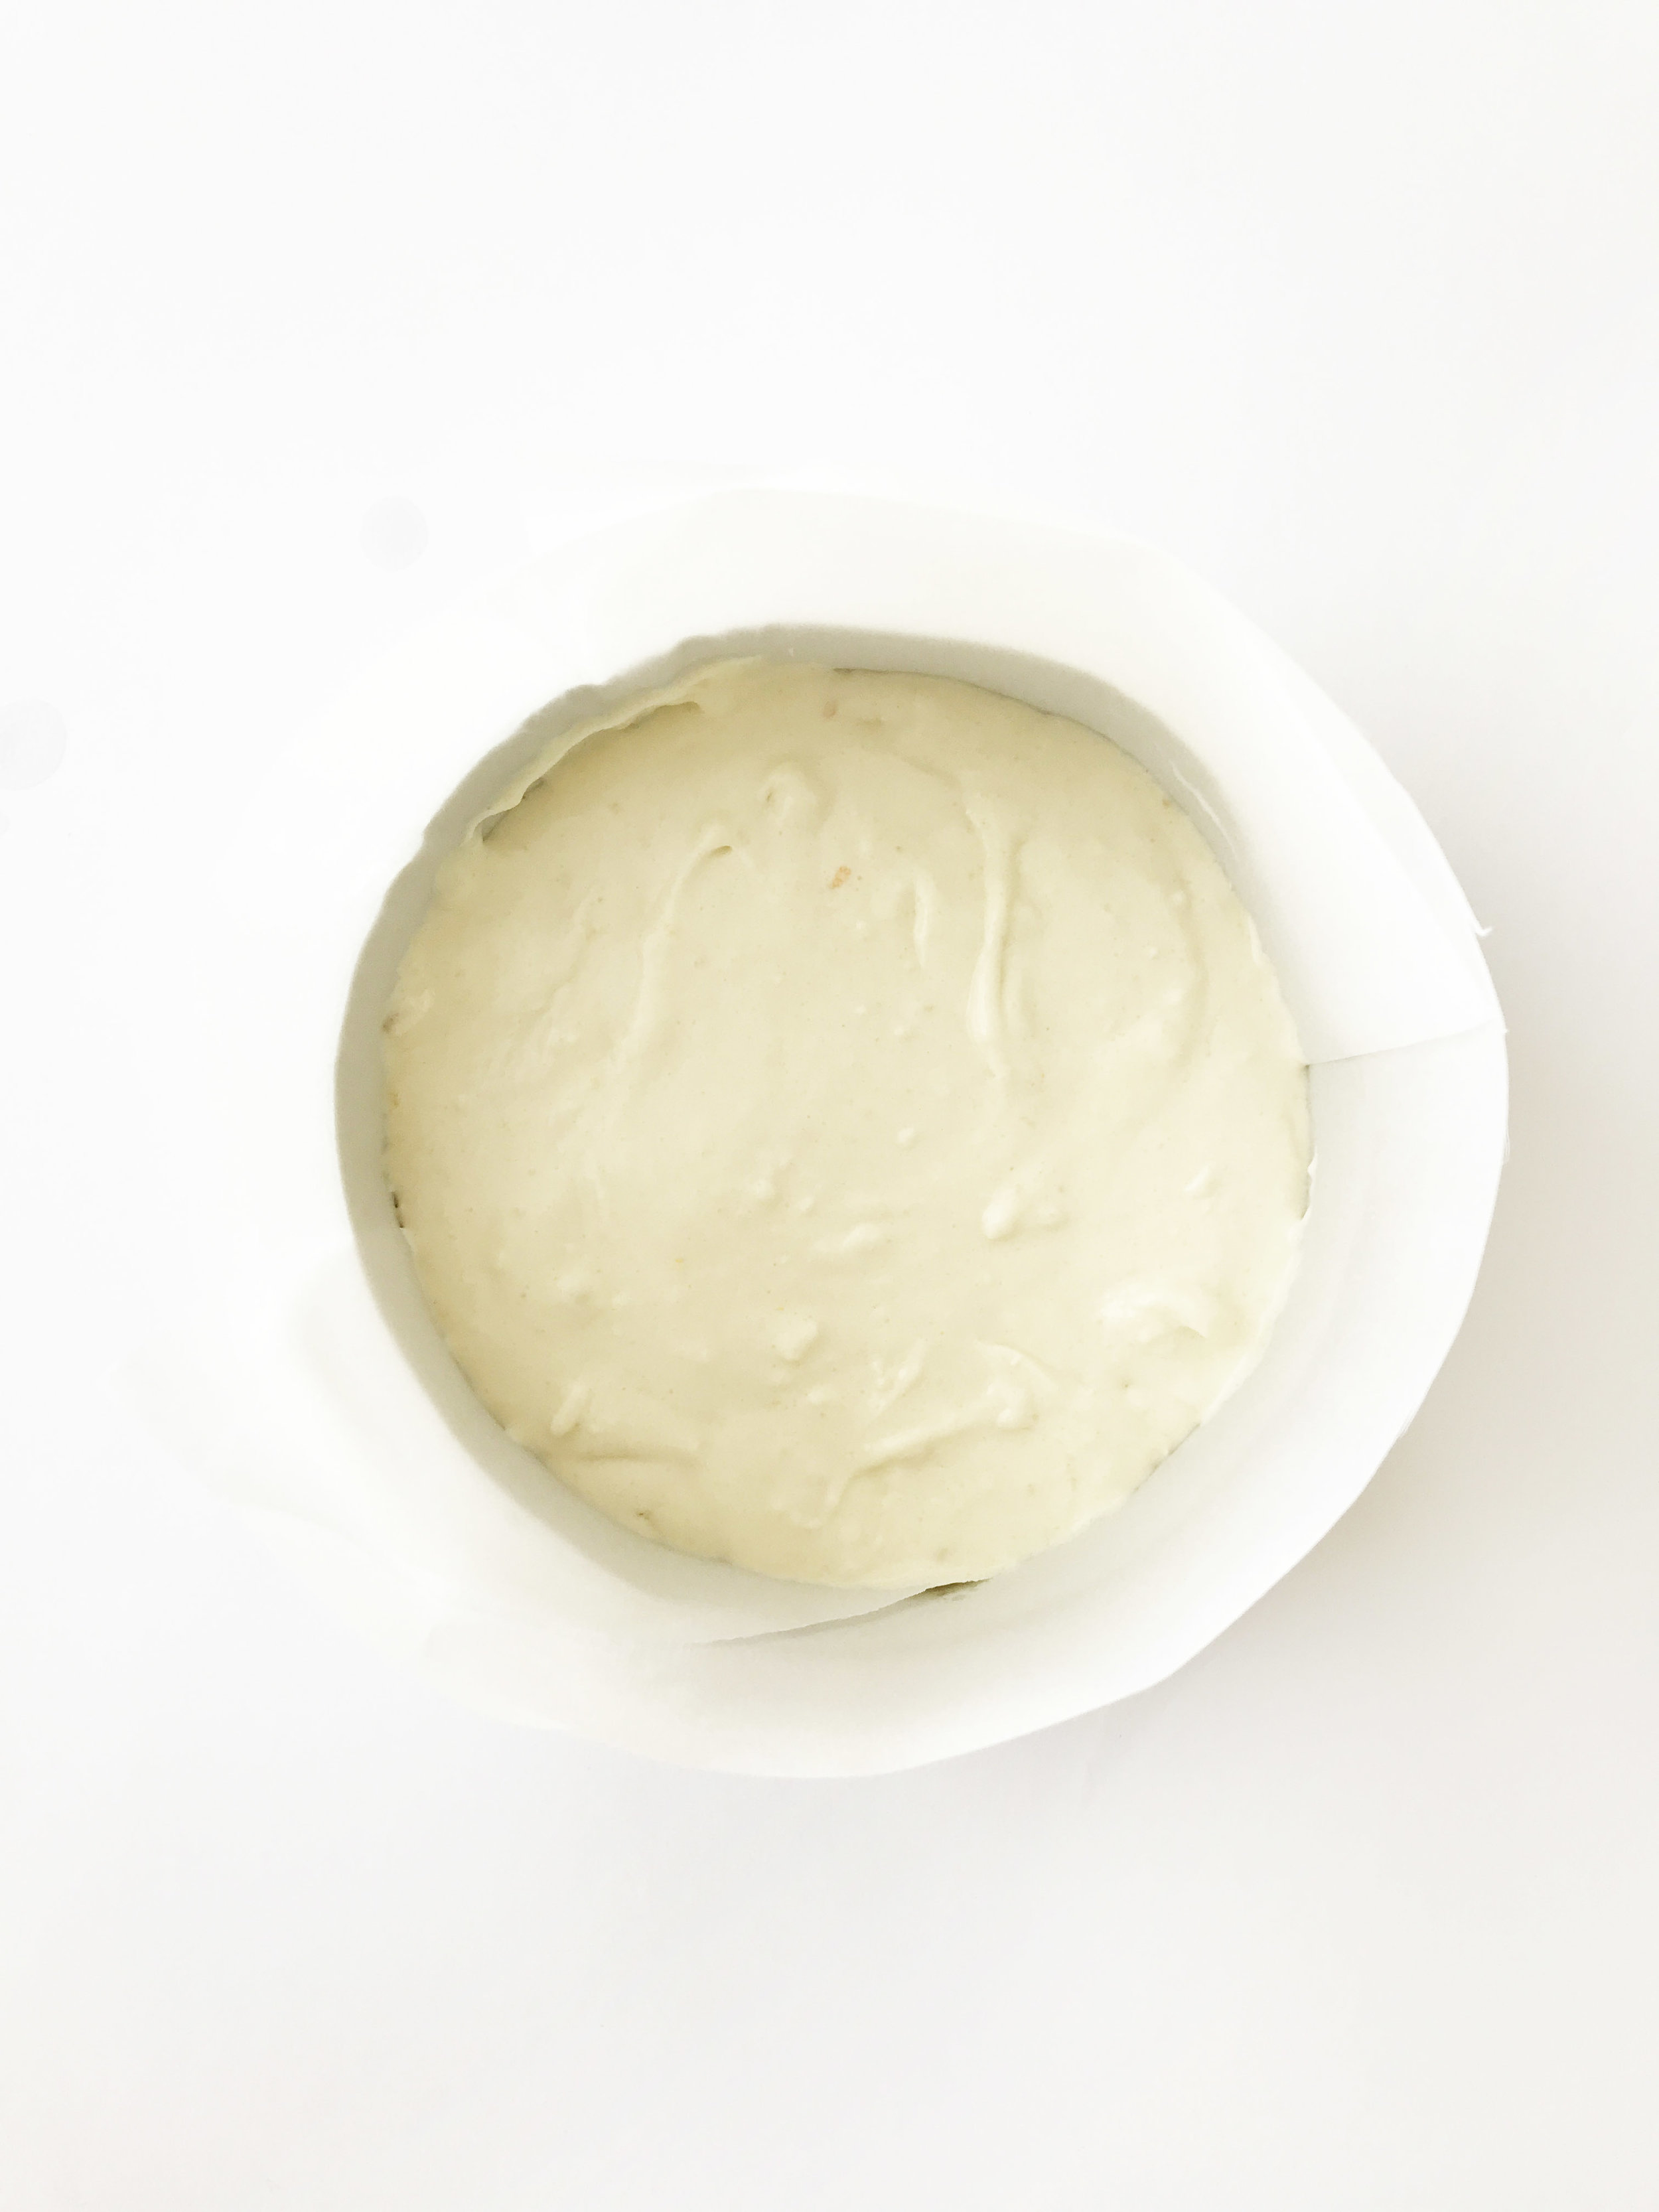
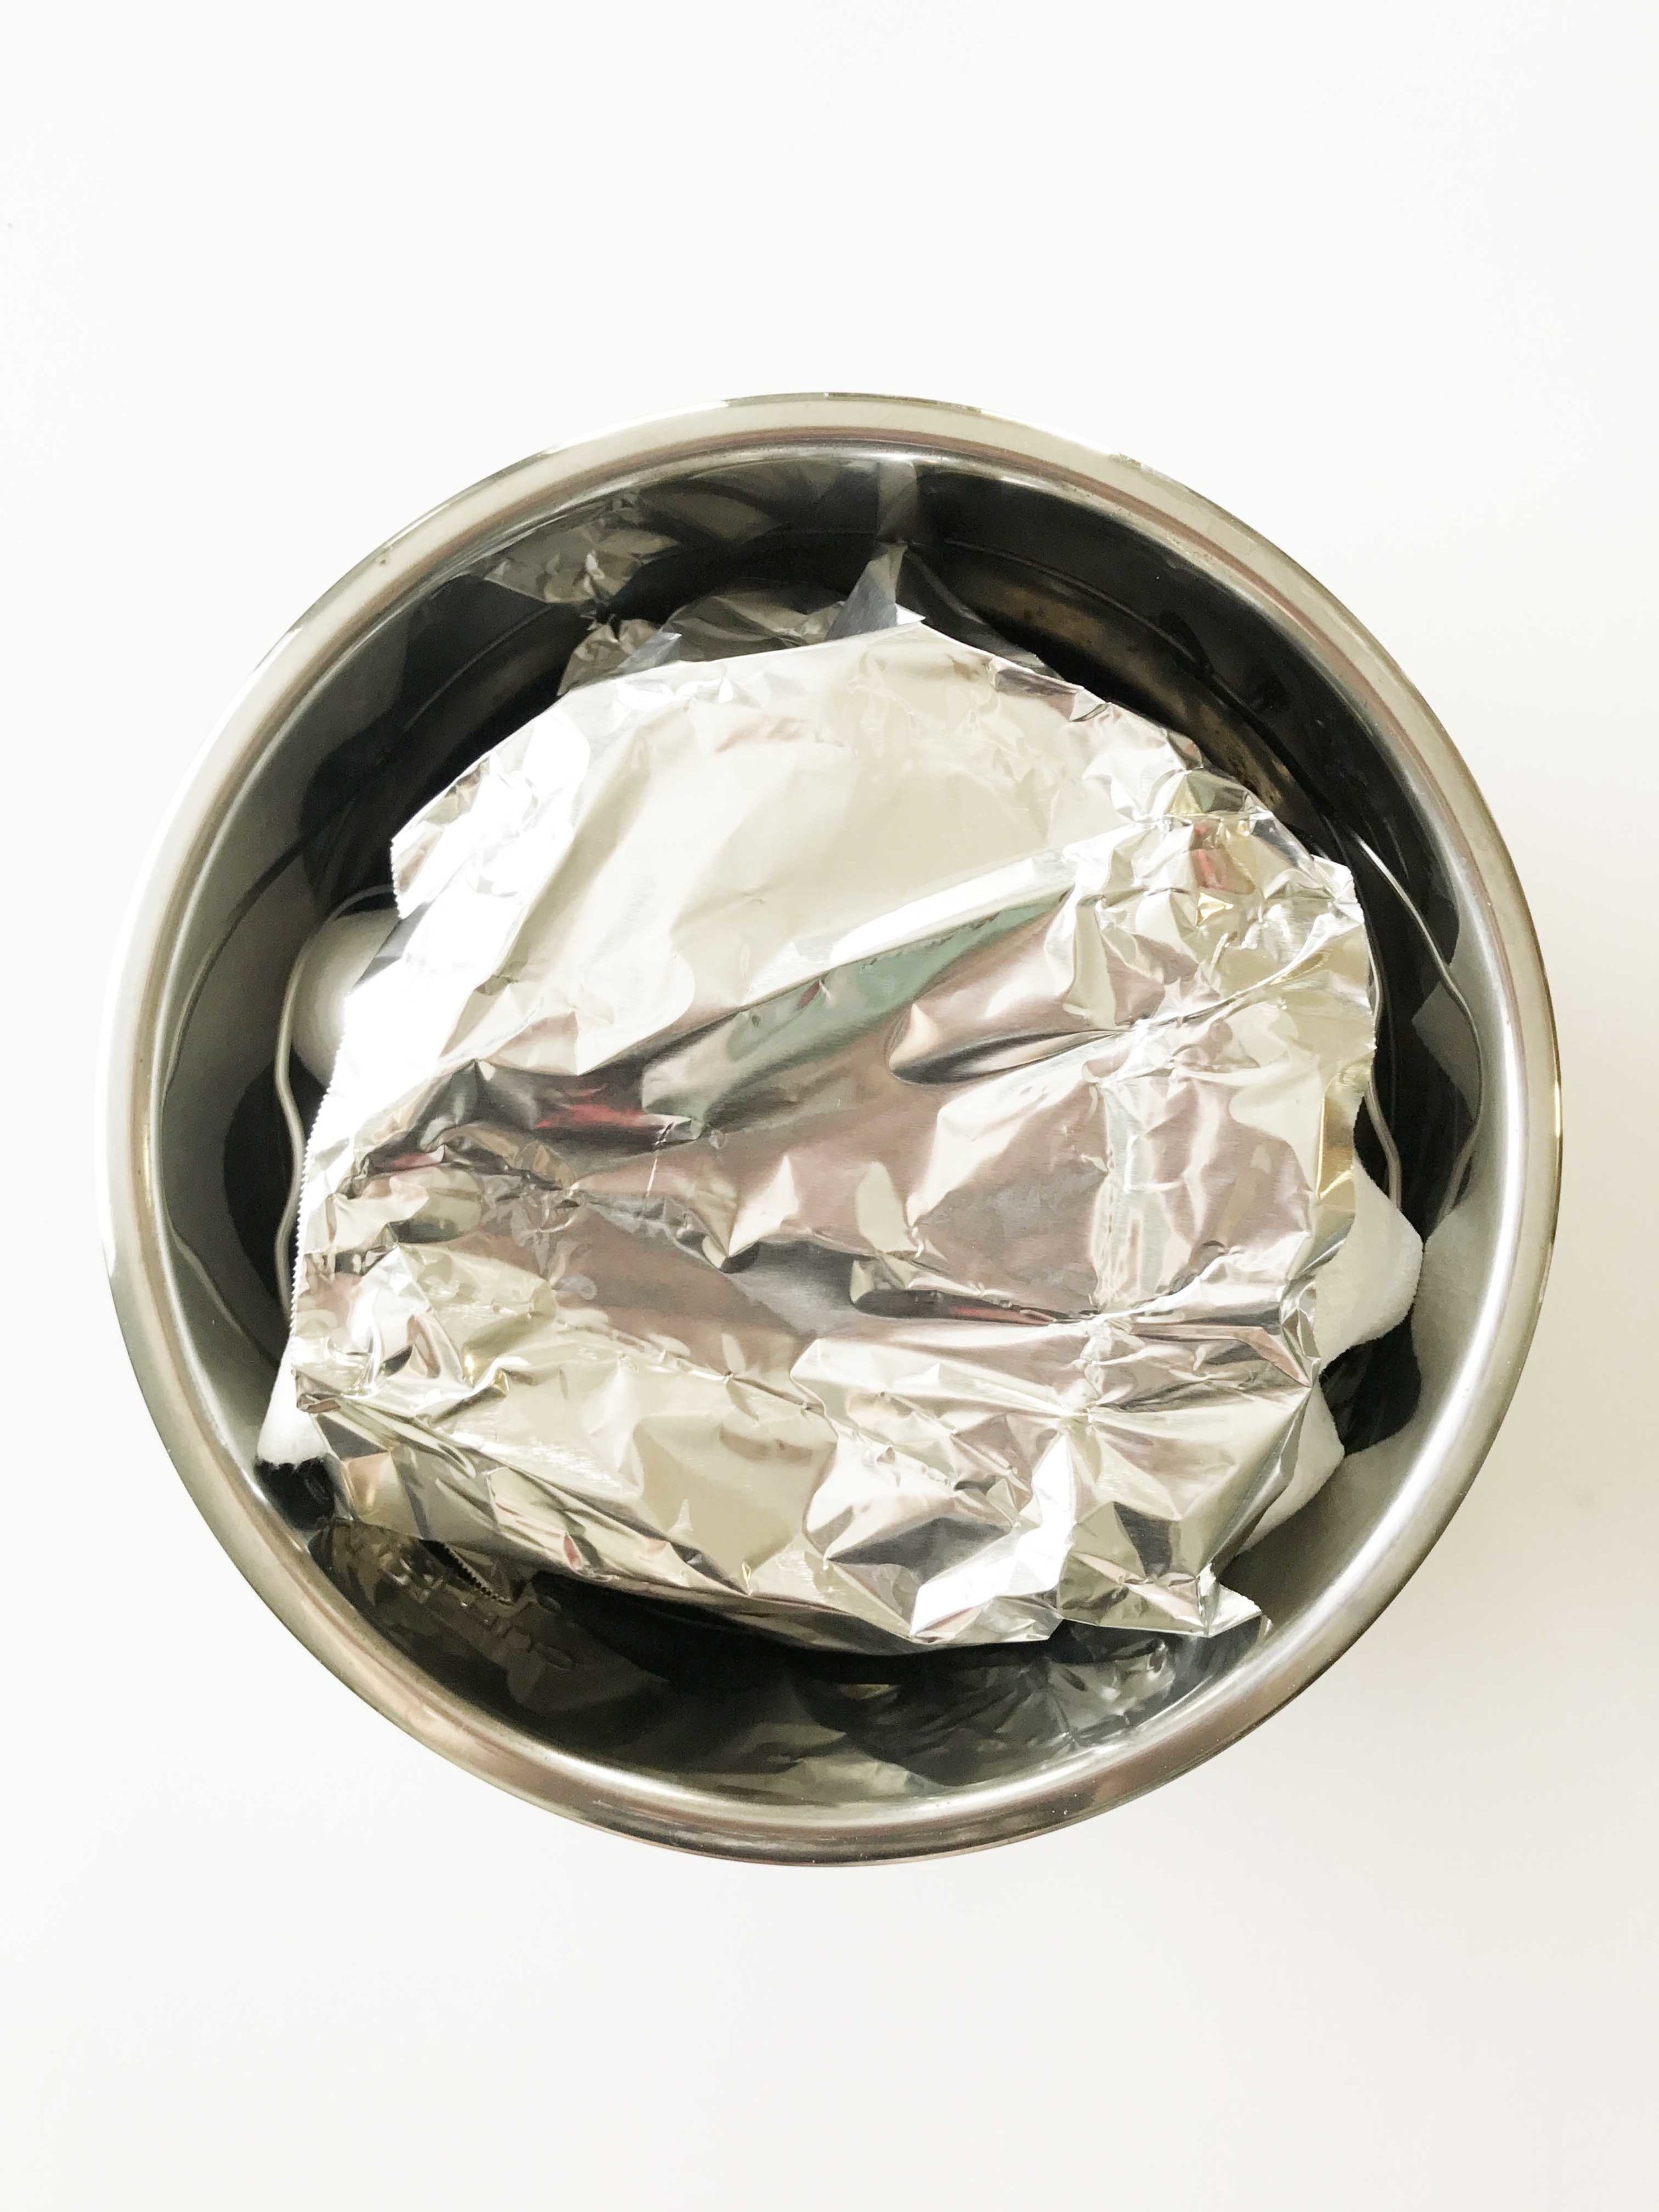
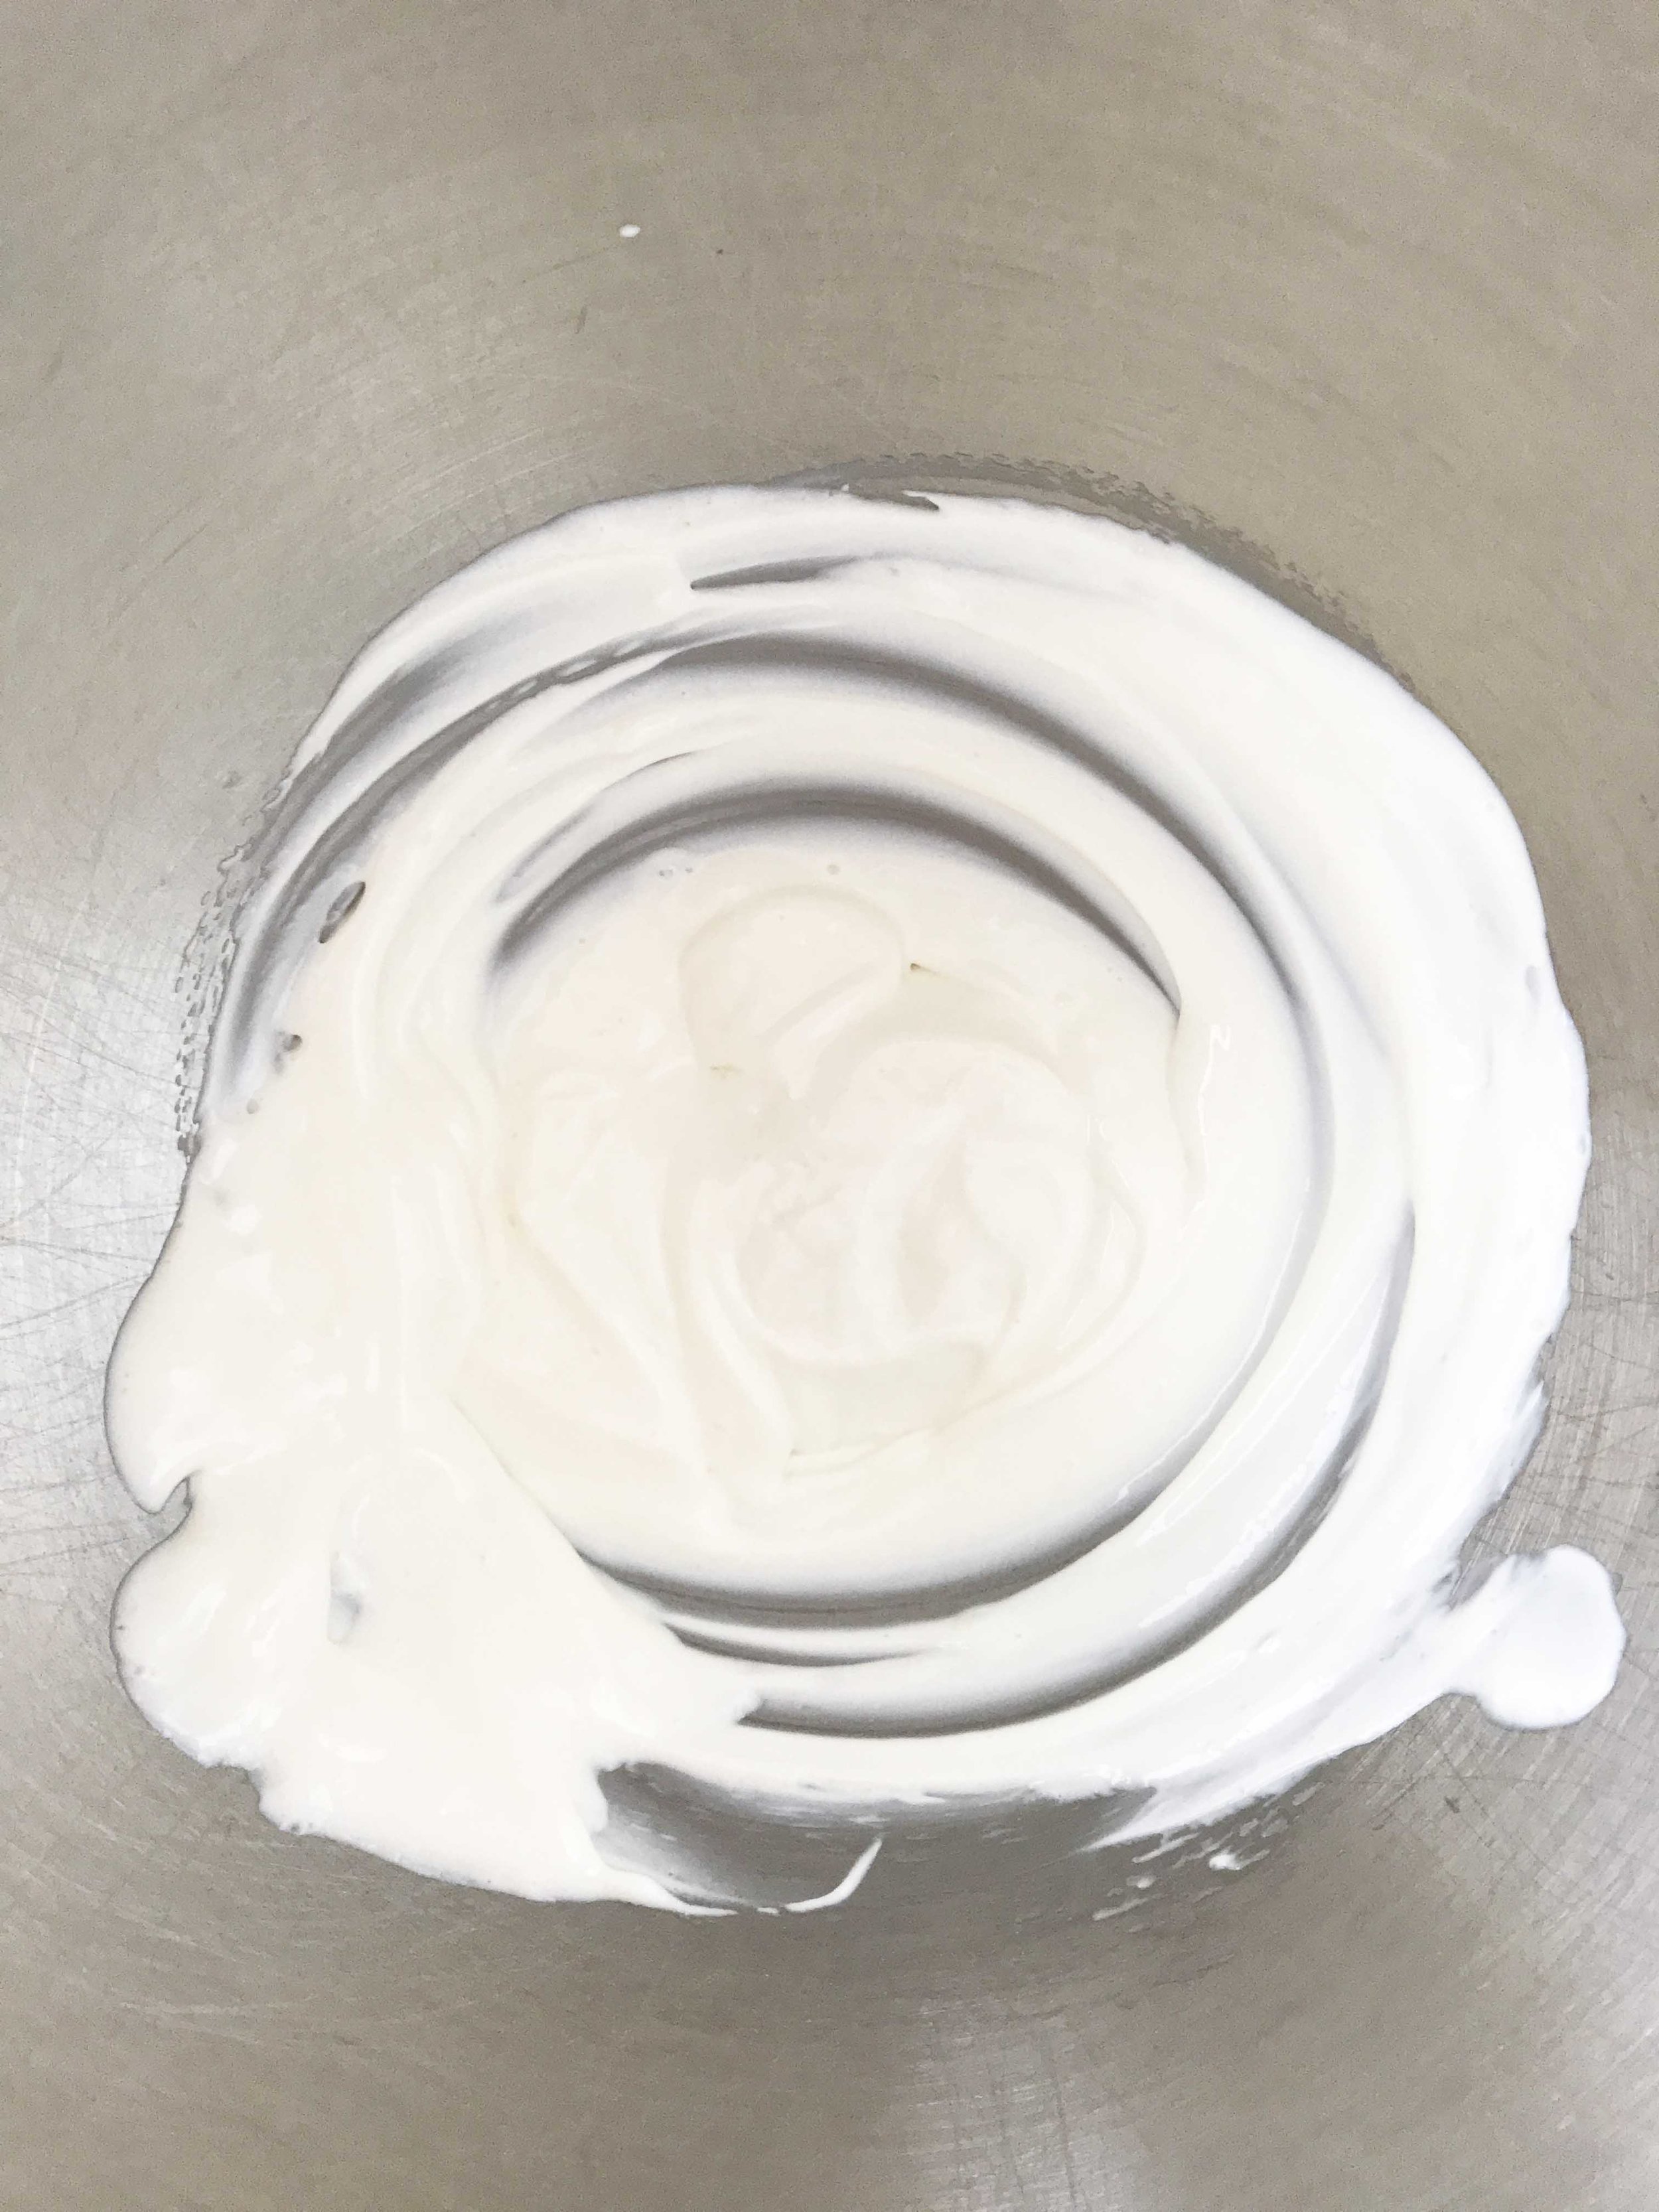
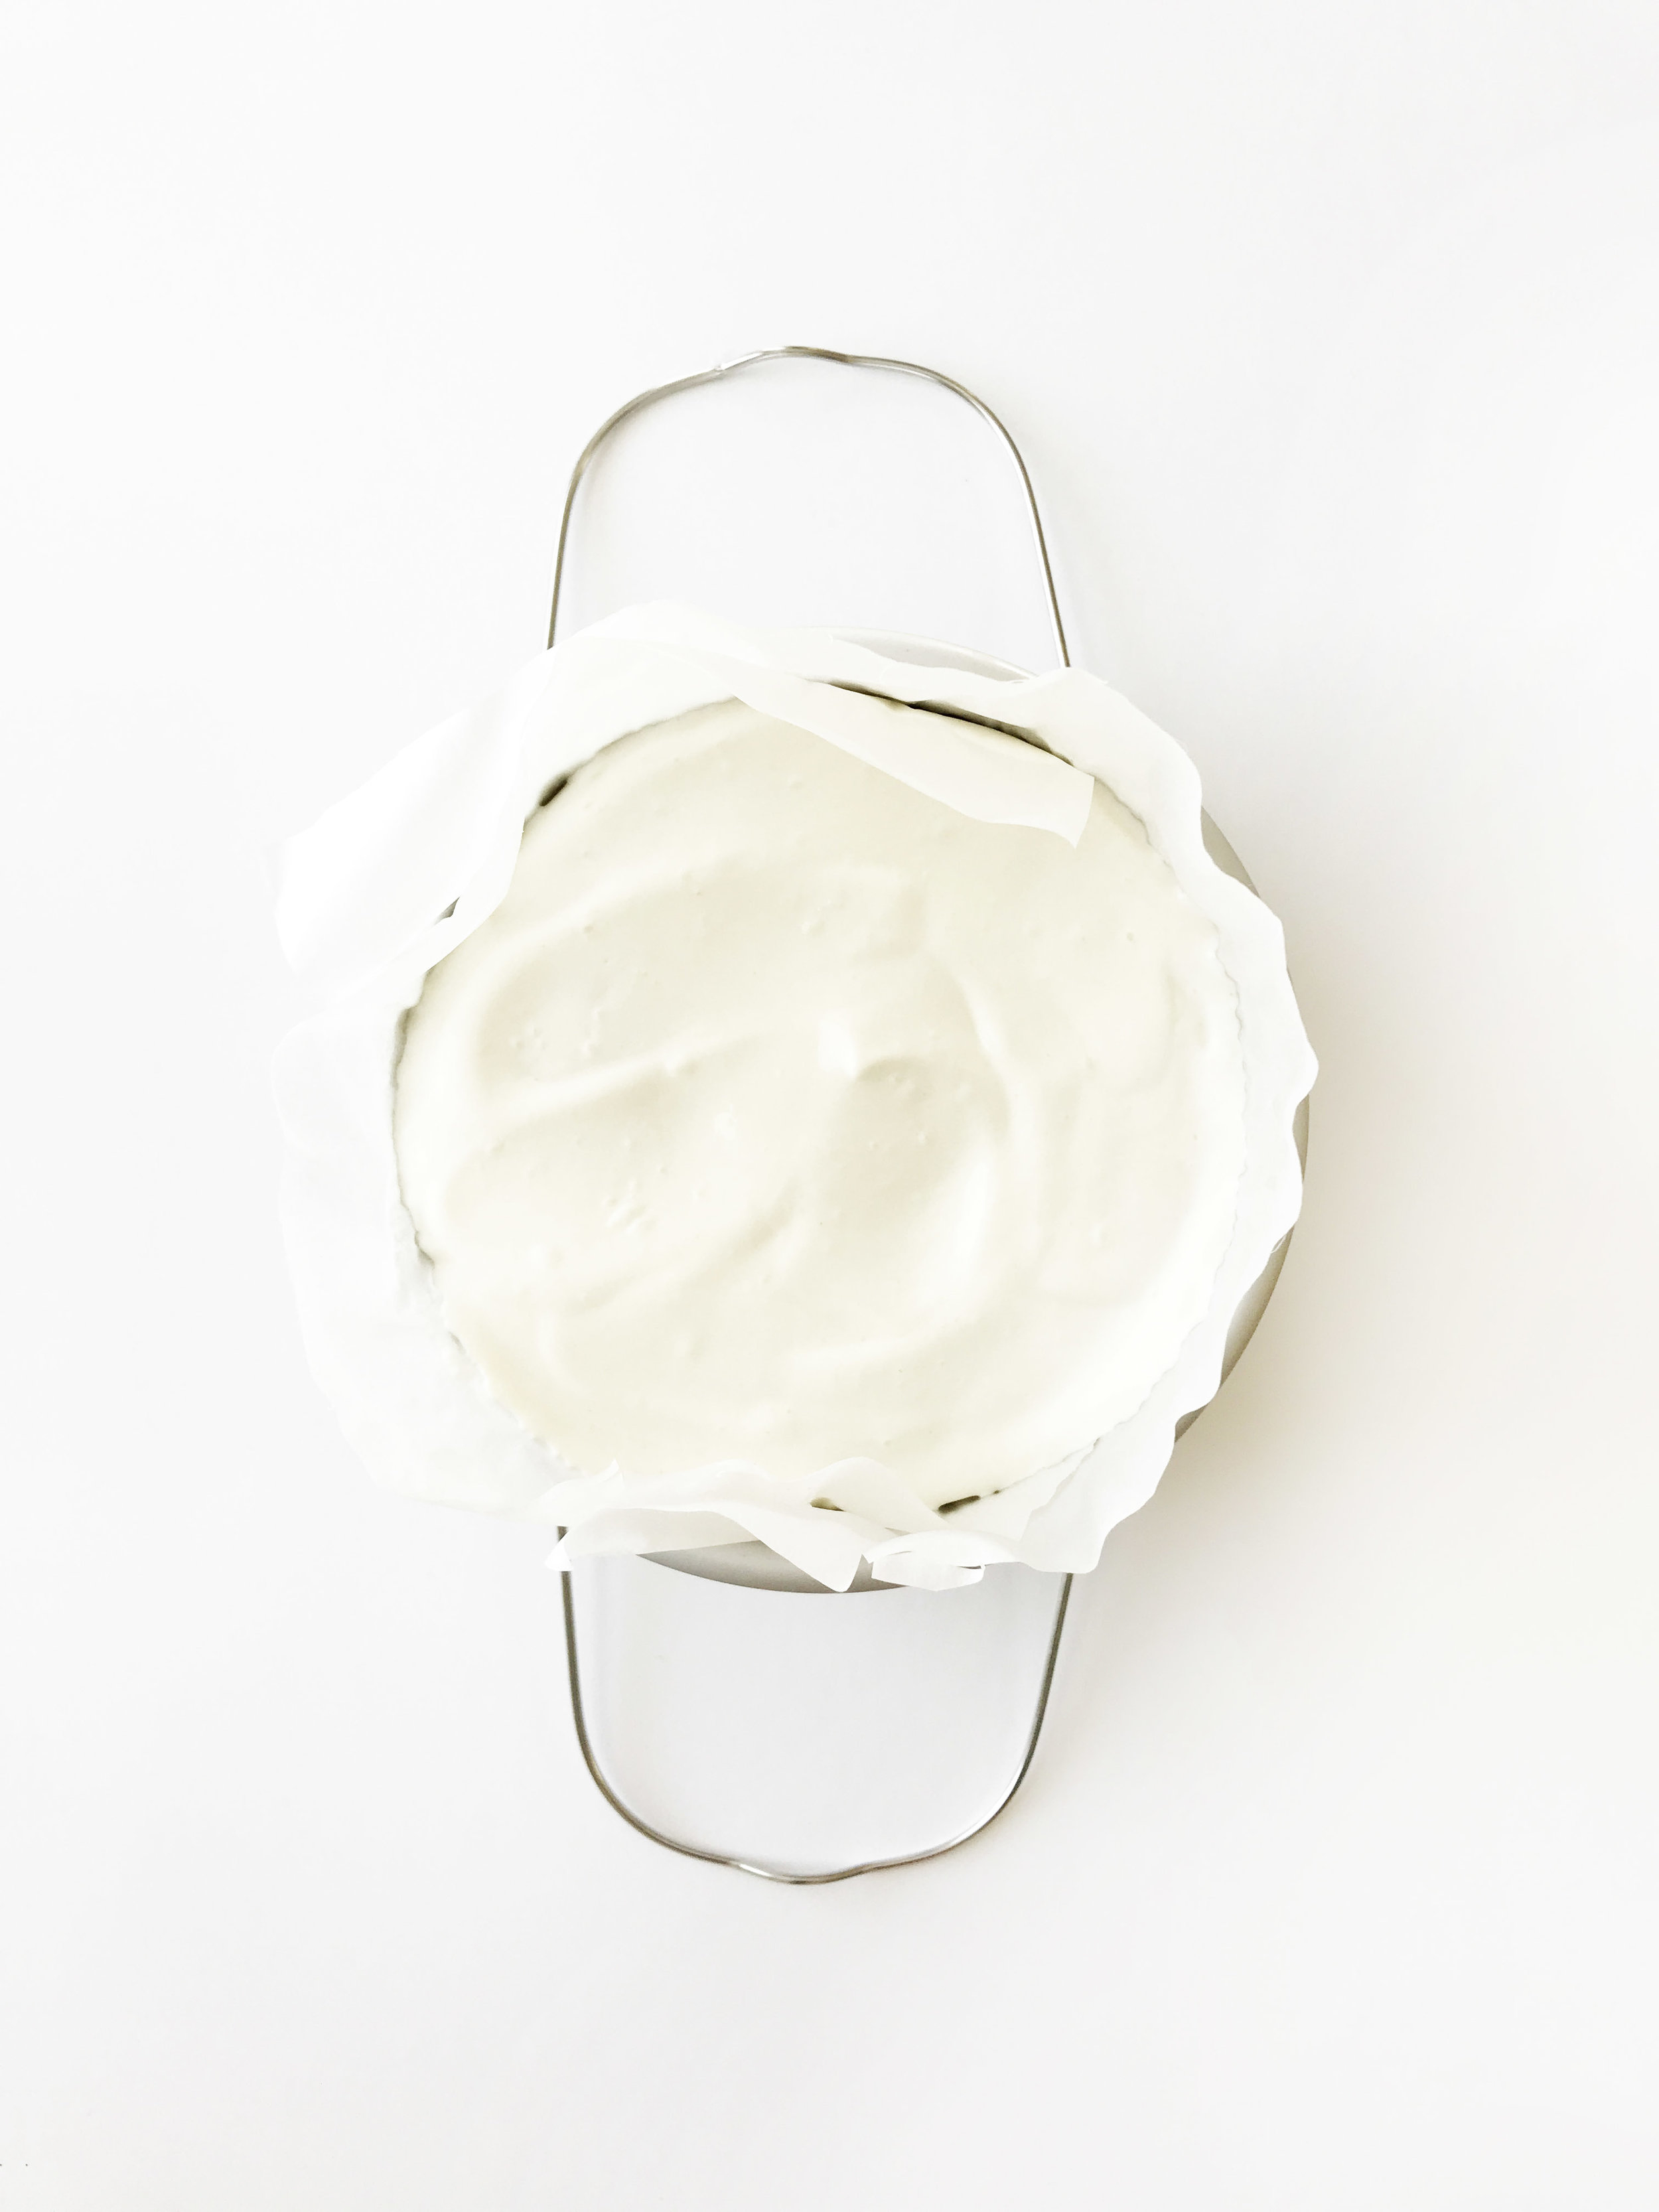
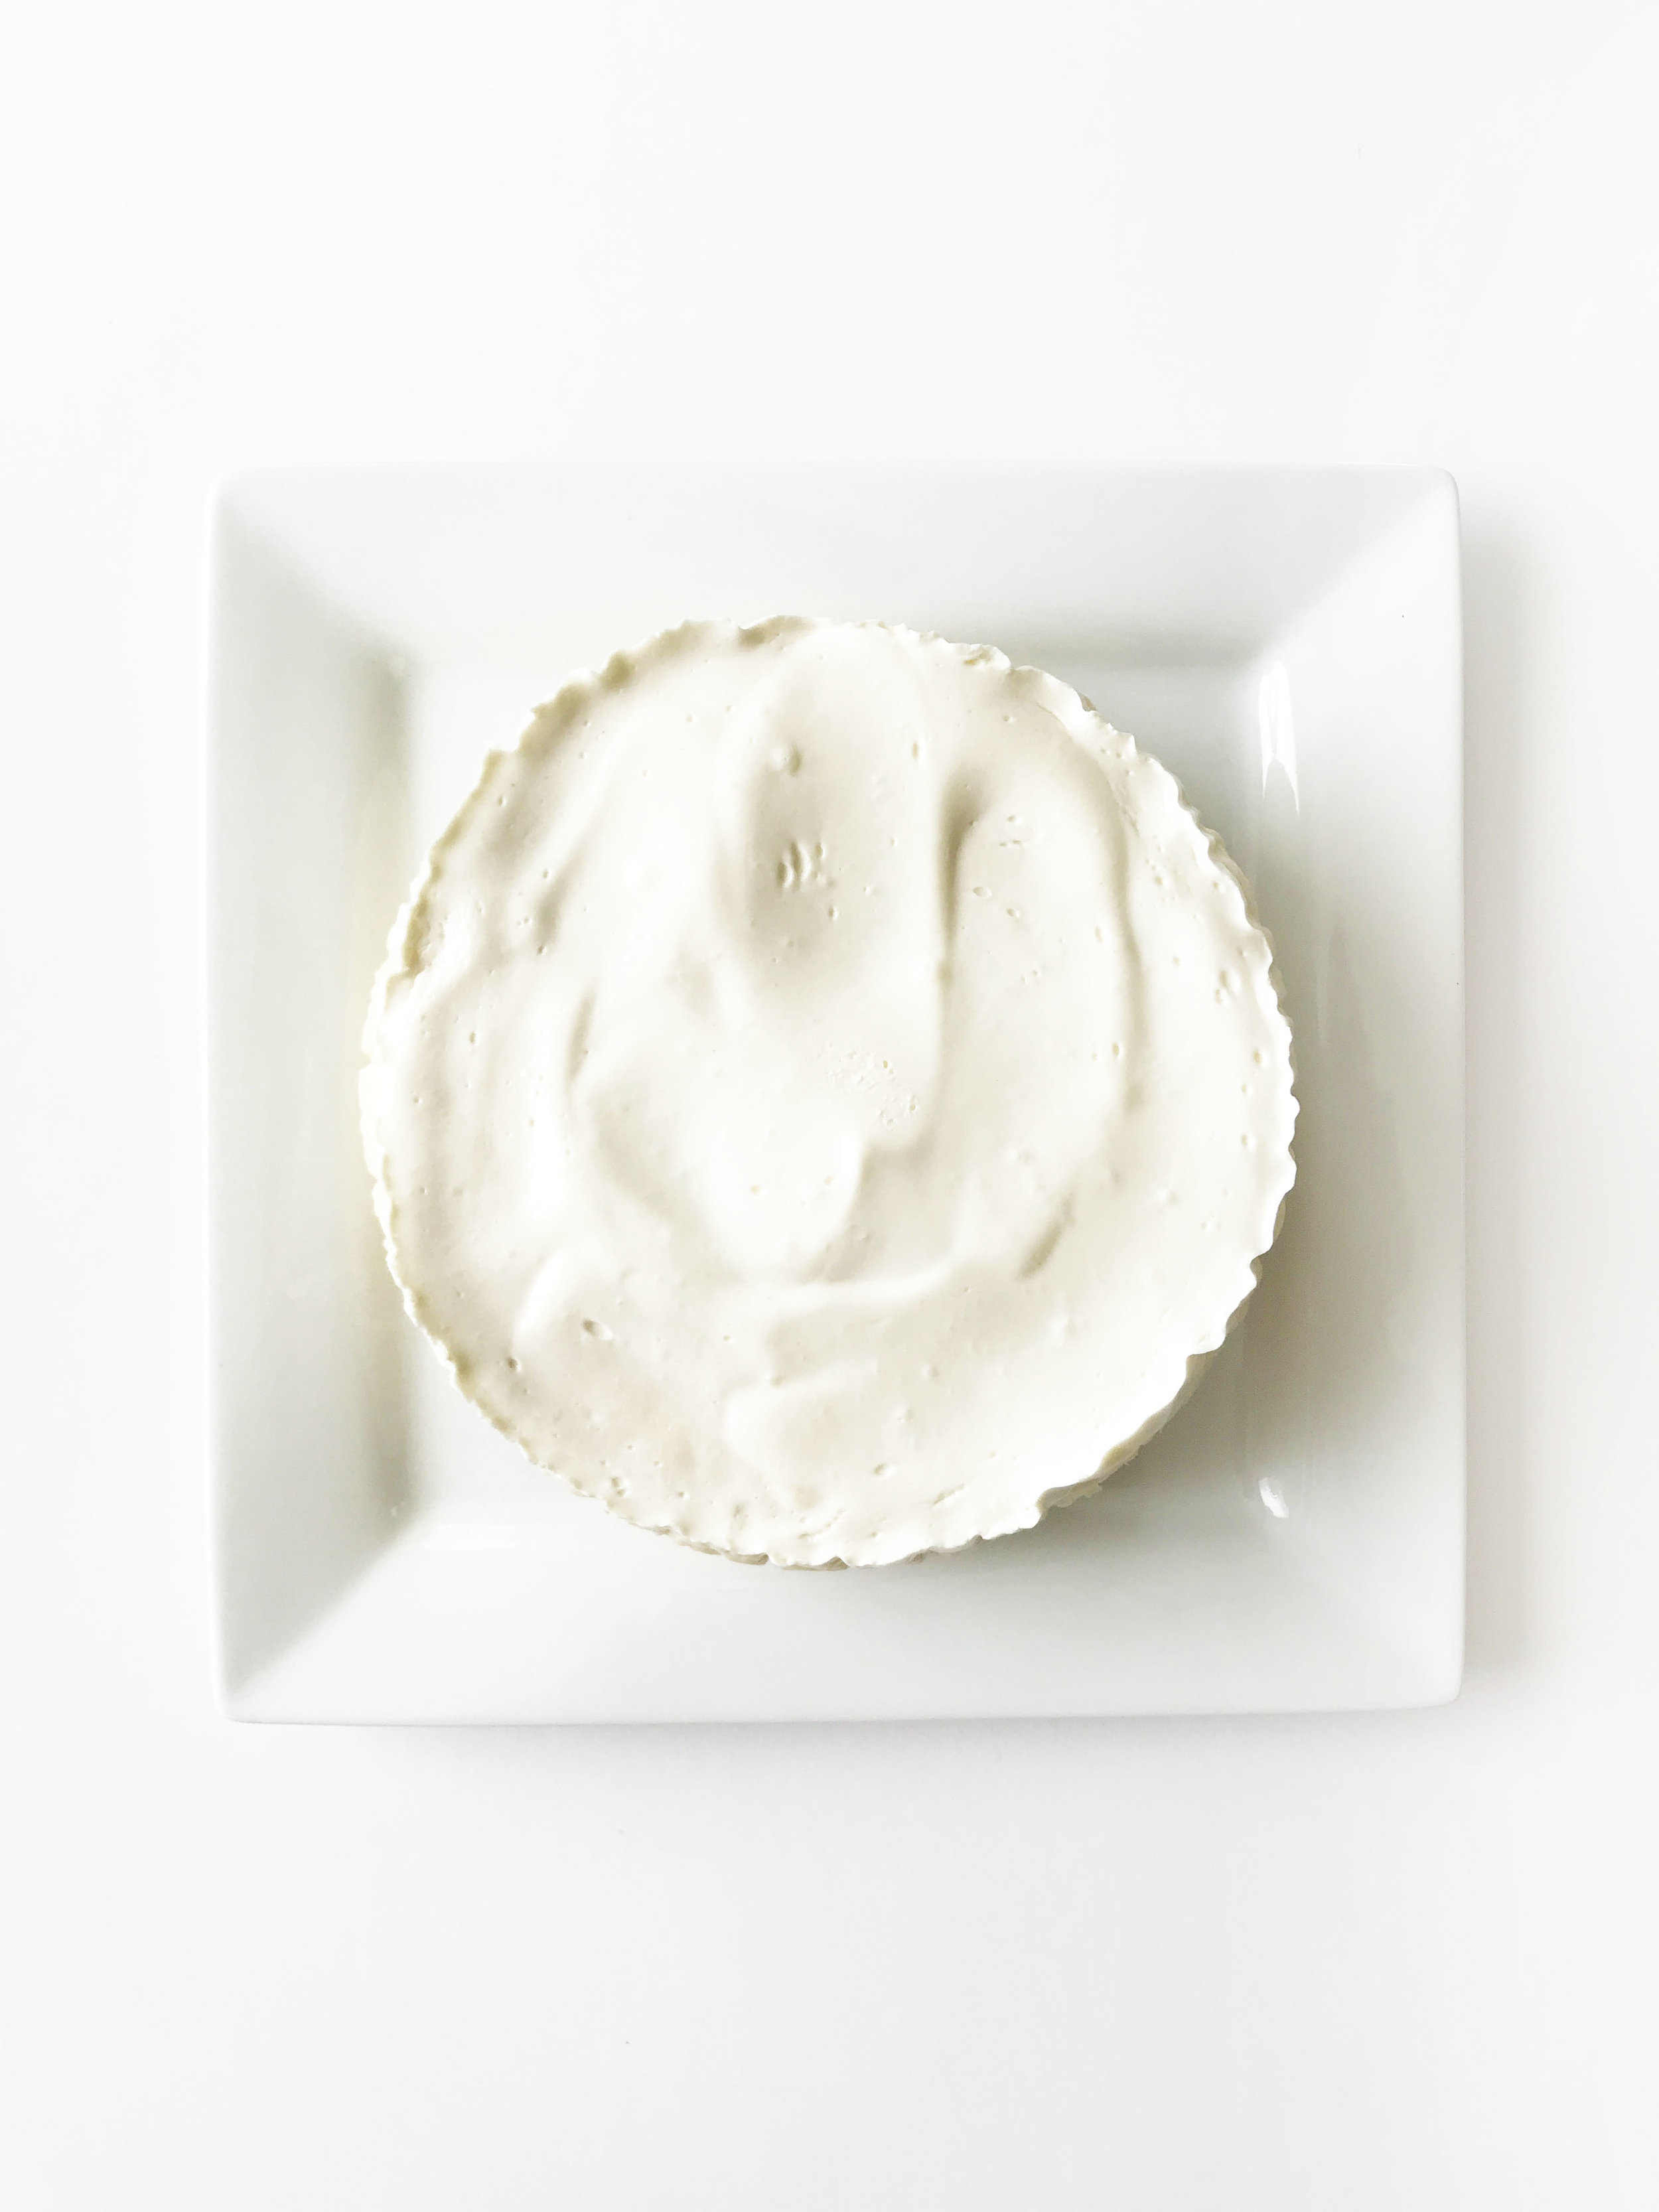
Prepare a 6" spring form or push pan by wrapping foil around the bottom (to keep from any spillage.) Cut a few pieces of parchment paper to line the inside edges of the pan, leaving a few inches of parchment above the edge of the pan. Lightly spray the bottom of the pan with non-stick cooking spray and set aside. In a large bowl, or the base of stand mixer, beat together the 16 Oz. cream cheese, 1/2 C + 2 Tbsp. sweetener, 1/4 C. heavy cream, 1/2 Tsp. vanilla, lemon zest, and 1 Tsp. orange zest, until smooth and creamy. Add the eggs in one-by-one, only stirring until just combined. DO NOT OVER-STIR THE EGGS. Pour the mixture out into the prepared pan and lay a papertowel over the top of the parchment. Weight it down with another piece of foil. Place 1 1/2 C. water into the base of the instant pot and carefully lower the cheesecake into the instant pot using the wire steaming rack. Secure the lid, set the steam valve to 'sealed', and set the instant pot to manual for 37 minutes. While the cheesecake is cooking, beat together the 1/2 C. sour cream and 2 tsp. sweetener for the topping; set aside. When the instant pot is done, leave it sealed for the pressure to release naturally for at least 18 minutes. Once done, carefully remove the cheesecake from the instant pot. (Mine was still quite jiggly.) NOTE: If there is any condensation on the top of the cheesecake, carefully remove it with a paper towel. While the cheesecake is still not, spread the topping over the top and recover with the paper towel and foil. Set in the fridge to chill for 8 hours or overnight. Once chilled, remove the cheesecake from the pan to slice and serve to enjoy!
Step-by-Step Photos:


Nutritional Claims: Low Carb, Sugar Conscious, Low Potassium, Kidney Friendly, Vegetarian, Gluten Free, Wheat Free, Peanut Free, Tree Nut Free, Soy Free, Fish Free, Shellfish Free, Pork Free, Red Meat Free, Crustacean Free, Celery Free, Mustard Free, Sesame Free, Lupine Free, Mollusk Free, Alcohol Free, No Oil Added, Kosher


